Archive for July, 2010
First Time Macro Photography…
by Rodney Campbell on Jul.15, 2010, under Life, Photography
Having been totally inspired by the awesome Macro photography of Michelle Legg and her Macro a Day journey I decided to give this a try myself.
Now first things first – I’ve never done this type of photography before so I was sort of making this up as I go along. Secondly Macro photography is close-up photography – the classical definition is that the image projected on the “film plane” (i.e. the digital sensor) is the same size as the subject – i.e. 1 to 1. That way when you view it on screen or in print the images appear much larger than real life.
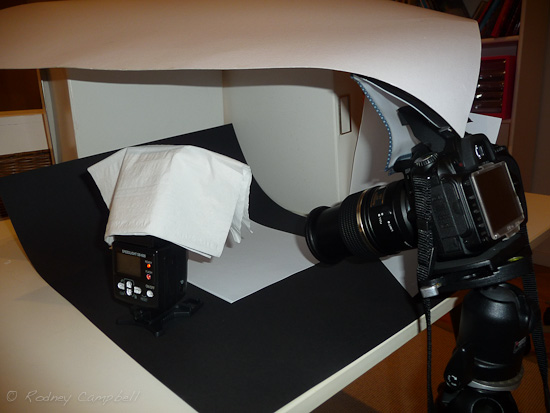
It’s night and it’s indoors so I figured I needed some form of vaguely evenly diffused lighting to light my tiny subjects – so I cobbled together this sort of crazy makeshift “lightbox” of sorts in an attempt to have light from all around the objects.
Thats my D90 with my Tamron 90mm f/2.8 1:1 Macro lens to the right on my tripod. To the left is my SB-600 flash pointing mainly upwards with a dome diffuser on and some tissues thrown over it for good measure which I’m wirelessly triggering from my camera through the magic of Nikons Creative Lighting System (CLS). I’ve also got a diffuser on the cameras built in flash because whilst it isn’t being used to provide any of the flash light (I set it to commander mode only) I had noticed that the preflashes it generates to talk to the slave SB-600 still caused some bright reflections on the shiny objects I’m photographing. At the back and side are some white cardboard boxes standing up as reflective walls and to the right of that I have some simple white A4 paper being stood up by my Joby Gorillapod. Over the top I’ve got a large piece of my childrens white craft cardboard and finally on the bottom to provide a neutral background I’ve either got the black cardboard or a bunch of white A4 paper.
After mucking around with a few shots to begin with and playing around with the light (I ended up having to move my flash to different positions and change the angle of the bounce for certain shots as I went along) – I decided to shoot in Manual mode and lock the ISO in at the Nikon default of 200, the Aperture at f/11 and the Shutter Speed at 1/160 sec and let the TTL flash do the rest of the work. I did find that for some objects and shots I had to apply some minimal flash exposure compensation (between -1 and +1 EV). I also used manual focus for all of this – at the start I used the viewfinder and then later started using liveview on the rear LCD. I’m not sure if this is the “right” or most appropriate way of doing things but hey it’s all one big learning experience
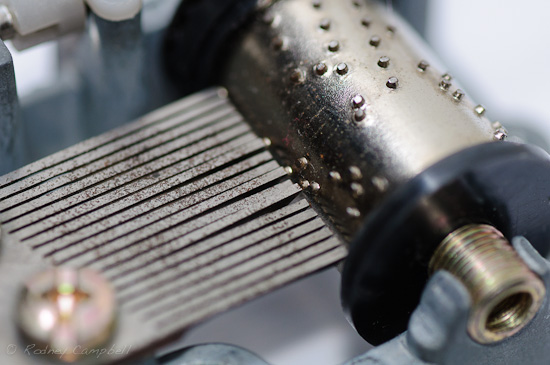
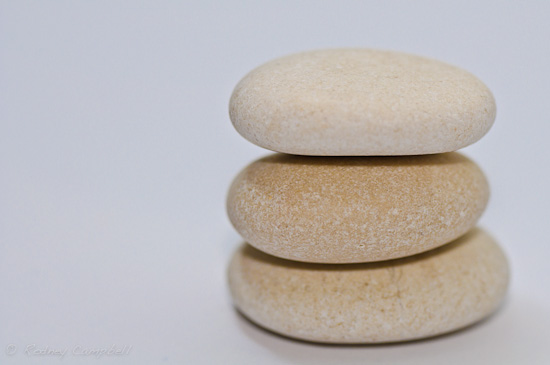
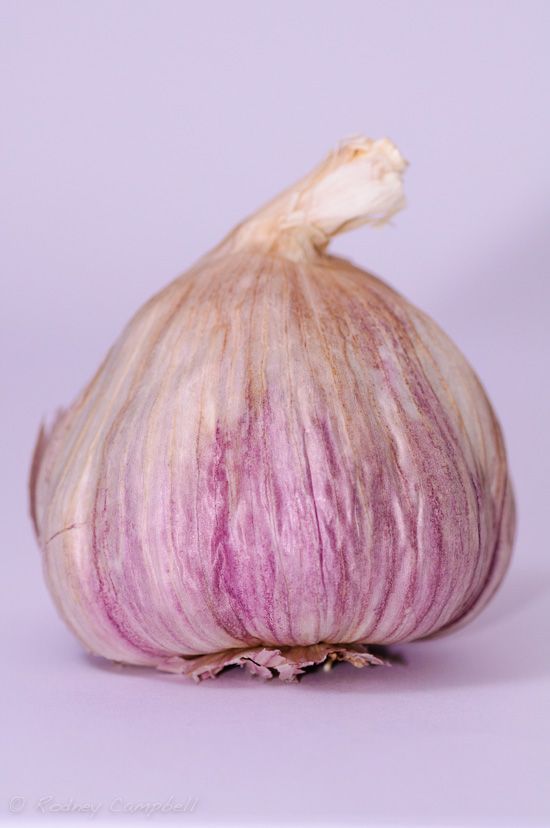
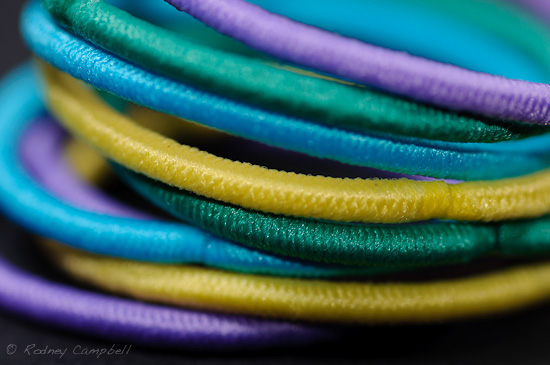
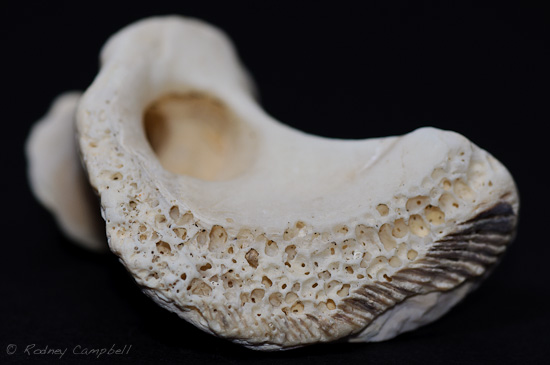
OK without further ado here are some of the results (feel free to guess what they each are 
Note: Click any of the images below to see larger versions in an inline overlay gallery viewer.
.
.
.
.
So I learnt a little about lighting using a strobe and a makeshift set of light modifiers, diffusers and reflectors and had some fun along the way.
Another thing I only discovered after loading the photos on my computer is that even though the exposure looked correct and for some even slightly over exposed on my cameras small LCD screen once those photos were opened up in Adobe Lightroom most of them were slightly underexposed (to the tune of around a half to just over a stop) – possibly about the amount of negative flash exposure compensation I was applying?
The white background also didn’t look so pure white or so evenly exposed which I was able to partially correct in some of the shots but likely also means my makeshift lightbox was by no means anywhere near perfect.
Water Still Life…
by Rodney Campbell on Jul.14, 2010, under Life, Photography
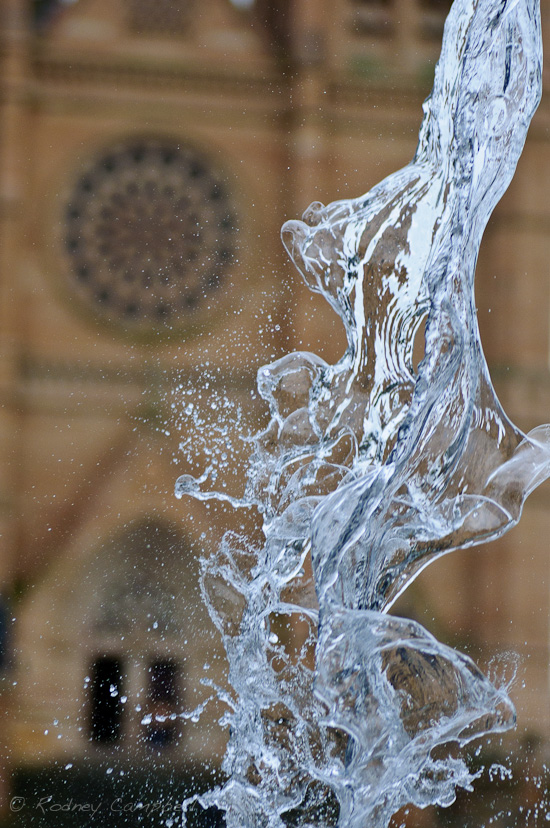
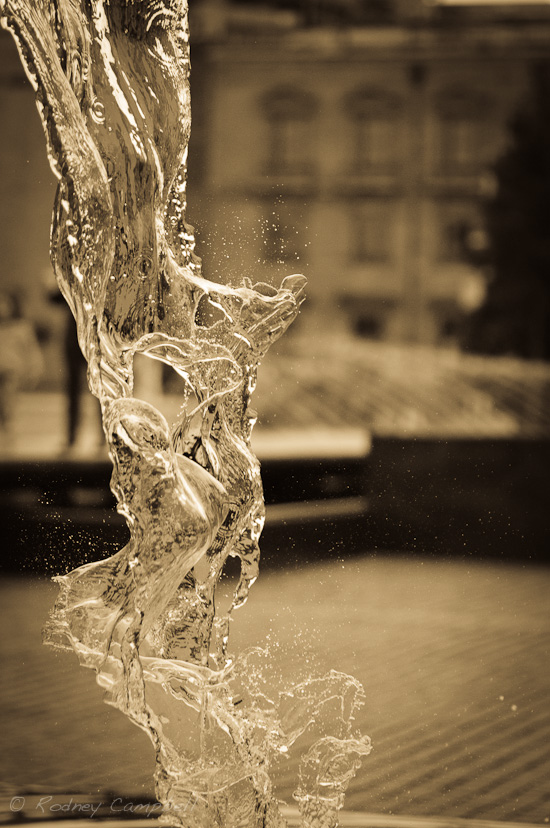
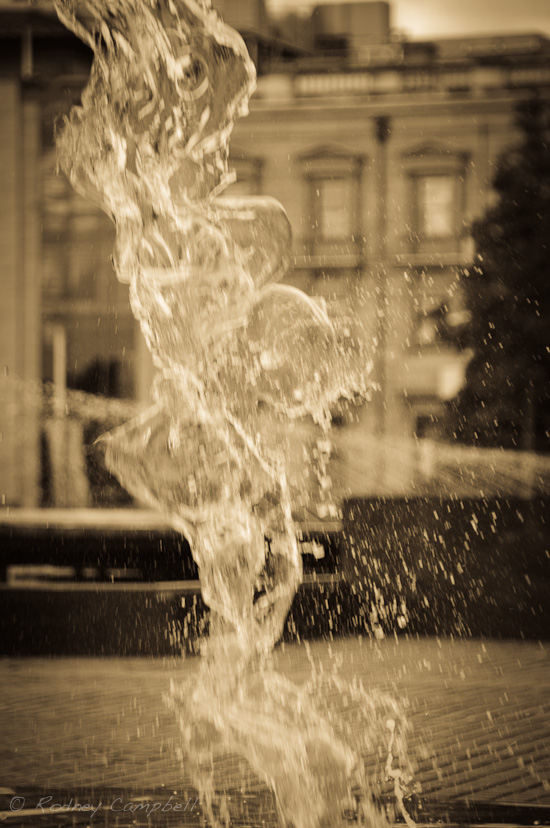
I really wasn’t happy with the shot of the water fountain in front of St Mary’s Cathedral that I took the other day (see next blog entry) so took my camera gear to work yesterday and during lunch I though I’d see if I could do a better job. The light wasn’t particularly good (it was extremely overcast and very dull – and then it started to rain) which made it more difficult to achieve the very high shutter speed I wanted to use to freeze the water (I shot in Manual mode and used ISO to compensate for exposure). However I think these shots better represent the vision I had in my head when I took the first…
I took these with my Nikon D90 and Tamron 90mm f/2.8 lens on Manfrotto tripod.
Note: Click any of the images below to see larger versions in an inline overlay gallery viewer.
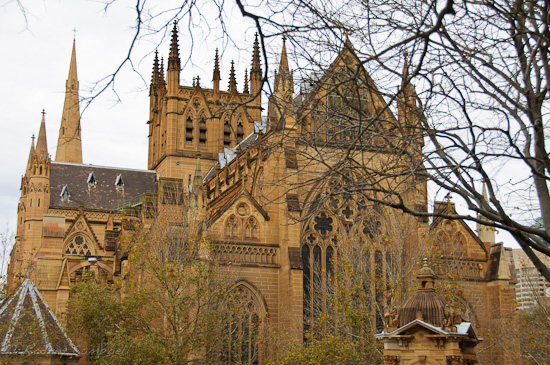
First a colour view towards the cathedral itself:
and then one looking away (towards the Museum) which I’ve applied the antique black and white processing to:
Cultured Arts…
by Rodney Campbell on Jul.11, 2010, under Life, Photography
My parents are staying with us for a few days before heading off on their annual trip north for a few months.
We spent the day in the city introducing some culture to my three girls.
We visited two exhibitions at the Art Gallery of NSW:
Then we made our way through the Domain to the State Library of New South Wales and took a look at two free photographic exhibitions there:
Of course I took my camera with me and captured a few images along the way
I wish I’d taken the following at an even higher shutter speed – unfortunately I was already at wide open with the lens I had and didn’t think to bump ISO at the time. I’ve converted the shot to black and white and given it an antique greyscale look and a bit of vignetting in the corners and think it looks better this way:
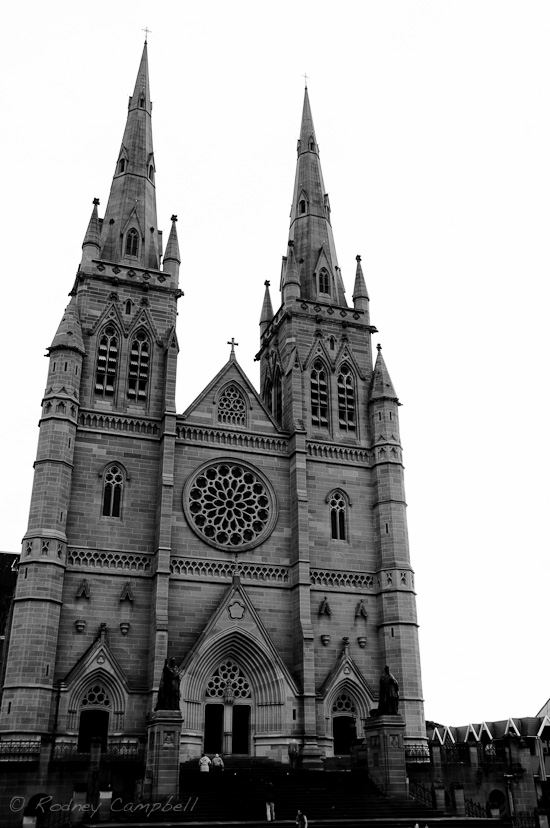
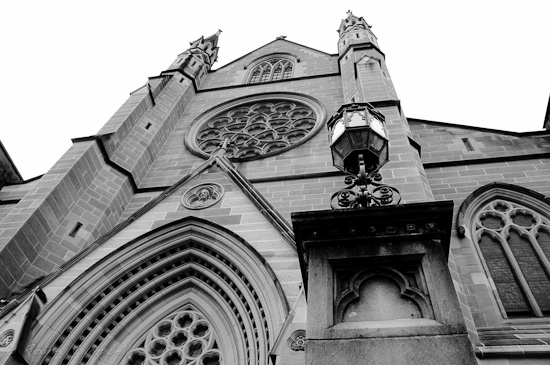
The following is a series of photos taken of St Mary’s Cathedral – some also converted to Black and White:
.
.
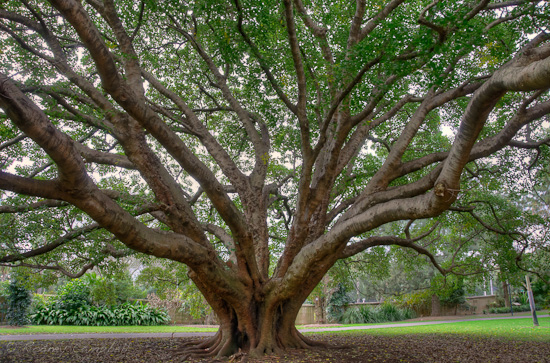
The following is an HDR of a huge old tree in the Domain taken at 0, -2 and +2 EV:
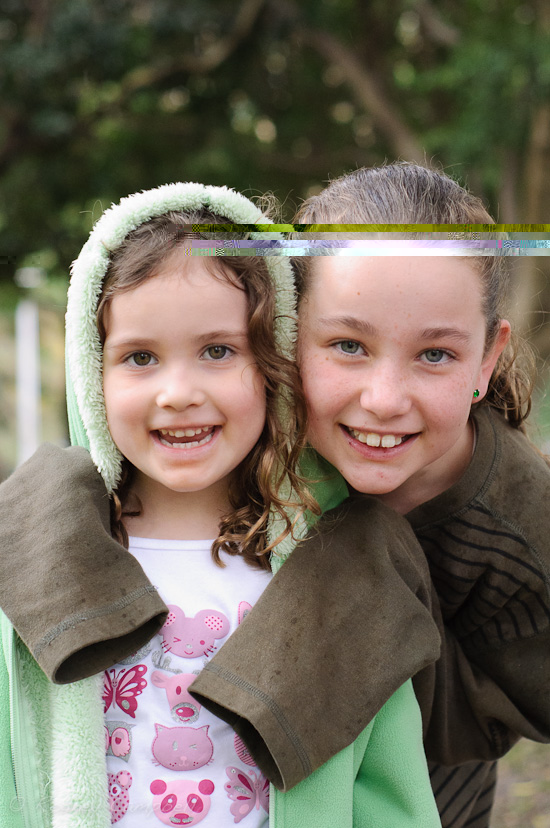
Finally at the end of the day – a shot of my eldest and youngest in Hyde Park:
Sunrise Glory at Whale Beach…
by Rodney Campbell on Jul.03, 2010, under Life, Photography
I joined a number of other keen photographers from a couple of Australian digital SLR photography forums for a VERY early morning sunrise photoshoot at Whale Beach on the Palm Beach peninsula on the far northern beaches of Sydney.
It was a 5:30AM meetup at the southern end of the beach (which meant getting up at 3:45AM and leaving home around 4:30AM).
There were about ten of us who braved the bitter cold and darkness to scramble around the rocky coastline for about twenty minutes till we reached the place dubbed Devils Cauldron at the southern end of Dolphin Bay.
As a mere amateur amongst a number of seasoned landscape and seascape shooters I think I was a little out of my league; however it was a good experience to see how others approach their craft. I think pretty much everyone else there had much more serious kit than I, including the all important Graduated Neutral Density (Grad ND) Filters. These are very important items to have when photographing the sky and ground when there’s a vast difference in exposure – which is significantly so when photographing landscape/seascape during sunrise. I of course didn’t have one so I had to make do – so my methods below were to either post adjust a shot in Lightroom via exposure, recovery, fill and the simulated graduated filter or to bracket a number of exposures (generally at 0, -2 and +2 EV) so that I had shots that at least half attempted to expose either the sky or ground somewhere near correctly and then either merge the multiple photos using High Dynamic Range (HDR) techniques or by layering of the different shots and blending them (e.g. by using the sky from one shot and the ground/sea from another).
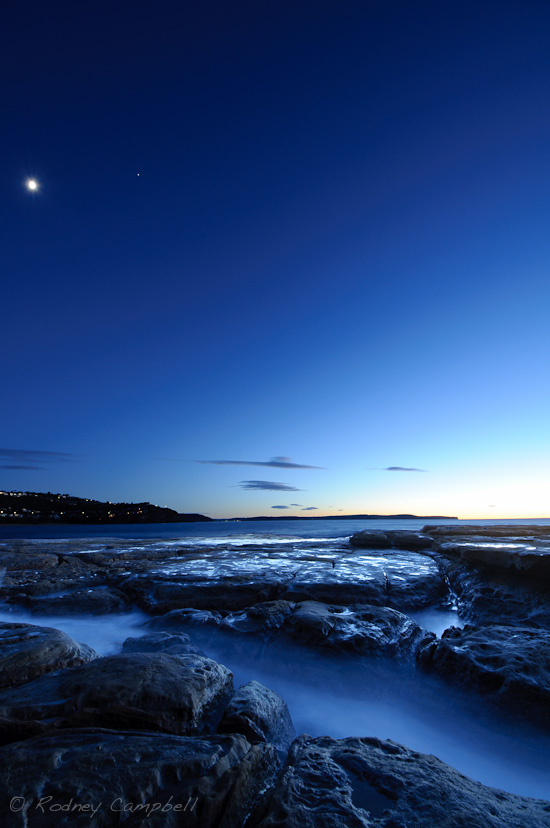
This first shot was taken pre dawn during morning twilight (it was basically still very dark to the naked eye – 6:30AM). It was taken with my Sigma 8-16mm Ultra Wide Angle lens at 8mm to include both the moon (top left) and the hint of sunrise on the middle right and involved the blending of three shots. This is probably one of my two favourite shots:
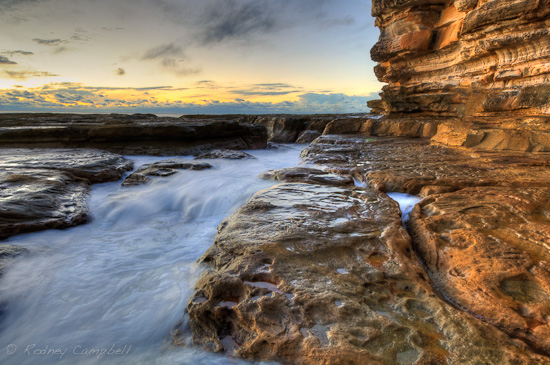
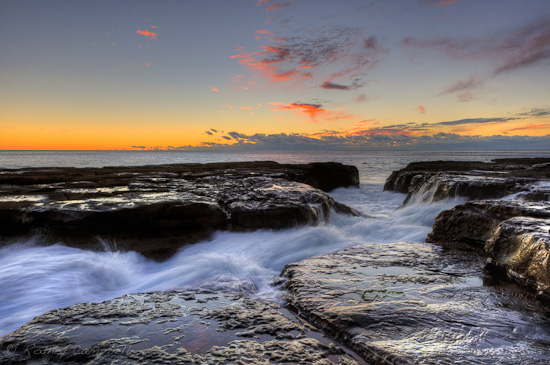
The next shot is an HDR taken pointing up Devils River (sunrise is happening off to the left which bathes the rocky cliff face to the right in early golden orange light – it’s 6:42AM) – again with the Sigma 8-16mm lens at 16mm this time using three shots at 3, 0.5 and 10 seconds:
This is Devils Cauldron itself (6:52AM) and is probably my other favourite shot (the sun is still not over the horizon and is just to the left of the frame), another HDR with the same lens at 1/4, 1/20 and 1 second:
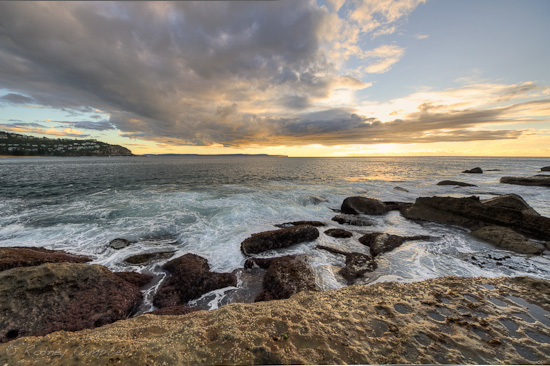
This is on the walk back to the beach – I stopped to try a very wide HDR looking pretty much straight at the risen sun (behind the clouds) – it’s 7:41AM – again with the Sigma 8-16mm at 8mm at 1/40, 1/160 and 1/10 of a second:
The following is a 360 degree panorama I shot at the same point using 8 vertical shots taken at 45 degree angles (50% overlapped) on a tripod. If you’d like to view the panorama “as if you were there” then click on the link or the image below to view it as a fully interactive 360° virtual reality view that you can pan around and up and down as well as zoom in and out of as if you were standing at the centre of the scene.
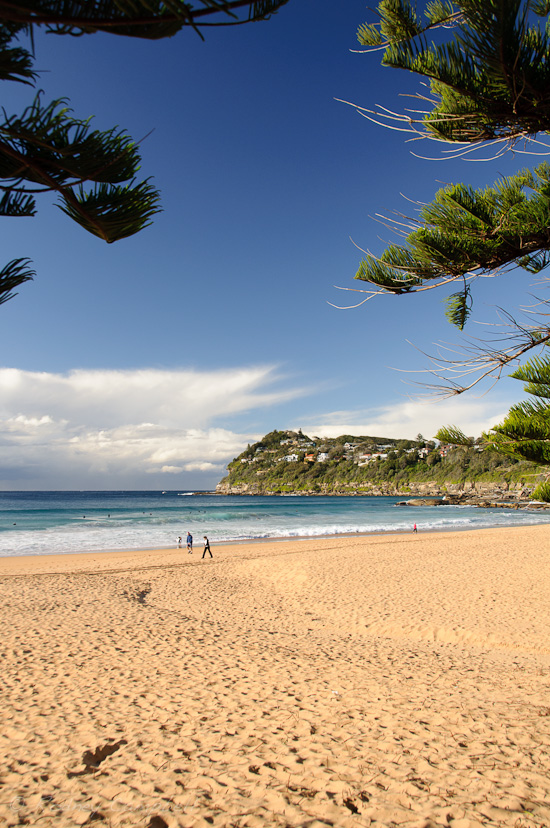
Lastly a simple shot of Whale Beach after breakfast just as we are about to leave – that headland you can see in the distance is where we walked around the coastline to to take the pre dawn shots:
