Archive for June, 2012
North Head Sunrise…
by Rodney Campbell on Jun.29, 2012, under Life, Photography
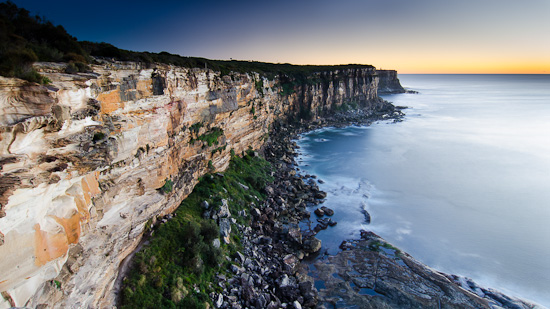
Headed over to Sydney’s North Head hoping for a spectacular sunrise on the weekend – unfortunately even though the previous two days had seen some of the most spectacular sunrises to be seen we were blessed on Saturday with the most serene and well photographically speaking somewhat boring of sunrises – not a cloud in the sky.
Note: These images (especially the wider shots) look much better when larger – so click any of the images below to see larger versions in an inline overlay slideshow gallery viewer.
We’d setup in the dark to photograph on the ocean cliff side of North Head facing north along the coastline however things weren’t looking all that promising for sunrise. Here’s a pre-dawn long exposure – the best of the shots…
We abandoned the sunrise seascape idea and headed around to the southern end of the head (with views of the harbour and city) because the colour in the sky looking that way was far more interesting
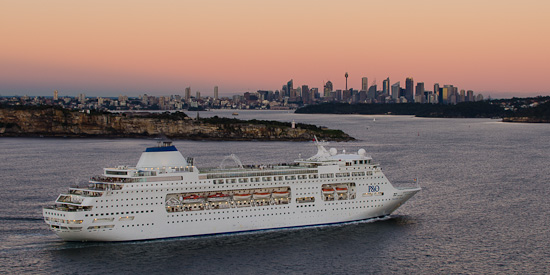
I switched to the Sigma 50-500 (BigMOS) for some more detailed landscapes… including this ocean liner which steamed in on queue allowing me to try the lens at the widest 50mm setting (generally considered to be the softest end of this lens) – although some of it can possibly be attributed to the 1/30th of a second shutter and the moving ship
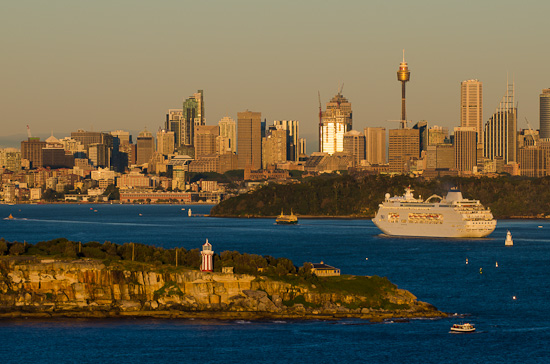
and a longer view (210mm) as the sun come up over the horizon and struck the distant buildings and land
So that our very early morning wasn’t a total loss we headed into the bushland with macro in mind (in a follow up post), then called it a day and headed into Manly for breakfast (which I’d rate about a 6 out of 10)
Kirribilli (Sydney Harbour) Trails…
by Rodney Campbell on Jun.26, 2012, under Life, Photography
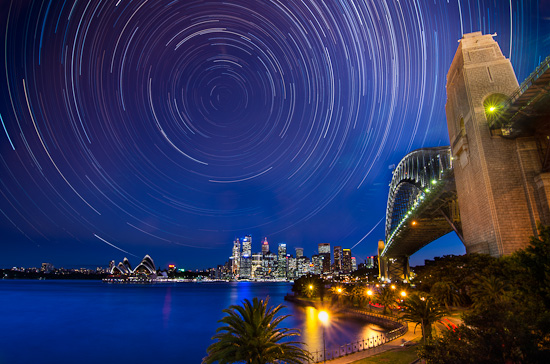
Decided to give Sydney Harbour another try for inner city bound star trails…
Gerry joined me in Bradfield Park just under the northern end of the Harbour bridge for a view which would include the SOH on the left, Sydney CBD in the middle and the SHB on the right with (if our planning turns out vaguely correct) the centre of the rotation of the stars just to the left of the CBD.
The conditions were about as ideal as we were going to get in the city – very nice clear skies (no clouds and little smog, etc), no moon and hopefully some stars. The light pollution was once again a big factor but that was a given, it turned out flare (from the man made lighting which turns on after dark) would also be a big problem but alas not something that could be rectified more than an hour into a multi hour shoot – it’s not like you can reframe and get the sun to set again 🙂
I started with a new technique this time – put the camera on continuous high set on manual mode at 30 seconds f/4 and ISO 640 and then use the remote trigger with the shutter button held down – the aim was for it to continuously take 30 second frames with no delay between – this worked for the first 100 shots and then just stopped taking any more (some mysterious internal limit I guess). Same thing happened to Gerry (but he has the same camera) – annoyingly this meant that the almost first hours worth of images would likely be discarded. We started our star trails frames again, this time using the intervalometer set to take infinite 30 second frames with 1 second gaps and this time I got 360 usable frames (3 hours of exposures) to stack.
This time I also used the Stacking Action from Star Circle Academy which worked well.
The results of blending the resulting stack with both a long exposure (88 second) twilight shot and a three exposure sunset HDR for the bridge and pilon plus some heavy post processing of the washed and blown out stacked trails turned out reasonably good for a first round editing effort (I’d like to revisit this again when I’ve learnt better layer adjustment and blending/compositing techniques)…
Note: These images (especially the wider shots) look much better when larger – so click any of the images below to see larger versions in an inline overlay slideshow gallery viewer.
Aputure Amaran Halo LED Ring Flash – First Test…
by Rodney Campbell on Jun.23, 2012, under Life, Photography
This article is a follow up to my original post on the Aputure Amaran Halo LED Ring Flash.
I was expecting it to take a few weeks to arrive but I’d underestimated the efficiency of the HK sellers – ordered on the 11th and arrived on the 18th so it took under a week.
The unit comes in a nice packaging box and it feels well made and is simple to use.
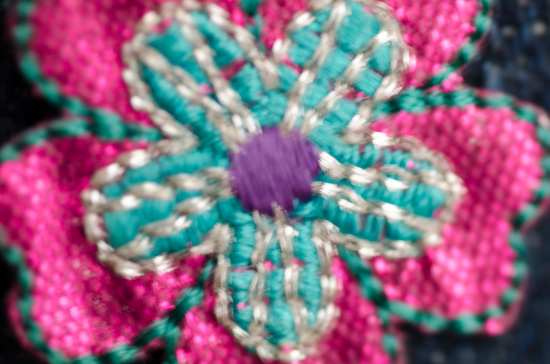
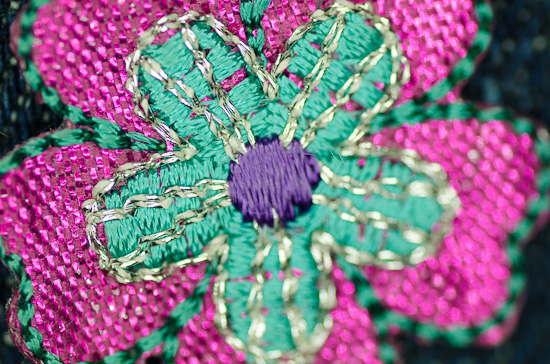
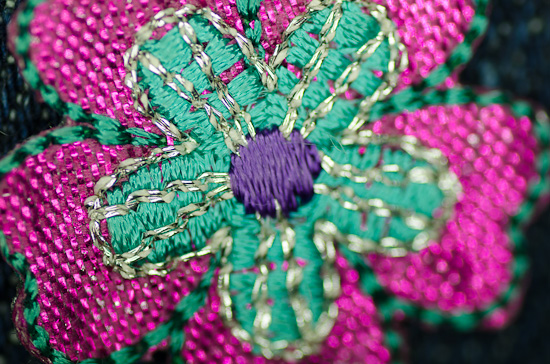
I’ve fitted the 55mm adaptor ring to my Tamron 90mm 1:1 macro and as a simple test found an indoor subject in dim lighting to photograph (small coloured embroidered flower on a dark material background).
Test #1 (close macro)
I’ve focused at a certain distance – it’s about 7.5cm from the front of the LED ring in front of the lens to the subject (and about 30cm from the subject to the sensor plane in the camera) – and then set the camera to manual focus so I can reliably repeat the distance at different settings. This would probably be a typical distance for very close 1:1 macro work and down near the minimum focusing distance for this lens.
I first took an ambient exposure which was 2 seconds @ f/8 and ISO 100
Then with the LED at maximum continuous brightness the exposure was 1/100 @ f/8 and ISO 100 – the histograms look roughly the same – if anything the second image with the light is slightly more exposed.
However if we assume they are the same then at this distance the light is adding about 7 and 2/3ds stops of light which is fantastic and would be the difference between a handheld shot of 1/30th @ f/2.8 at ISO 1600 and 1/100th @ f/16 at ISO 800 (i.e. blurry handheld with no DoF and slightly noisy vs sharp with much more depth of field and lower noise).
I also tried the flash mode where it turns off the LEDs before flashing them at double brightness and it also works and does seem to give double the power – I took the shot in manual at 1/200 @ f/8 and ISO 100 and got a good exposure so in theory you could get almost 9 stops of lighting power for close macro work.
Obviously these are fairly ideal conditions so will have to see how it fares in the real world but for macro applications at close distances I think it will do a great job. Obviously the further the subject is from the lens the weaker the power will be so it’s not really for portrait or other work (unless they are very close) so it isn’t going to compete with real ring or other off camera flashes in that arena but for it’s intended purpose it looks very promising.
Test #2 (70cm)
This time a dimly lit subject 50cm from the front of the LED ring (about 70cm from the sensor) so we are well out of macro territory here – this would be near a head shot portrait distance with a portrait lens.
The before shot was 2.5sec @ f/3.2 ISO 100 and the after shots were 1/8th (& 1/15th) @ f/3.2 ISO 100 – so about 4 and 1/3rd stops (+1 for flash mode) – still pretty respectable and the difference between a shot at ISO 6400 and ISO 320 (160) for instance.
I’ll update again when I have had a chance to use it for real out in the field and with real world images to show…
Big Autumn…
by Rodney Campbell on Jun.19, 2012, under Life, Photography
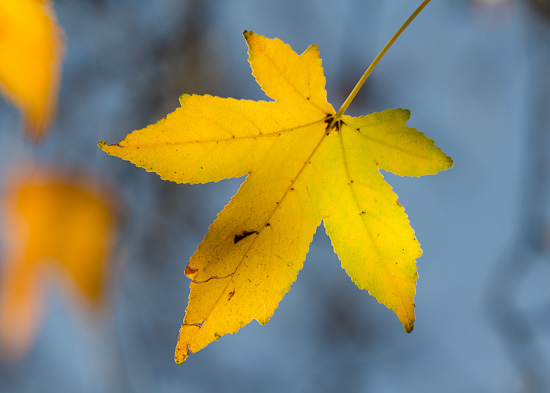
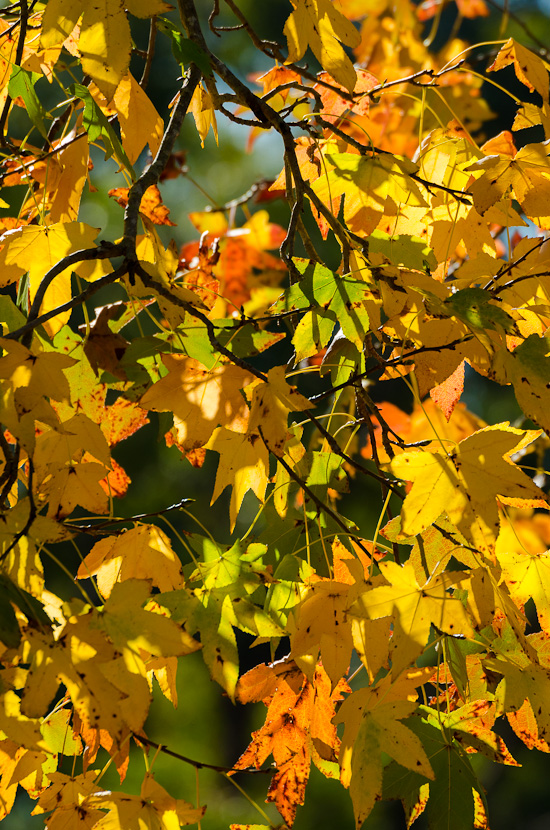
A couple autumn details shot with the BigMOS (Sigma 50-500 OS) on one of the few days we weren’t having torrential rain in the past two weeks here in Sydney…
Note: These images (especially the wider shots) look much better when larger – so click any of the images below to see larger versions in an inline overlay slideshow gallery viewer.
Leaf Pond
.
Aputure Amaran Halo LED Ring Flash…
by Rodney Campbell on Jun.13, 2012, under Life, Photography
I’d been thinking of investing in some sort of ring flash unit primarily for macro photography for some time but the cost (and size) of dedicated ring flashes (like the Orbis Ring Flash) or macro flash units (like the Nikon R1C1 system) is prohibitively high (the former is more than AUD$250 the later is more than AUD$700).
I’d also seen some ring flash adaptors – which connect to your existing hot shoe flash and have a reflective area which brings the light down and around your lens. These units are relatively cheap but you have to purchase an exact unit for your camera, flash and lens combination (so that the lengths all line up) and frankly they look pretty flimsy and prone to destruction.
LED technology has been increasing in sophistication and capability in leaps and bounds of late, and I had been seeing a number of LED based ring macro light units appear and yesterday decided to take the plunge and give one a try.
I found a number of essentially similar contenders all around the same price (roughly AUD$30 to $50) including the NEEWER 48 LED Ring Light, Meike LED Macro Ring Flash FC100, Yongnuo MR-58 LED Macro Ring Flash and the one I purchased (for under $35 delivered on eBay) the Aputure Amaran Halo LED Ring Flash.
All of these units have essentially the same features:
– constant LED light source with an effective range of about 5cm to 150cm with a guide number of GN15
– LEDs in a ring to go around the front of the lens with adapter rings to suit various front filter thread sizes (to attach to the lens)
– a battery pack and controller unit to hold 2 or 4 AA batteries
– adjustable settings – like variable brightness, all on, left side only or right side only
The reason I chose the Aputure Amaran Halo unit over the others is:
– not all the units were large enough and had adapter rings all the way up to 77mm (some had as few as four rings only up to 67mm – the Aputure unit has 8 rings up to 77mm)
– this unit has a flash (burst) mode which is twice as bright as the continuous light mode for some extra power
– it can also act as a focus assist light with half shutter press
The following video gives a very good quick overview of the unit:
However what the on paper specs and the video doesn’t show or tell you is how effective the light is – in comparison to say using a dedicated flash unit through a diffuser (what I currently use for handheld in the field macro photography) or a dedicated ring flash unit.
When I receive mine (in a couple of weeks?) and have a chance to play I’ll post again on some relative performance figures (e.g. it adds an extra n stops of light at a certain subject distance).
