Archive for August, 2012
Red… (Macro Focus Stacking Part II)…
by Rodney Campbell on Aug.11, 2012, under Life, Photography
A follow on from my previous post on my macro focus stacking journey…
The Royal Botanic Gardens here in Sydney CBD has a nice sheltered (from the wind) succulent garden. I found a nice specimen (which happened to be very close to the ground (I had to lie on my stomach to shoot) and in full sun) and setup camp. The cacti were very good subjects because they are quite stable plants and the flowers (and hard petals) don’t move even with a light breeze.
Note: These images (especially the wider shots) look much better when larger – so click any of the images below to see larger versions in an inline overlay slideshow gallery viewer.
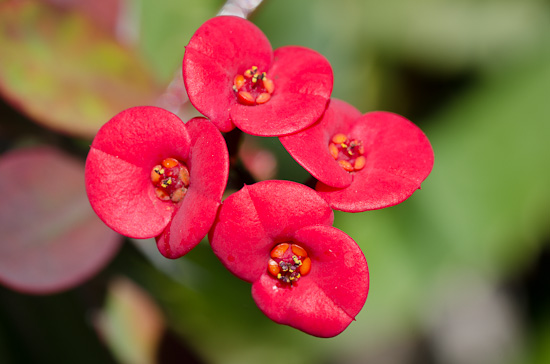
Here is the “normal” reference shot – f/16, 1/125 sec and ISO 110
as you can see whilst it is a nice enough shot the DoF doesn’t come close to covering the subject and the background whilst somewhat bokeh’d is distinct enough to be quite distracting
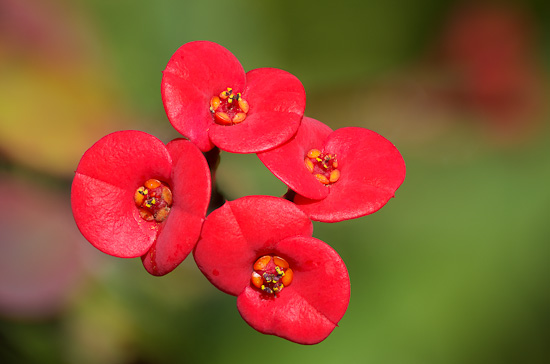
I had two goes at taking some images to stack with slightly different positioning of the camera between them
The first is the result of focus stacking 21 exposures of 1/800 sec at f/5.6 and ISO 100
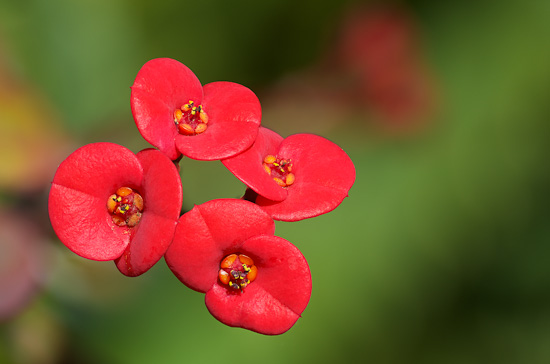
and this second which I prefer the framing but the stacking wasn’t quite as clean is the result of focus stacking 19 exposures of 1/800 sec at f/5 and ISO 100
Red
You can see that both stacked versions have much sharper flowers from front to back which pop off the page in an almost 3D way, and also having a smoother creamier background
Green… (Macro Focus Stacking)…
by Rodney Campbell on Aug.09, 2012, under Life, Photography
I took my camera, 90mm macro, LED macro ring light, tripod and wireless remote release into work with me in an attempt to try my hand at a new technique (for me at least) – that of focus stacking macro images.
The basic idea with focus stacking is to try and overcome the limitations of limited depth of field with very close focus macro subjects.
In essence the closer you get to your subject the shallower the depth of field at any given focal length and aperture combination. With macro photography because you are often focusing near the minimum focusing distance from your lens (i.e. very close to subject), even with the lens stopped down as far as it can go gives very little depth of field to work with. If your subject is flat and aligned parallel to the sensor plane as long as you can get your focus spot on you may get a nicely in focus subject – otherwise what generally happens is some or all of your subject ends up being out of focus.
With focus stacking you take a sequence of images at different focus distances which cover the whole of your subject and then in software afterwards you load the stack of images and it “magically” takes the in focus portions of each image and combines them onto a single image where your subject is in focus from front to back.
OK this sounds great in theory but how hard is it to do in practice… well I was about to find out.
My technique was this:
– find a suitable subject
– setup your composition – normal photography rules apply – you have to consider your subject and your background (even if you’re trying to make sure the background is nicely blurred out)
– lock down on a tripod – you want to take a sequence of images so you can’t move between them
– select an appropriate aperture, shutter speed and iso for your shot – I suggest you go into full manual for this since you don’t want this to change between shots otherwise the blending which happens later on may get ugly – personally I used a relatively wide aperture (around f/4 to f/5.6) because I want the background to go all smooth and buttery and I don’t want any distractions there
– put the lens into manual focus mode
– focus your lens on the closest part of your subject – and then rotate the focus fractionally so your focusing slightly in front of this point (basically it will seem like everything is out of focus at this point) and take a shot
– rotate the focus ring fractionally so that it focuses slightly further away from the camera and take another shot
– repeat the above for however many times till your point of focus moves just past the furthest part of your subject that you want to be in focus
– load the sequence of images into the stacking software and possibly adjust some parameters and let it do it’s thing
– voila…
NB: another technique for this includes using something like a macro focusing rail on you tripod – in effect moving the camera forward and back fractionally with a fixed manual focus instead of changing focus on the lens
Some things to consider:
– if you shoot a sequence of images stopped down you may need to take less images because the depth of field for each image covers a wider area but you are more likely to end up with a more distinct and messier background
– if your camera or subject moves much between shots during the sequence you are likely to be hosed – software these days is pretty good and seems to be able to do remarkable things with auto aligning images but there’s only so much it will be able to cope with – see my failed day below 🙂
– objects often change their size and position from shot to shot due to focus distance changes (and with my Tamron 90mm f/2.8 1:1 macro which extends the front of the lens dramatically with changes in focus and I can see the composition change slightly) however the software seemed to be able to cope quite well with this
Stacking software options
There are a number of software options (depending on how much you are willing to spend) which can enable you to perform focus stacking including PhotoShop (Auto Align Layers/Auto Blend Layers), Helicon Focus, Zerene Stacker, CombineZP.
The results
My first day out from the office was a bit of a disaster – I’d headed into Hyde Park in the city during lunchtime (I know not the greatest time to be trying this) but the main problem was the gusts of wind blowing the flowers. I tried to shoot between gusts when motion was minimised but it was a quest in futility… basically the stacking software did a great job with some of the bits which didn’t move so much but the petals blowing in the wind or long stems swaying in the breeze resulted in incredibly sharp blurry messes 🙂
Not to be deterred I headed out again the next day but this time to the Royal Botanical Gardens here in the city and looked for more sheltered plants or ones with stronger stems and branches which would hold my subject still enough for the shots I wanted. This resulted in much improved results as you’ll see below and in forthcoming days as I process the rest of the images…
Note: These images (especially the wider shots) look much better when larger – so click any of the images below to see larger versions in an inline overlay slideshow gallery viewer.
Firstly here is the shot you’d normally take. The subject is not particularly small so I could shoot with a little distance – I’m stopped down to f/11 for increased depth of field which even with the LED ring light required I shoot at ISO 1600 at 1/100th. I’ve focused sort of in the middle of the depth of the front face of the subject and as you can see it’s sort of sharp in limited places – it’s not horrendous but it’s not great
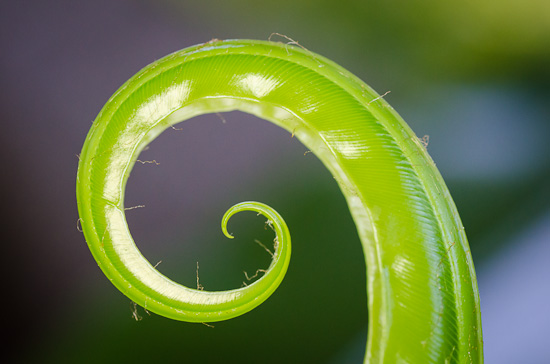
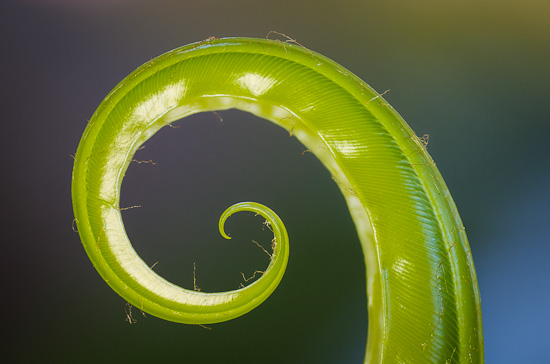
Here is the result of stacking 12 images shot again at 1/100th but at f/4.5 meaning I only needed to be at ISO 320 – IMHO whilst not fantastic is still a much better result
Green Spiral
more to come…
Pink Skies over Macquarie Light House…
by Rodney Campbell on Aug.07, 2012, under Life, Photography
Australia’s oldest lighthouse stands as a beacon to Sydney Harbour and still provides a light to guide ships entering the Heads. The lighthouse was built in 1818 on the cliff top at South Head. Designed by convict architect Francis Greenway, it was constructed of sandstone quarried on site. When the stone began to erode a new lighthouse was built by James Barnet in 1883. The light is now operated by the Australian Maritime Safety Authority.
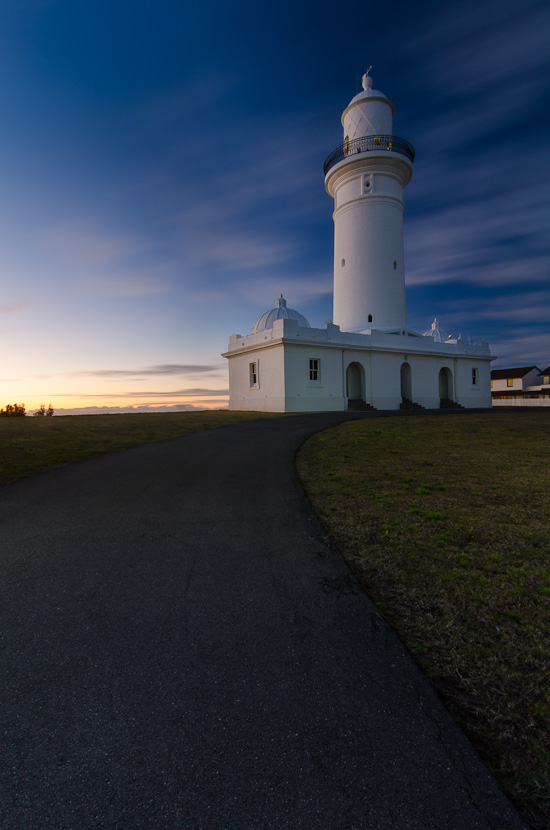
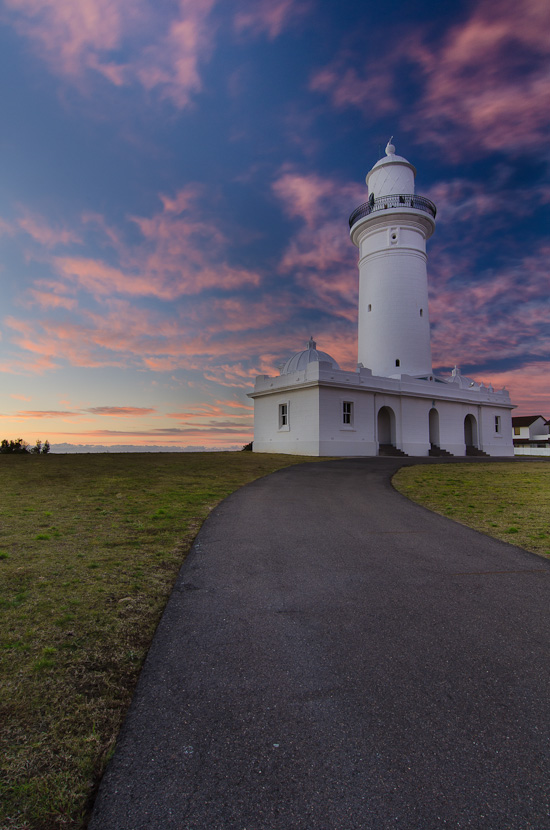
When I arrived at the light house at 6AM the boys were already hard at work light painting the lighthouse in the pre dawn darkness. At this stage the sky conditions were looking a little grim with barely any clouds in the sky and just some heavy looking cloud on the horizon. Just before the sun came up however some very thin wispy clouds moved in from the city to the west and the sky filled with bright pink set against a deep blue sky – we were saved…
This morning was also a chance to try out my new Heliopan 105mm SH-PMC Slim Circular Polariser and Lee 105mm Front Polariser Ring (which had finally come back into stock after many months of waiting – it was a wallet burning AUD$320 delivered from TeamWork in the UK, but was significantly cheaper than most other places in the US, Aus and UK)
Note: These images (especially the wider shots) look much better when larger – so click any of the images below to see larger versions in an inline overlay slideshow gallery viewer.
Just pre dawn…
and then the pink skies hit 🙂
Macquarie Pink
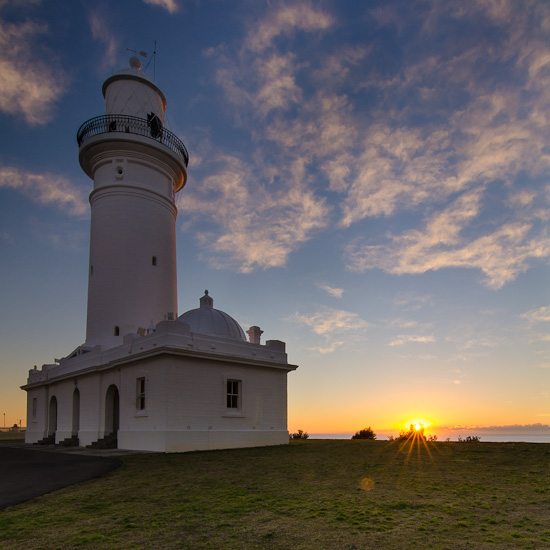
the sun peeks over the horizon
Dawn Glow
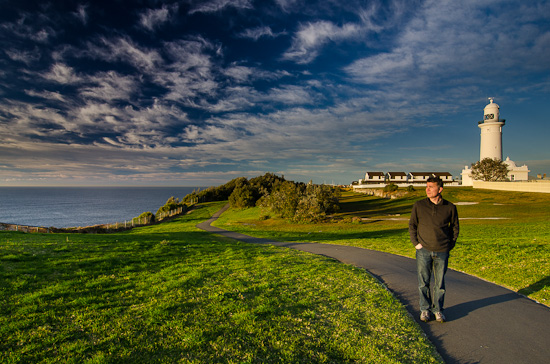
and then was struggling for compositions – I could see these lovely long shadows raking across the ground and tried incorporating them from the seaward side but appeared to be failing. It wasn’t until I headed further along the coast well away from the lighthouse and looked back that I found this nice possie with the low shadows across the landscape, the warm morning light and the path meandering away into the distance that I could take my own favourite shot of this session – and here’s a self portrait with the composition…
Watching over the Sea
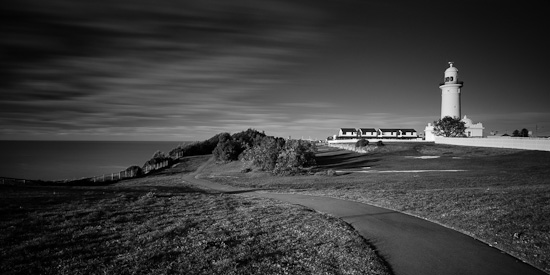
Lastly a monochrome conversion of a very long exposure (170 seconds) using the whole kitchen sink – B+W 10 Stop ND + Lee 0.9 (3 Stop) Hard Grad ND + Heliopan CPL
Lightscape
One thing I’ve noticed with the new CPL is that it appears to be “stronger” than my existing B+W 77mm CPL – it can make the skies go really black compared to when I use the B+W (which I normally just dial near max when I use it) – I’ll have to get used to this (especially with the ultra wide).
As we had time before our 10AM birthday celebration, Gerry directed us off to nearby Diamond Bay Reserve to see if there was anything worth shooting – will see how they turn out after processing the images…
Whirlpool Sydney Photowalk #4 – North Sydney…
by Rodney Campbell on Aug.05, 2012, under Life, Photography
I joined about a dozen other members of the Whirlpool forum (Photography subsection) for another photowalk here in Sydney over the weekend.
This time the walk was from North Sydney to Milsons Point with Blues Point, McMahons Point, Lavender Bay and Luna Park on the way.
We started at 3PM on a lazy Sunday afternoon and spent a few hours wandering and shooting followed by a relaxed Thai dinner and chat at Milsons Point.
Note: These images (especially the wider shots) look much better when larger – so click any of the images below to see larger versions in an inline overlay slideshow gallery viewer.
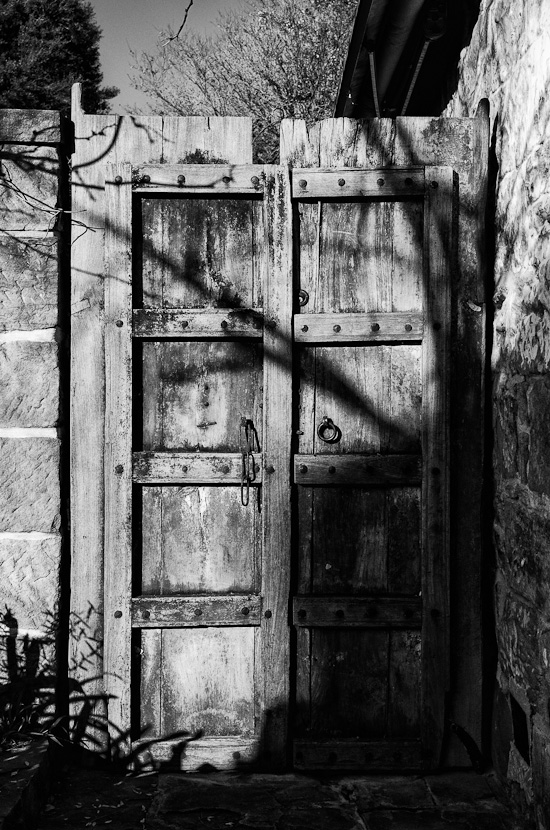
The Door
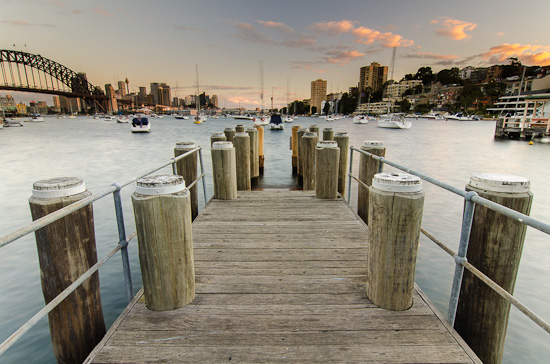
Poles
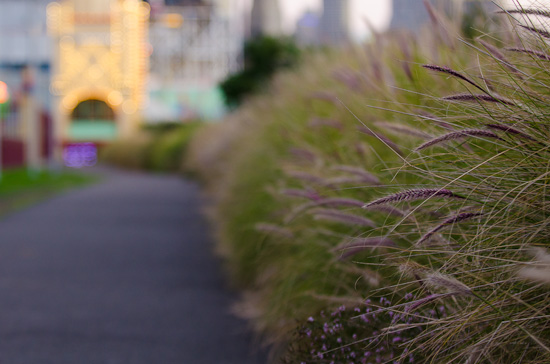
Purple Tails
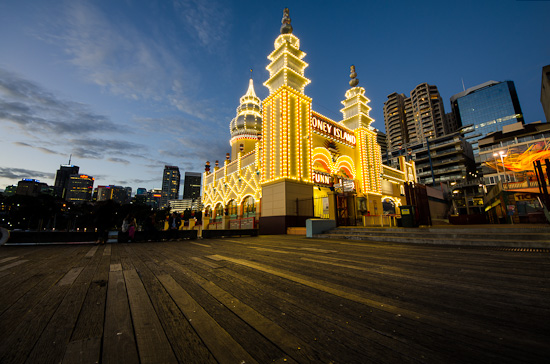
Coney
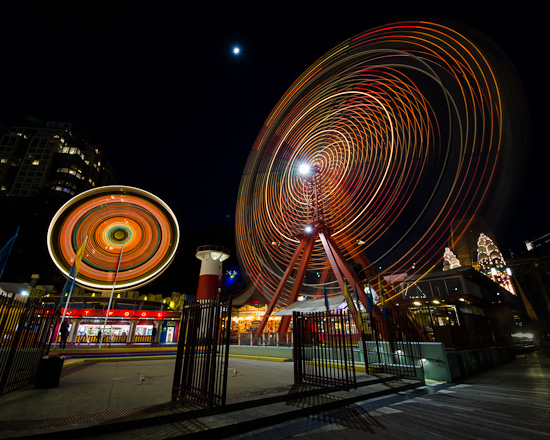
Tripple Twirl
White…
by Rodney Campbell on Aug.03, 2012, under Life, Photography
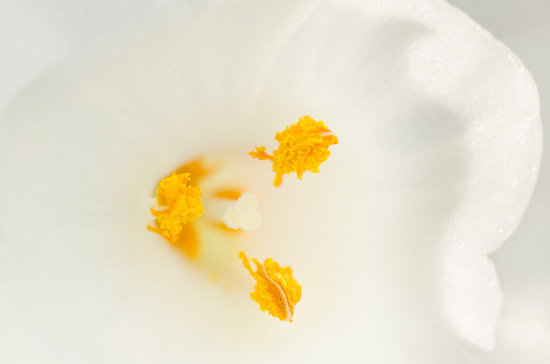
with a dash of yellow 🙂
Handheld with the Tamron 90mm Macro and LED ring light along with a set of Kenko extension tubes (12+20+36mm)
Note: These images (especially the wider shots) look much better when larger – so click any of the images below to see larger versions in an inline overlay slideshow gallery viewer.
White
