Light Painting Centennial…
by Rodney Campbell on May.08, 2013, under Life, Photography
A spot of light painting to end our day at the second Google Plus Centennial Park PicANiK.
Note: These photographs (especially the wider shots) look much better when larger – so click any of the images below to see larger versions in an inline overlay slideshow gallery viewer.
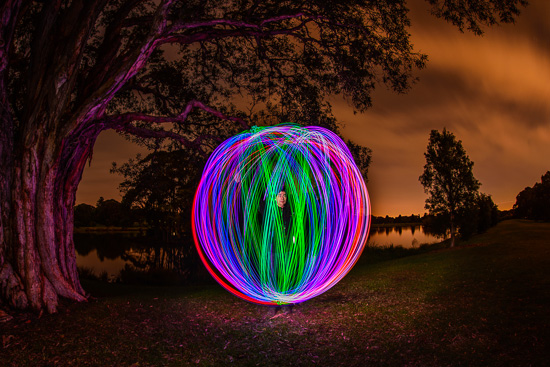
Trapped Within
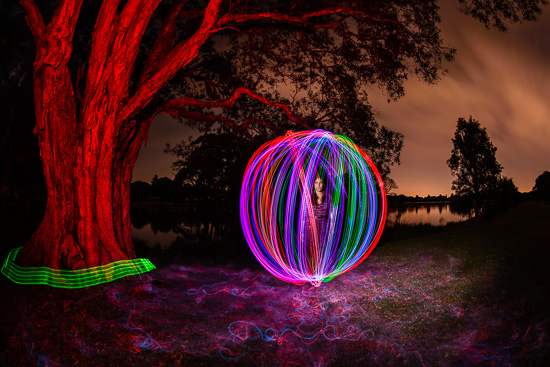
Ana in Hyperspace
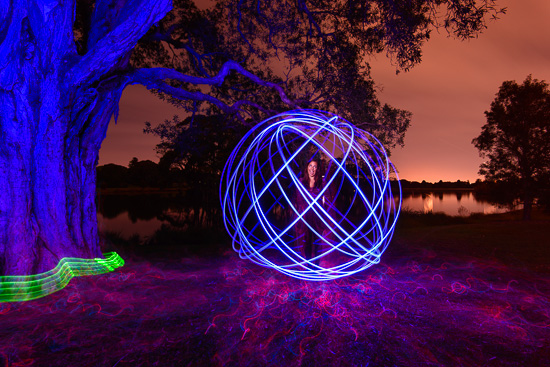
Captured by the Light
The process for each of these was quite similar – below I list the specific technical details and method for the second shot above
First – set an appropriate aperture and ISO for the scene – basically I know we need to do various light painting activities which is going to take some time (a couple of minutes) so I want to expose for ambient (so I don’t just get a black background environment). Based on historical experience I know a couple minutes at f/8 or f/11 at ISO 100 or 200 should be fine (not underexposed and not overexposed) – I chose f/11 because I was up close and wanted a decent depth of field (although with the fish it probably doesn’t matter)
Second – camera in bulb mode and start the trigger and then start painting
Third – here we did the orb first (start spinning it first before turning it on so you aren’t left with weird trails). Spin the orb creator around (basically think of it as a light at the end of a string) so that ideally it passes over the same spot on the ground as you rotate around it in a circle. When done switch it off before you stop spinning. In this case because this orb tool is so bright only one rotation is enough otherwise it overexposes badly. With a less bright tool you might do a couple rotations to really fill in the orb. At this point the orb spinner has to ideally stand relatively still for the rest of the exposure
Fourth – for the ground use EL (electroluminescent) wire (in this case 3m of red and 3m of blue) and drag it over the ground to create that coloured fiery mist look. Every now and then leave it still for a few moments so it burns in a looks like coloured veins in the mist
Fifth – paint the tree using a coloured LED torch – in this case red but my torch has 10 different colours available (neat) – move the light fairly continuously so as to not burn in a spot – light touch is better. Do not let the actual torch LED be visible in the frame otherwise it leaves a bright red streak (so paint from outside the frame or hide the torch from the camera)
Sixth – added the green light swirl around the base of the tree using a childs light wand toy (just hold it down near the ground and walk around the tree – starting and ending out of sight at both ends)
Finally – a burst of straight flash (zoomed or snooted) straight at our model come orb spinner so that they appear within the orb – again shot from outside the scene so the flash itself doesn’t appear in the frame
Really Finally – wait a while till your gut tells you the exposure is long enough for ambient to expose how you want (e.g. to get colour in the sky) – for me it was just over 3 minutes in total – and then trigger to close the shutter
and we’re done…


