Archive for May, 2013
It’s a Vivid Sydney…
by Rodney Campbell on May.26, 2013, under Life, Photography
Once again the two and a half week festival of light that is Vivid Sydney has hit our wonderful city.
I took my girls into the city last night so they could see some of the opening night’s light display first hand – it was a wet and sometimes rainy evening but the crowds were still out in force.
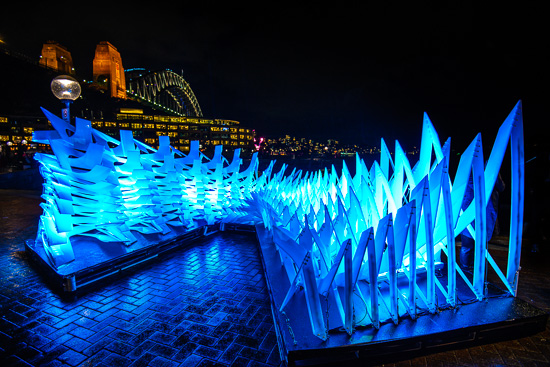
We spent most of our time down around The Rocks and circular quay area and my girls marvelled at some of the excellent displays of light and magic – some of which were very hands on which the girls really enjoyed.
Note: These photographs (especially the wider shots) look much better when larger – so click any of the images below to see larger versions in an inline overlay slideshow gallery viewer.
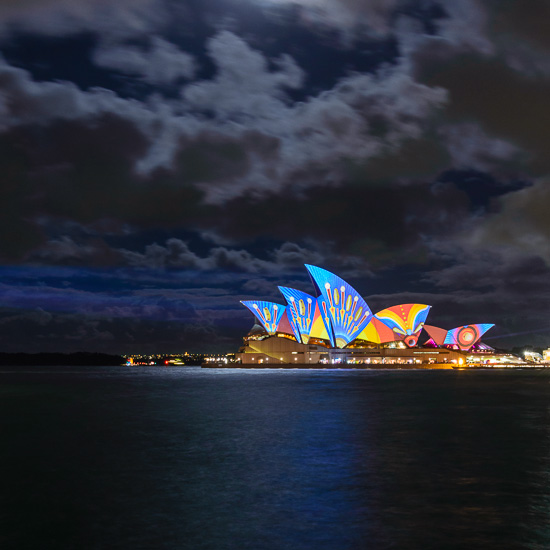
A perennial favourite is the large scale light painting of the sails of Sydneys world famous Opera House – this time lit from a new location at Dawes Point
Vivid Opera
What the Blue!
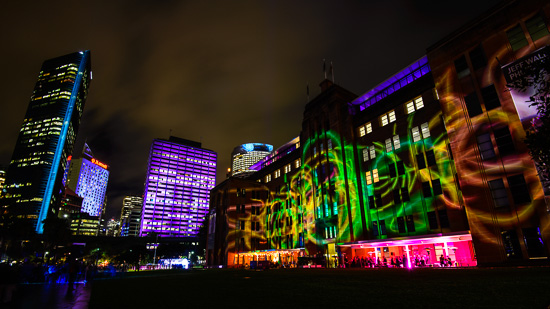
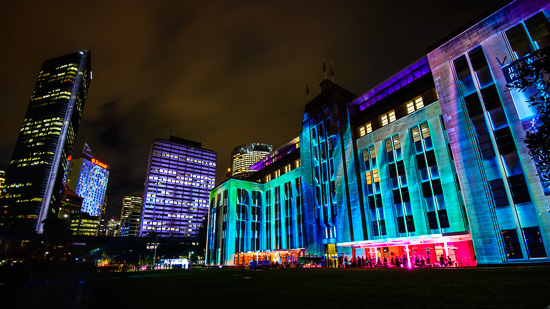
Some more large scale building light painting – here with the MCA
Sydney Swirl
Melting Moments
Austinmer a Wider View – Panorama…
by Rodney Campbell on May.23, 2013, under Life, Photography
A little stitched panorama I shot at Austinmer.
This panorama was a massive pain to stitch – mostly because the frames on the right half had very little detail for the stitching software to lock in on to match the overlapping frames (and what detail there was in the water at the bottom was moving so didn’t match between frames) but also because I totally stuffed up two frames in the middle where I must have slightly bumped the camera and introduced a tiny bit of double exposure during the long exposure.
Note: This panorama looks much better when larger – so click on the image below to see a larger version in an inline overlay slideshow gallery viewer.
Twelve (12) vertical frames taken with the 16-35/4 @ 35mm, 3 to 13 seconds @ f/11 and ISO 100
Austinmer a Wider View
Panosphere – aka Little Planet…
by Rodney Campbell on May.22, 2013, under Life, Photography
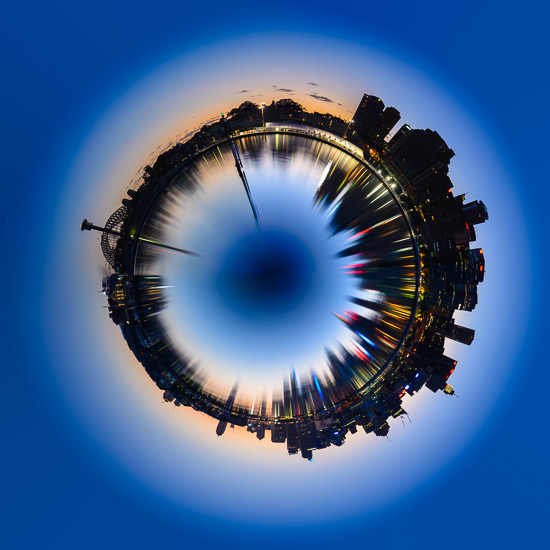
I’d thought about trying my hand at a panosphere (often called the “little planet” effect) for some time now. The effect is produced by a type of image projection (usually on panoramas) to show a picture as if it was a small world.
The method for creating a panosphere is relatively simple (see below) – I’d just never gotten around to actually trying one till now.
I took one of my existing stitched panorama images (originally from this post – Sydney at Dawn from Balmain) and tried the conversion to panosphere.
Sydney Eye
Technically you can use any image (doesn’t even have to be a panorama) to do this however you end up loosing quite a lot of vertical resolution and detail through the conversion to polar co-ordinates (especially in the more important upper area of the original image). This means that you will want to start with as high a resolution original image as possible otherwise you will be severely limited in the potential output size of your little planet panosphere.
The Process:
1. Select an appropriate image (ideally – the bottom area (25%) and top area (25%) should have very little detail and the image should be much wider than tall (>= 2:1 aspect ratio))
2. Adjust the image so it looks it’s best before conversion if necessary
3. Level and Crop the image so that the horizon is straight (so the two ends will meet) and also that the left and right ends of the frame will match up relatively well when joined together
4. Rotate the image 180°: Image -> Image Rotation -> 180°
5. Convert to Polar Coordinates: Filter -> Distort -> Polar Coordinates (select the “Rectangular to Polar” setting) (Note: if you find the Distort filter option is not available you may need to convert your image from 16bit to 8bit first: Image -> Mode -> 8 Bits/Channel)
6. Squash the sides of the image in to make it a square image: Image -> Image Size -> Uncheck ‘Constrain Proportions’ and set the “Width” to the same value as your “Height”
7. Rotate the planet to your liking
8. The rest of the work is essentially image cleanup – cloning and fixing the join and the exposure around the join
9. You may also want to clean up the corner areas of the image where the software had to “invent” data during the conversion to polar coordinates (you’ll see diagonal lines fanning out to the corners). One technique for doing this is to add a radial blur: Duplicate the Layer, Filter -> Blue -> Radial Blur (Select Spin, Good and around 10 to 20%), Add an Inverted Mask to the layer and then paint in (using a White brush) the blurred region in the corners
Epic Day Out – Part 4 – Light Painting the Tunnel…
by Rodney Campbell on May.20, 2013, under Life, Photography
Joined three friends for an epic day of photography. Our gourmet feast of photographic delights included a 3:30AM start, a sunrise seascape session, a day shooting at an air show, a sunset seascape session, a light painting session in an abandoned railway tunnel and a post midnight finish.
In part four we visit the Sydney suburb of Helensburgh for an evening of light painting in an abandoned railway tunnel.
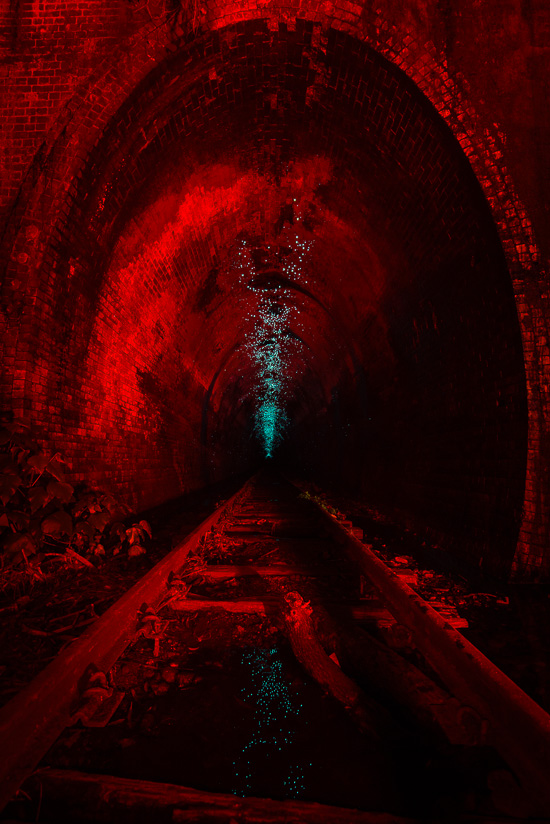
What was awesome and completely unexpected when we arrived were these glow worms on the roof of the tunnel. We wandered into the tunnel for a few hundred metres before water blocked our way but the glow worms in their millions covered the roof all the way in.
Natures lightpainters in all their glory…
Glow Worm Central
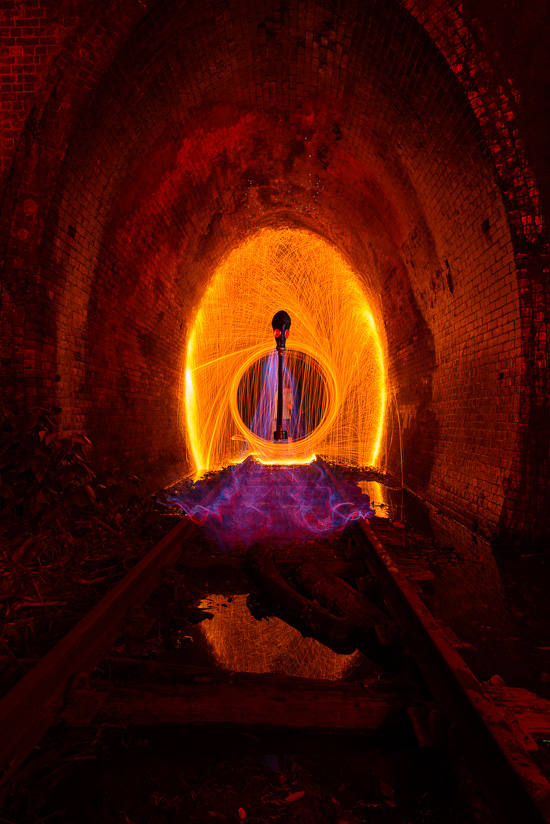
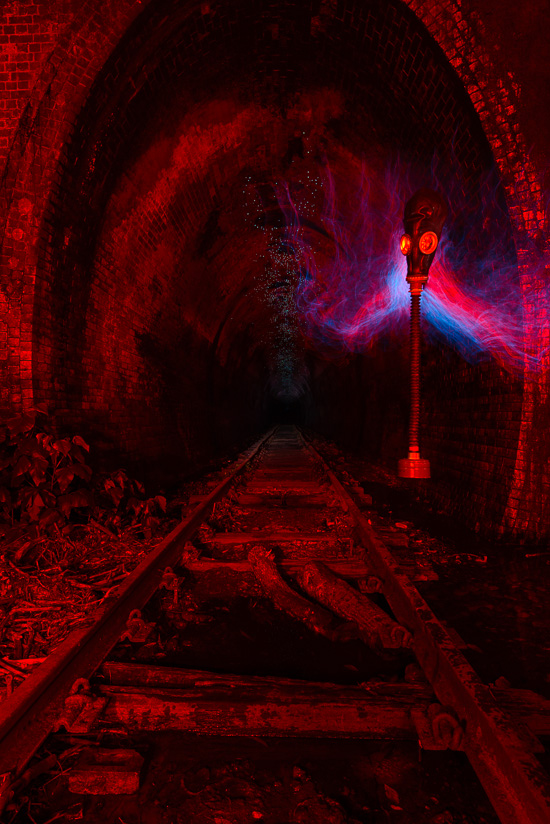
Gerry’s GP-5 gas mask and Gerry on the steel wool and me on the EL wire and us both on a little coloured light painting
Door to the Netherworld
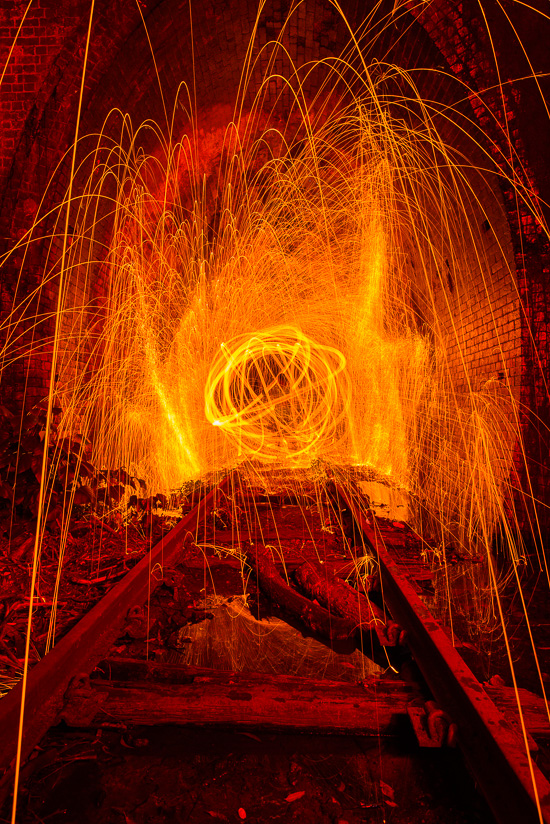
A little bit of steel wool craziness by Gerry with the addition of some coloured light painting to finish it off
Hail Storm
Gerry’s GP-5 gas mask and Suren’s concept with me on the EL wire
Flying Apparition
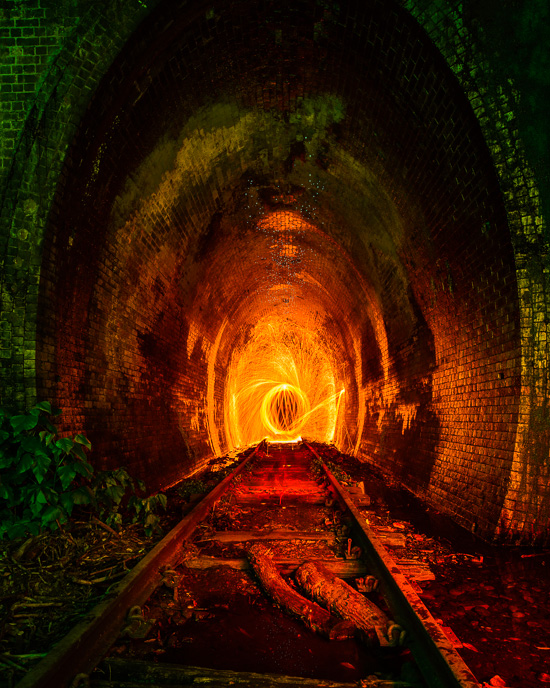
My turn to spin some steel wool to finish off the night – spinning an orb this time with the steel wool, a little coloured light painting and a very long exposure to expose for our little glowing friends on the ceiling of the tunnel
Dragon’s Lair
A Walk in The Rocks with the Sigma 15mm f/2.8 Fisheye…
by Rodney Campbell on May.19, 2013, under Life, Photography, Street
I joined a fellow Sydney based photographer for a lunchtime photowalk through Sydney’s historic Rocks area. I only took my camera with the Sigma 15mm f/2.8 fisheye lens to see what I could make with such a wide lens.
The Sigma full frame fisheye lens produces a full rectilinear image with a 180 degree diagonal field of view.
Note: These photographs (especially the wider shots) look much better when larger – so click any of the images below to see larger versions in an inline overlay slideshow gallery viewer.
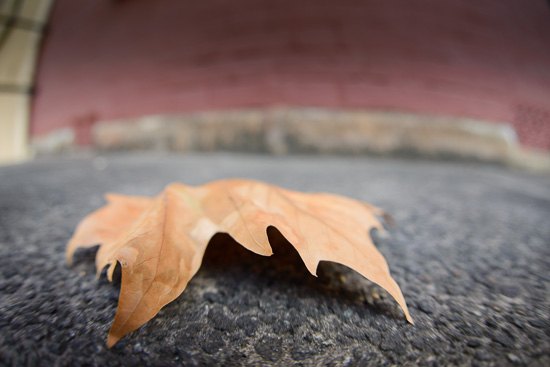
Even with such a fixed wide lens you can sometimes just take in an almost macro view…
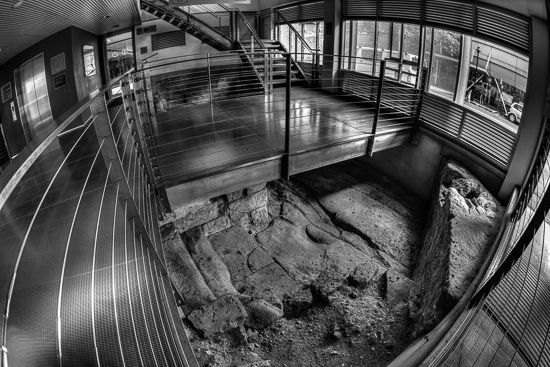
Some interesting modern architecture built on the bones of the old at the YHA
New and Old
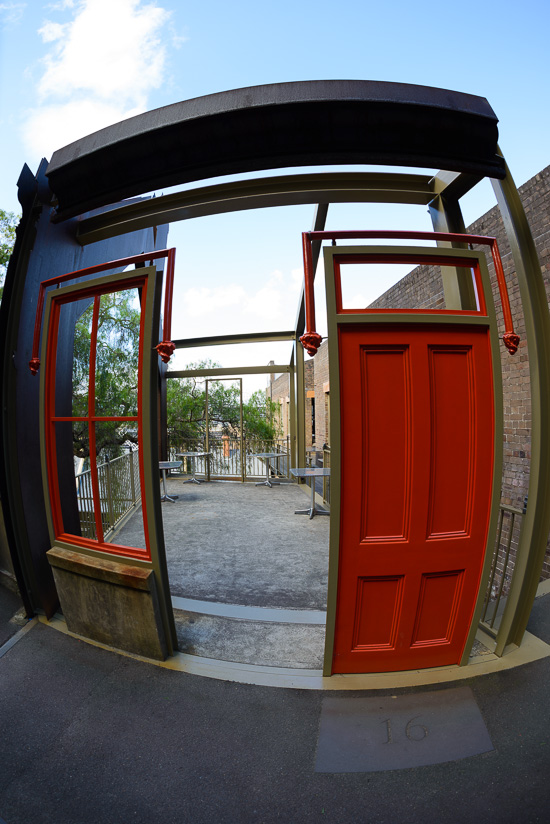
An Open Red Door
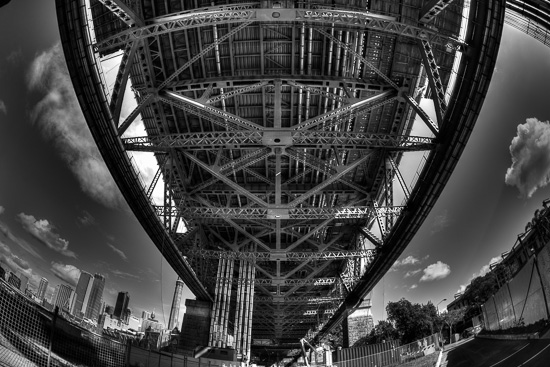
Headed around and under the Sydney Harbour Bridge
What Lies Beneath
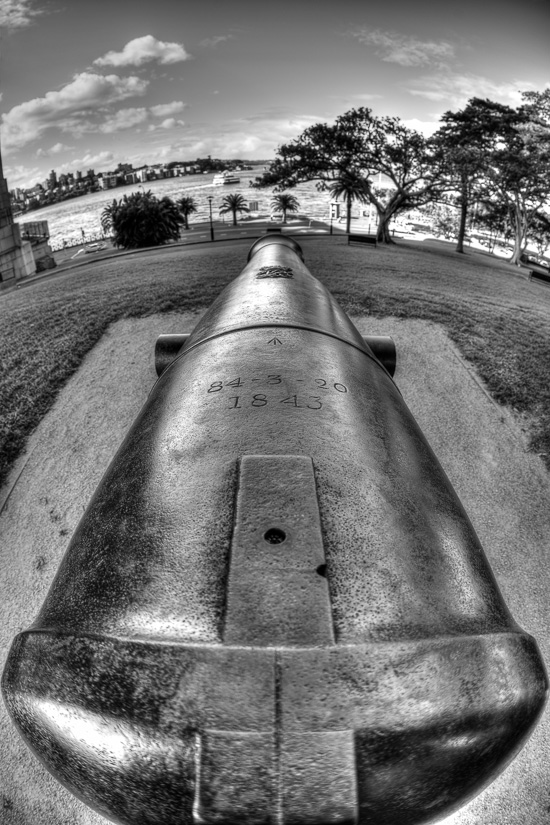
and into the park at Dawes Point which overlooks the harbour
1843
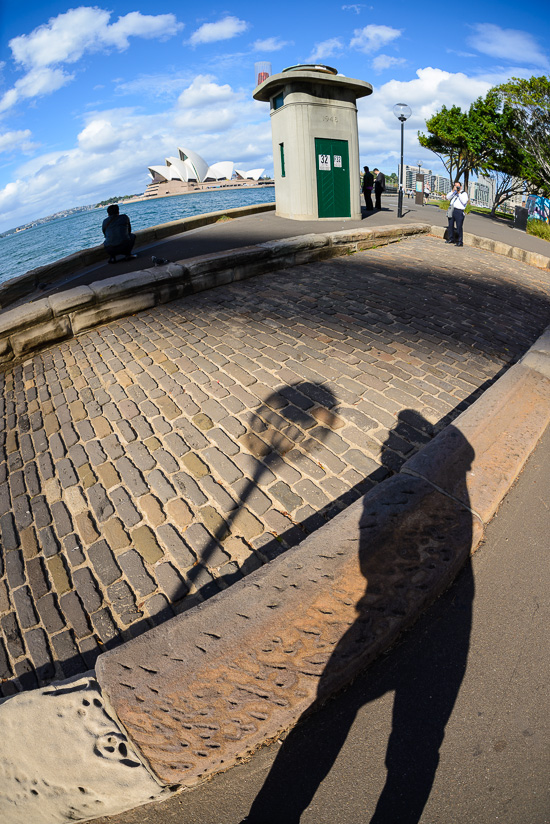
Shadows and Light
