Archive for January, 2014
BTS: Graduated Neutral Density Filters…
by Rodney Campbell on Jan.31, 2014, under Life, Photography
Graduated Neutral Density Filters are common pieces of kit in many a Seascape and Landscape photographers bag but just what are they and what are they used for
These filters are most commonly used by people who shoot seascape and landscape scenes at the extreme ends of the day (sunrise and sunset). At these times there is often an extreme variation in the brightness/exposure of the ground (which is usually much darker) and the sky (which is usually much lighter). This massive contrast difference usually makes it impossible for a camera (digital or otherwise) to optimally expose the scene such that you have details in the shadows and the highlights aren’t all totally blown out – i.e. often the ground is black and the sky white
Some photographers compensate for this large exposure difference by taking multiple bracketed shots (at least one to correctly expose the bright sky and another to correctly expose the dark ground) and then merging these exposures in post either by various layer blending techniques via manual masks or luminosity masking or via specialised high dynamic range software which may perform exposure fusion and/or HDR tone mapping to merge the images
It is however often possible to manipulate how the light enters the camera in the field reducing the dynamic range of the scene so that it’s possible to capture in a single well exposed image. It is for this purpose that we use Graduated Neutral Density Filters (or Grad’s or GND’s for short)
Essentially part (half) of the filter has a Neutral Density (ND) effect and the other half of the filter is clear with a level of transition between the two
The Neutral Density part of the filter evenly reduces the amount of light which passes through that part of the filter by a certain specific amount (measured in stops). It is designed to be neutral in that it evenly reduces the light for all visible wavelengths and thus should not cause any colour changes, casts or shifts – only a set specific reduction in exposure. In reality this (colour casting and uneven exposure) is one aspect which makes the difference between cheaper and more expensive quality filters – especially when used stacked (multiple filters layered on top of each other)
The transition between the two halves of the filter is generally described as either:
– Soft (where the transition is gradual) and is designed more for uneven horizon lines (or where objects go across the horizon boundary – like trees, buildings, rock or land formations, etc)
– or Hard (where the transition is much quicker – but is still not an abrupt line) and is ideal for straighter horizons (e.g. the ocean meeting the sky)
Neutral Density filters are measured in stops of light reduced – for Grads the options are generally 0.3 (1 stop), 0.6 (2 stops), 0.9 (3 stops) and 1.2 (4 stops)
Physically the filters most landscape photographers would use come as square (for straight ND’s) and rectangular (for GND’s) glass or resin plates and are available from a number of manufacturers including Cokin, Formatt/Hitech, Lee and Singray. Normally you attach some form of filter holder to the filter thread of your lens and the holder has a number of slots which allow you to both place and rotate the filters as desired. My Lee filter holder has two slots for the flat plate style filters along with a front 105mm filter ring which also allows me to attach a 105mm circular polariser on the front
Teaching Point:
Technically you could have a full set of soft and hard filters of various densities however that can get quite expensive – I’ve found from others that the 0.3 (1 stop) grad isn’t all that useful and that in general the hard grads are more useful than the soft. The transition on the hard grads is still quite “soft” and gradual but the transition on the soft grads is much too gradual for most seascape work. Most people find the 0.6 (2 stop) and 0.9 (3 stop) grads the most useful
The basic use of these filters is that you place the darker ND part of the filter over the sky in your frame with the transition area over the horizon and the clear portion over the ground/sea/etc. The strength filter you use is determined by the exposure differential between the sky and the ground and you can also stack the filters for even stronger effect. Compositional rules would say that you should always make it so that the sky is still a bit lighter than the ground and certainly not darker than the ground since that would “appear” strange – personally I’d recommend going with what you like the look of best so I sometimes do make the sky darker than the lower part of the image (often water)
There is also a specialty version of the GND which is designed specifically for sunrise and sunset where the brightest portion of the scene is usually right on the horizon. This filter is called a Reverse Grad and the major difference between it and a normal Grad is that with the reverse grad the darkest part of the filter is right near the transition point and then the filter gets gradually less dense as it moves through the ND area. This allows the maximum holding back of the light right on the horizon and allows the upper sky to be less darkened
Views of St Mary’s…
by Rodney Campbell on Jan.29, 2014, under Life, Photography
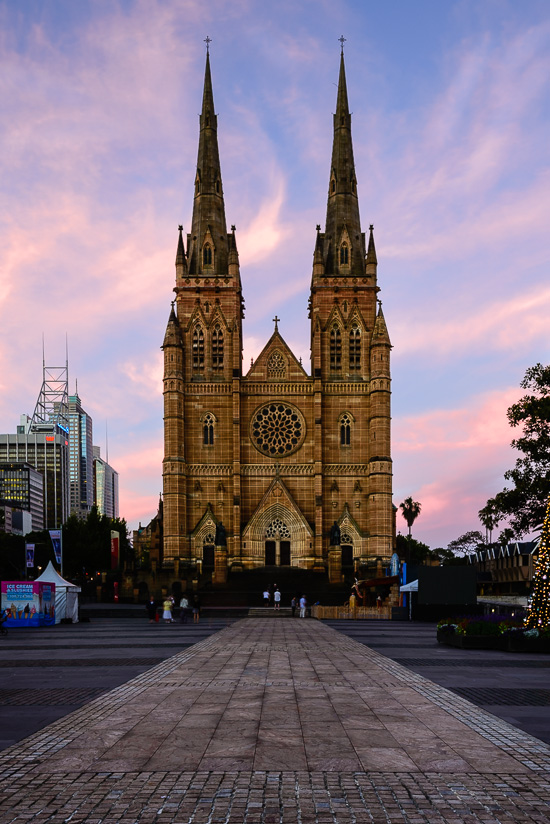
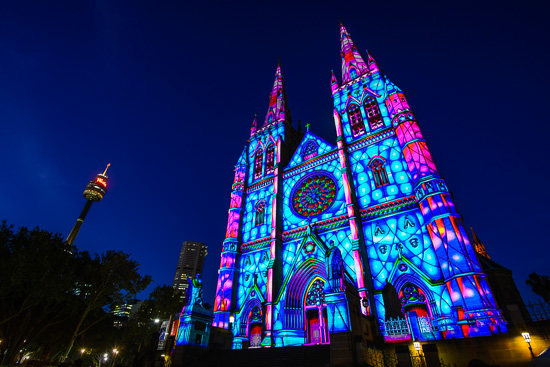
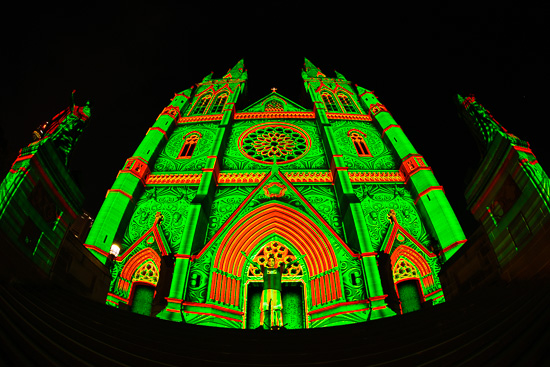
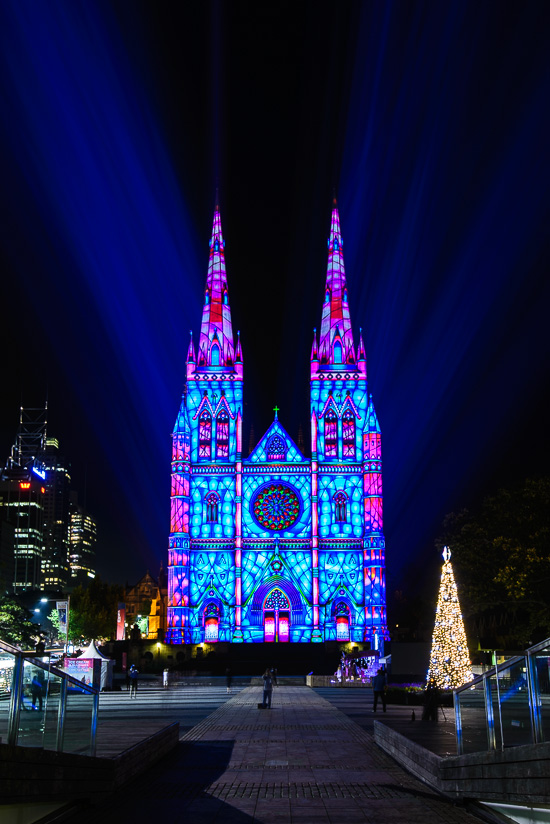
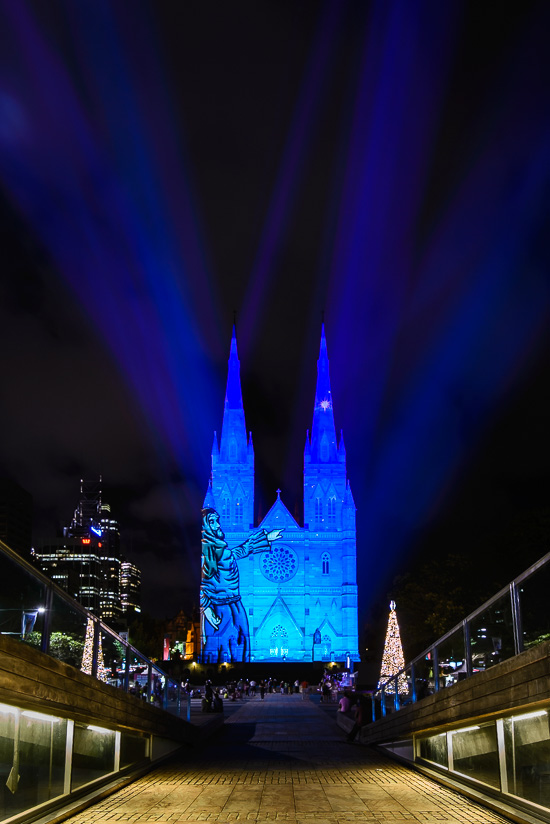
Some of Sydney’s famous CBD landmarks like St Mary’s Cathedral and the Town Hall were lit up with light projections as part of the Sydney city Christmas celebrations – the Lights of Christmas.
Note: These photographs (especially the wider shots) look much better when larger – so click any of the images below to see larger versions in an inline overlay slideshow gallery viewer.
We had a fantastic late show of colour on sunset this evening – with the skies lighting up with pinks and reds in the whispy clouds – pretty much right on sunset with the faint projection line up markings lighting up the cathedral
Fire over St Mary’s
The clear skies made for a fantastic twilight blue to offset the cathedral projections – about half an hour after sunset
Fantasy Palace
A little selfie action with the fisheye lens up close
Selfie on Green
Crystal Beams
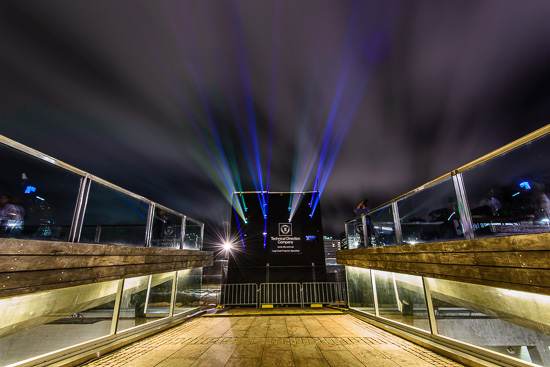
and want to see what does all those projections onto the building – the tower which holds all the light – dang those projectors are bright. They tell me the control of the beams is so tight and accurate they can light up small sections – e.g. that cross on the top of the church – with effectively no spill outside the shape!
a long exposure to let those fast moving clouds lit by city light pollution streak through the sky
Lighting the Way
Pointing to the Stars
Full and Wide – Panorama…
by Rodney Campbell on Jan.28, 2014, under Life, Photography
Shooting the full moon from the Overseas Passenger Terminal with some friends. I was sporting the Sigma 50-500 which has a pretty extreme focal range but is remarkably sharp for what it gives – using the long end for some close up detailed shots of the Opera House sails with the moon rising
I figured as it was still twilight I’d give a panorama a go (with the 50-500). The light extremes were… well… extreme and the moon was very bright so I bracketed my shots using three shots at 2EV steps with the centre shot manually underexposed as a base
I was shooting the 50-500 at 50mm and ended up with 42 frames and well I was feeling a little uninspired by the results (the focal length was just too close for the nearby city (the tops of the buildings were being cropped) and I’m sure the horizon was well off)
Not deterred I switched to the trusty 24-70 and tried again at 24mm and took another 27 frames (9 sets of 3 brackets)
Note: These photographs (especially the wider shots) look much better when larger – so click any of the images below to see larger versions in an inline overlay slideshow gallery viewer.
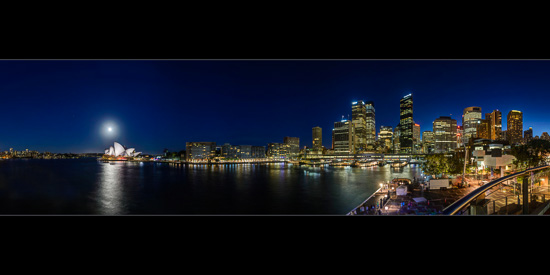
In post I HDR processed the brackets (using a very natural blend which resulted in images which weren’t all that far off the centre frame with a bit of the shadow detail of the +2 frame) and then stitched the 9 resulting images for this sweeping panorama view which takes in Kirribilli on the other side of the harbour around past the Sydney Opera House and Circular Quay
Full and Wide
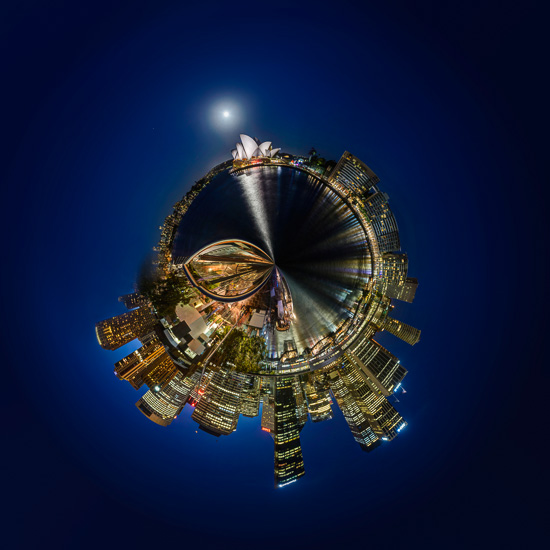
The panorama is pretty ordinary so I also created a panosphere version – not sure that’s really helped either :)…
Fire at the Cathedral…
by Rodney Campbell on Jan.26, 2014, under Life, Photography
Having a short holiday on the NSW South Coast staying at my parents home in the Shoalhaven. It was a good opportunity to shoot somewhere I’d never been before so it was a very early 4AM rise to head to Cathedral Rocks at Kiama Downs.
I’d seen a few images online of the fantastic rock formations right on the coast at this seaside beach location and was looking forward to shooting there. I’d contacted a local photographer (William Patino) who shoots there often to confirm a few things (like where to park, where to walk, how long it took, etc) and as he was shooting there anyway he offered to meet me there.
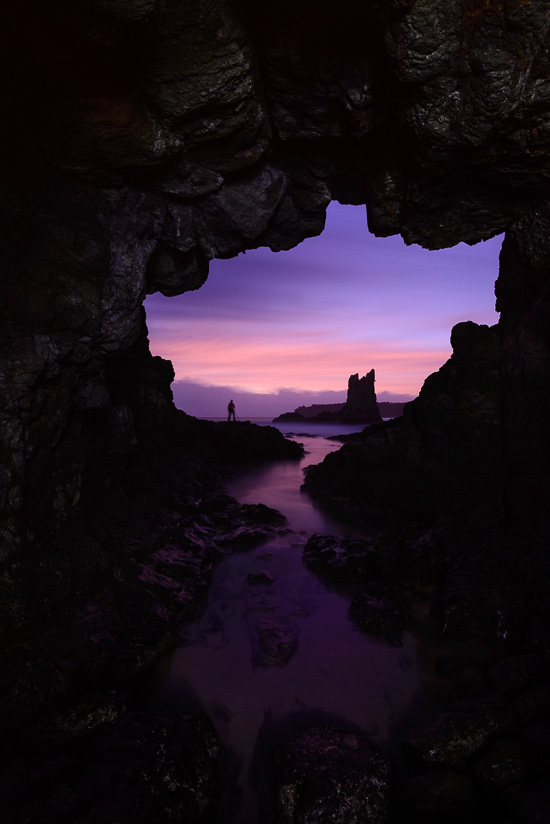
I’d arrived quite early because I had an idea for a shot I wanted (with some long exposure light painting) to do in a seaside cave which looks out onto Cathedral Rocks. This natural cave was just like a tunnel inbetween the fingers of land which reached out towards the rock formations.
Viewing the Cathedral
The shot required it be well before sunrise so I could do a very long exposure without too much light in the sky and light paint the inside of the cave at the same time so that it wasn’t a complete silhouette. Once it got too light the ambient outside would get too bright and it would be impossible for me to light the inside of the cave in time.
So it was I was deep inside the cave with the mass of crabs scurrying about me at 5:15AM – it’s almost an hour before sunrise for this 261 second exposure @ f/11 and ISO 400 with some light painting of the walls of the cave and the rocks outside using a zoomable LED torch. There were a couple of other photographers about at the location just after I’d arrived – this person setup on the rocks right outside my cave so I decided to incorporate them into the frame and luckily they stood essentially still for the two exposures I took. Nature played it’s part by putting on a very nice show of colour with the sky filling with pastel mauves, pinks and oranges
Note: These photographs (especially the wider shots) look much better when larger – so click any of the images below to see larger versions in an inline overlay slideshow gallery viewer.
We had some unexpected fantastic show of colour this morning – frankly I was expecting heavy overcast skies and perhaps even rain. We did end up with a heavy band of cloud right on the horizon which killed sunrise itself, but before sunrise we had some fabulous shows of colour.
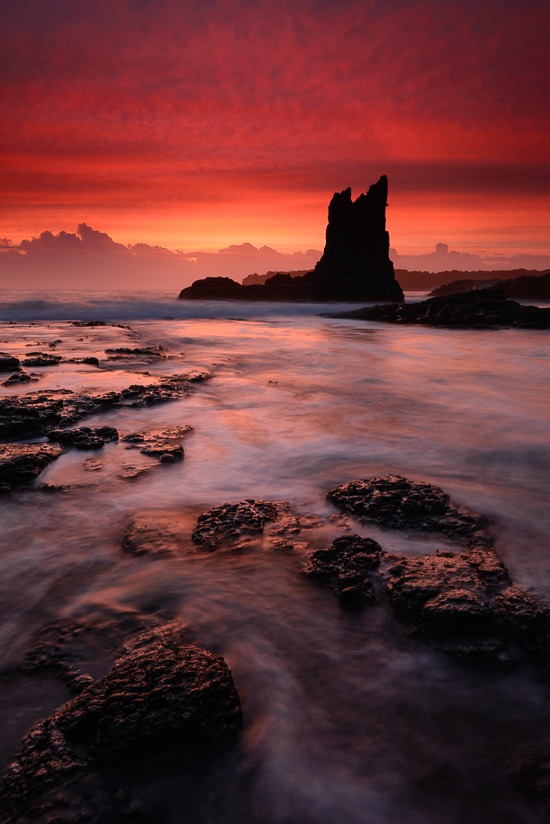
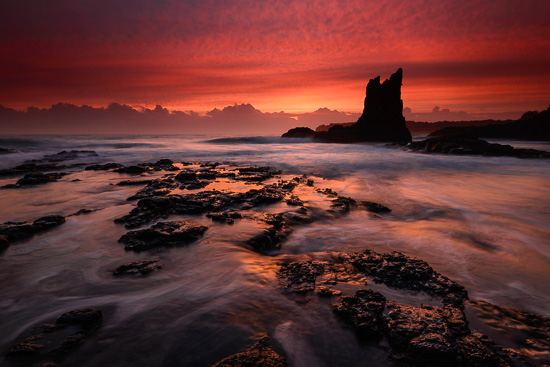
Early twilight was filled with purples and pastel pinks and then from about 20 minutes to sunrise we had a period of about 10 minutes where the skies were ablaze with super saturated reds (William commented to me – people aren’t going to believe it was this red and they’ll think we faked it in post :)). Getting closer to sunrise we were back to some pastel pinks and lavenders
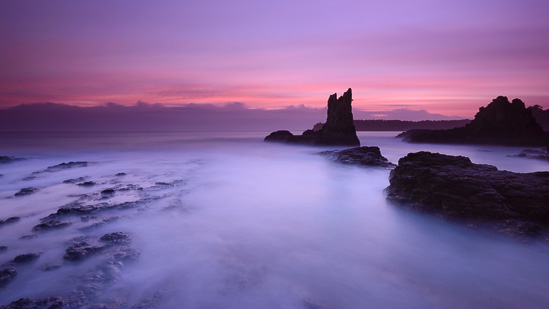
Just over half an hour to sunrise and we’ve got a natural long exposure with a lot of water movement turning to mist
Cathedral in the Lavender Mist
and then with some thin fluffy high cloud the skies went insanely red with the sun still to come up to the horizon behind – these almost straight out of camera – I love it when that happens
Castle on Fire
Sky Fire
Fishing at the QVB…
by Rodney Campbell on Jan.24, 2014, under Life, Photography
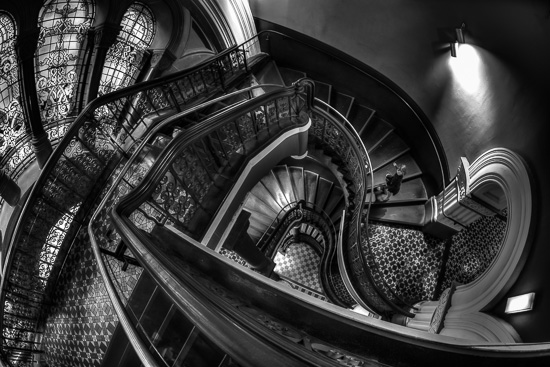
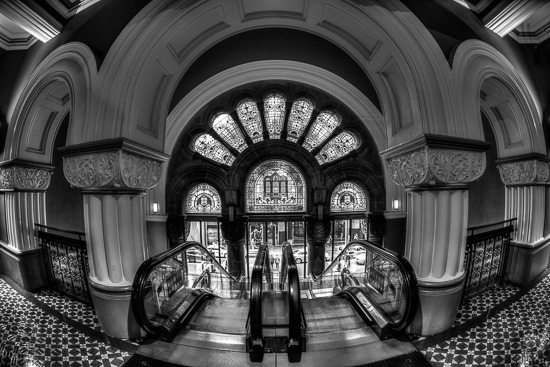
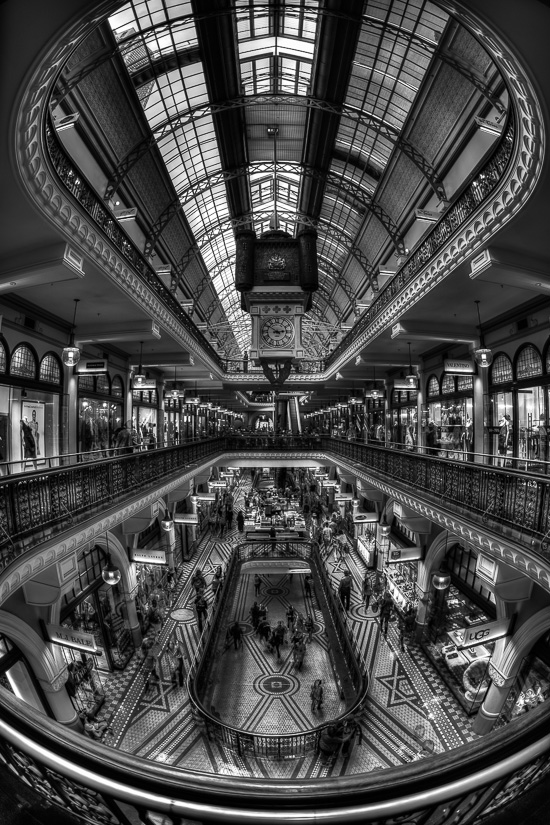
Right in the heart of Sydney’s CBD lies a fantastic late nineteenth-century building called the Queen Victoria Building (or QVB). The Romanesque Revival building was constructed between 1893 and 1898 and covers an entire city block. Designed as a shopping centre, it was later used for a variety of other purposes until its restoration and return to its original use in the late twentieth century
The architecture and detail in this up market shopping centre is fantastic with a blend of old and a little new. I’ve shot here on a number of occasions but the last real series was a couple of years ago. So inspired by a shot recently posted by fellow Aussie photographer Mykal Hall taken inside the QVB – I set out limited to one lens, one focal length for one hour, on a nice overcast day to see what I could create
Note: These photographs (especially the wider shots) look much better when larger – so click any of the images below to see larger versions in an inline overlay slideshow gallery viewer.
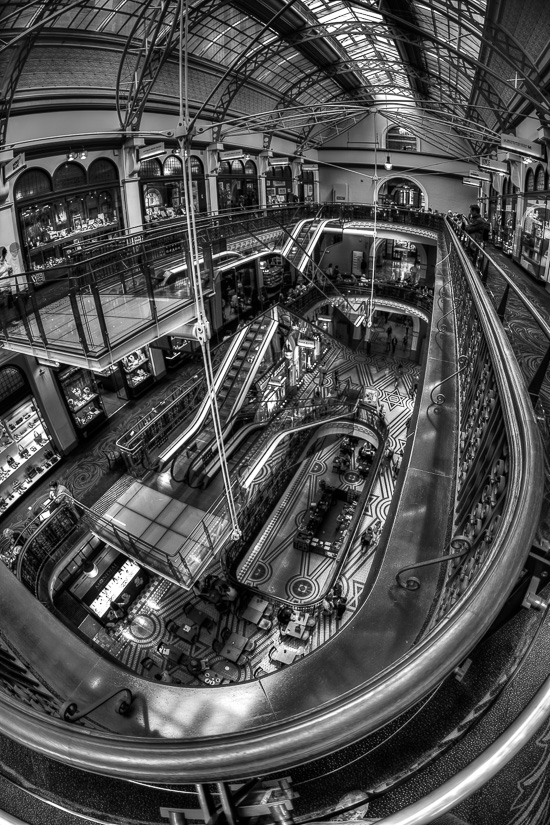
Running the Curve
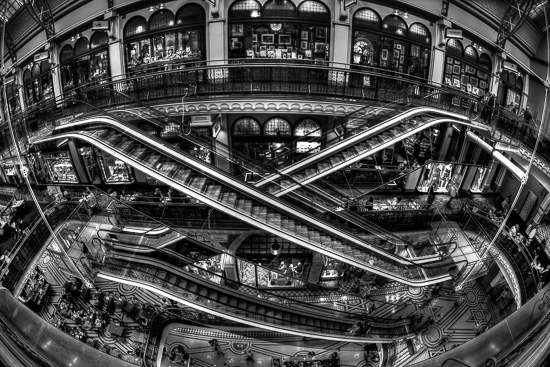
I decided to just shoot handheld with my fabulous Sigma 15mm fisheye lens (the security at the QVB are a little hot and cold about tripods and monopods so I decided not to risk it and forgo the support this time). The Sigma fisheye allows me to shoot at f/2.8 and being so wide I figured I could get a fairly decent depth of field even wide open so I was hoping I wouldn’t need to shoot at too high an ISO for some decent shots.
The QVB is busy pretty much all the time and one of the downsides of using such a wide lens is that it gets absolutely everything in the frame (with a 180 degree field of view) – as such waiting for a moment with no, few or just the right people is an exercise in extreme patience :). In fact there were a few compositions where I’d waited for ages but eventually gave up because I could never get the view that I wanted.
I shot brackets of three images generally three stops apart (the D600 allows +-3EV steps in bracketing) and usually off a base of -1EV to retain as much detail in the highlights as I could for later processing (-4EV, -1EV, 2EV)
Once I started processing the HDR brackets I tried a few combinations but what I liked the most was a series of similarly toned and processed monochrome images
Up and Down
J
Criss Cross
Inner Pill
