Archive for January, 2014
BTS: SS Ayrfield…
by Rodney Campbell on Jan.22, 2014, under Life, Photography
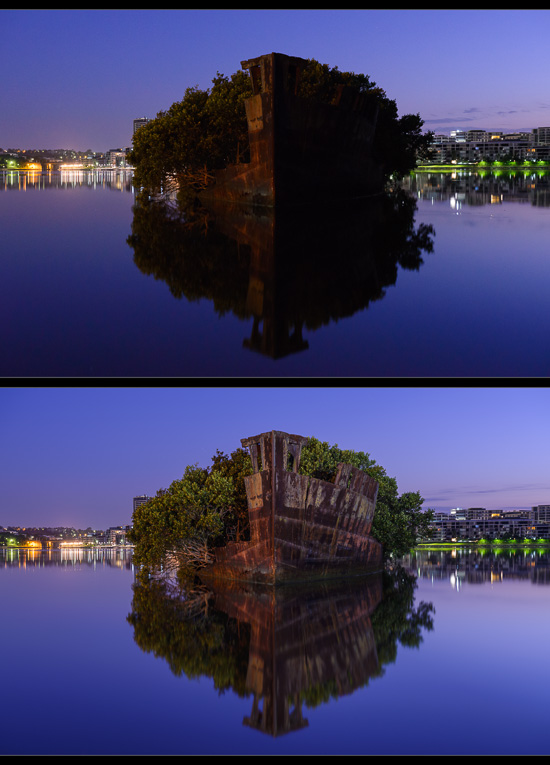
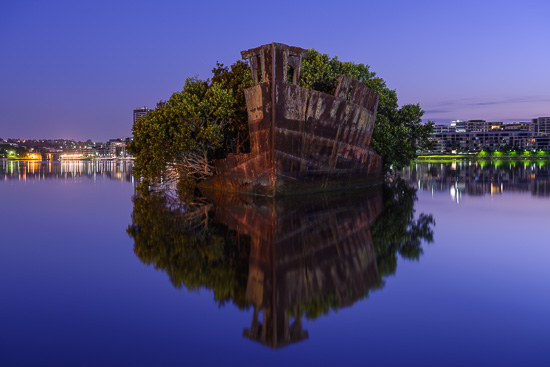
I recently posted an image I’d taken of the SS Ayrfield shipwreck at Homebush Bay almost 50 minutes before sunrise. Today I wanted to walk you through some of the Behind The Scenes thinking for the shot.
BTS: Reflections of Former Glory
Teaching Point: there are a couple of teaching points for today
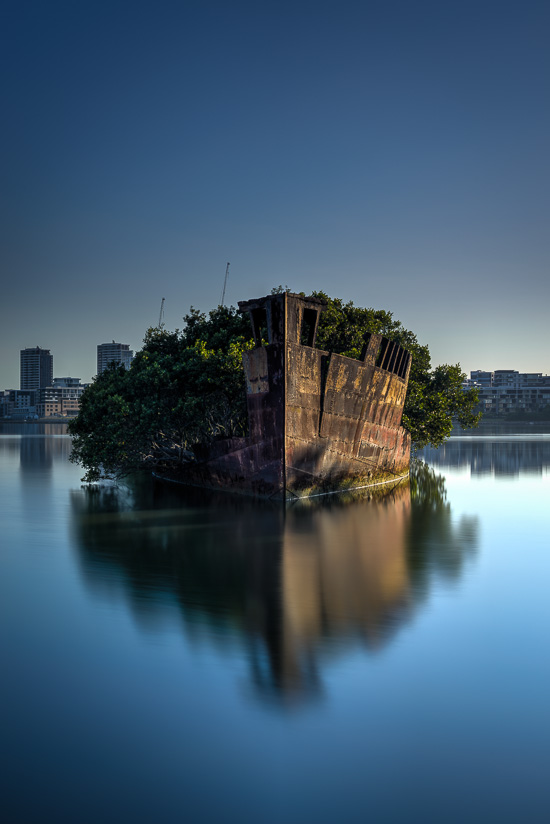
1) Composition: The sky was fairly uninteresting (as far as clouds go) so I was hoping for the ship and it’s reflection to be sitting completely within a nice pastel toned area (with the tones of the sky being reflected in the very still water). So I opted for a front on symmetric composition for this shot with a slightly longer focal length and a fairly tight crop on the ship
2) Seconds to Minutes: The top exposure in the image here is my test shot. Once the camera was on the tripod and setup (manual focus (in this case on the front of the ship), framing right, appropriate aperture for DoF/sharpness (f/8 here)) I took a test shot at a forced high ISO of 6400 (using Aperture Priority). This came out at 2 seconds – the reason I used ISO 6400 is that it’s exactly 6 stops from ISO 100 and that means I can use an easy conversion of seconds to minutes when I switch from ISO 6400 to ISO 100. Thus I could calculate that my desired exposure at ISO 100 would be around 2 minutes
On that test shot – the top image is essentially straight out of camera with just some minor adjustments like noise reduction and sharpening in Lightroom – it looks pretty great already – hard to believe it’s at ISO 6400 and you’ll probably need to view it large to even see the noise
3) Light: I could see in the test shot on the back of my camera that the right side of the ship especially was lacking detail and in serious darkness (the left side was being lit somewhat by some flood lights on shore). I knew looking at this that I had to add some light to the ship for my final image so I used a high power torch to paint some light onto the ship (mostly from the far right) during the long exposure. The trick with light painting like this is to keep the light moving, don’t light from directly from the camera position (so the light has shadow and depth) and not to overlight
Moon Rising over Opera House…
by Rodney Campbell on Jan.20, 2014, under Life, Photography
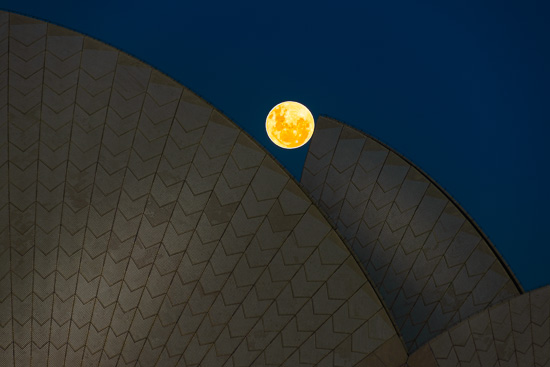
A last minute meet up organised by our resident optical physicist Ana Andres 🙂 who decided we should shoot the moonrise which would coincidentally appear just after sunset over the sails of our iconic Sydney Opera House
I came with my Sigma 50-500 for this (I don’t normally use this lens because it’s a beast and I can only be bothered dealing with the size and weight when I know I’m positively going to use it :)). I wanted to compress the moon and the sails so it wasn’t just going to be an insignificant white dot in the sky and thus wanted as long a focal length as I could bring
Note: These photographs (especially the wider shots) look much better when larger – so click any of the images below to see larger versions in an inline overlay slideshow gallery viewer.
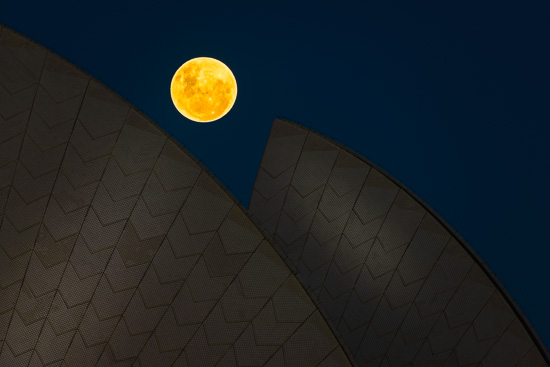
Teaching Point: Shooting the moon can be tricky – mostly because it is a lot brighter than you might think (it makes sense of course since it’s basically just a giant reflector in the sky reflecting back the sun). It’s hard to get a single frame exposed where both the moon is exposed nicely with no blown highlights and the sky and ambient scene isn’t just black. Your best chance is to shoot at times like these where there is still quite a lot of light in the sky from the sun (just after sunset) – you’ll still need to use exposure compensation depending on how much of the frame the moon takes up
A single -2EV shot with enough ambient light left 10 minutes after sunset
Pinball
Now a -3EV single shot
Lunar Landing
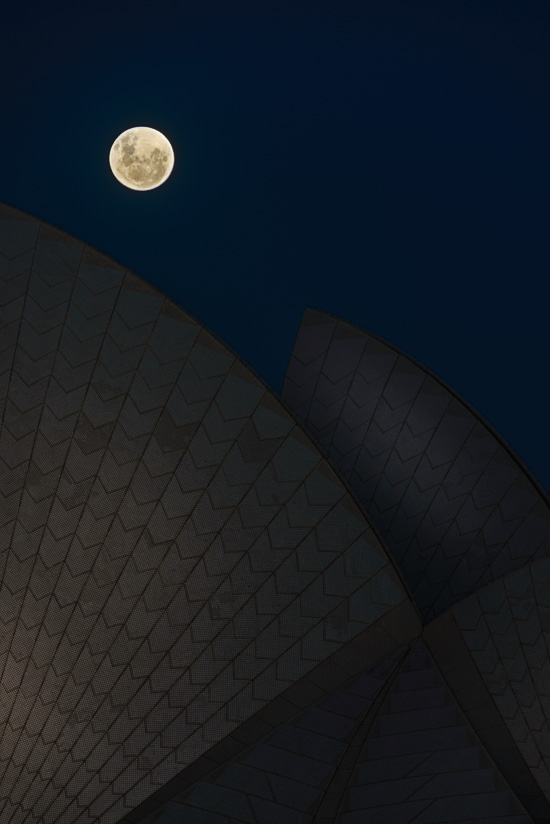
as it got darker I started bracketing shots because whilst the ambient environment was getting much darker as the remaining sunlight from twilight dropped the brightness of the moon was staying the same (or even getting a touch brighter as it rose in the sky)
The following is a blend of two shots – a -3 and 1/3rd EV for the ambient and -6 and 1/3rd for the moon – twenty minutes after sunset
Lunar Opera
Panorama at the Bare…
by Rodney Campbell on Jan.18, 2014, under Life, Photography
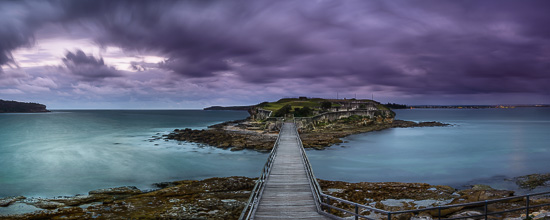
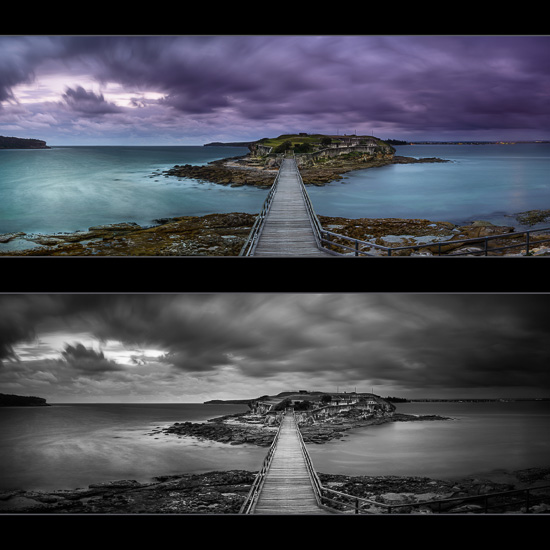
When we first arrived to shoot at Bare Island just off La Perouse in Sydney’s eastern suburbs I mentioned to Sabine that I’d like to do a stitched long exposure panorama of the scene using a longer focal length.
Note: These photographs (especially the wider shots) look much better when larger – so click any of the images below to see larger versions in an inline overlay slideshow gallery viewer.
Throughout the early evening Sabine kept reminding me to “do it” and finally after 23 reminders I caved and setup to take a panorama from our position overlooking Bare Island 🙂 (and of course it’s lucky I listened to her :))
Bare Panorama
Panoramas can be tricky at the best of times but long exposure panoramas during sunrise/sunset/twilight are devilishly so – there are a number of factors that make it exceptionally difficult:
– with a daytime panorama you generally don’t need to be concerned with changing light so to get consistent exposures between all the frames you generally just shoot in manual and fix a “mid” exposure across all the frames
– with a long exposure panorama at the start or end of the day you can have massive variation in light levels across the exposures – for two reasons:
– those exposures which face towards the sun are many stops brighter than those facing away from the sun
– when each of the exposures can be many minutes long, if you need to take a number of exposures (and I’ve sometimes needed to take upwards of 20+ with a long focal length) by the time you’ve taken just one set an hour or more may pass and you’ve gone from daytime to full night and the light levels from one side of the pano to the other can have insane variations. Sometimes by the time you’ve moved from one frame to the next the light might have changed by a couple stops
So it was a bit over ten minutes to sunset and I started my pano set
Teaching Point: my technique to cope with the above problems is to:
– start at the end of the pano which will end up being the darkest by the end of taking the sequence of shots (away from the sun) and finish where it will be the lightest (towards where the sun set)
– adjust the exposure between frames (generally by adjusting ISO and maybe aperture and shutter length) to compensate between frames to get relatively consistent exposures across the set
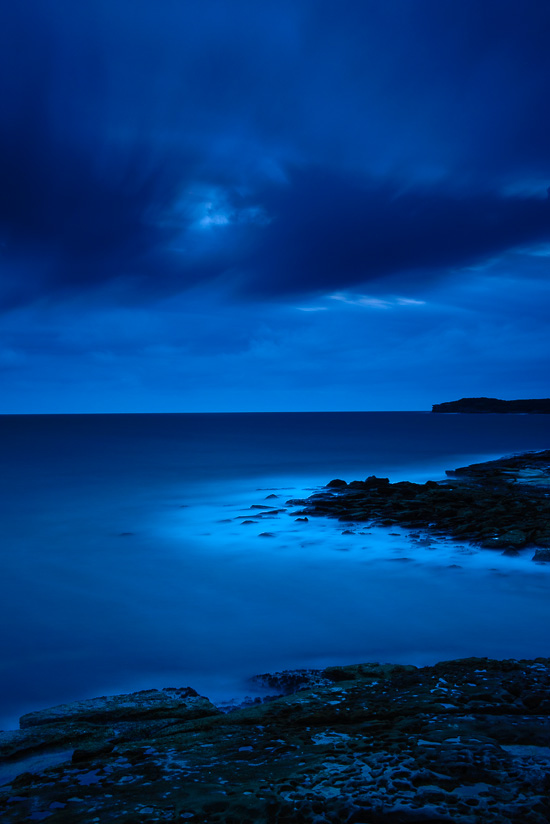
Unfortunately I’d started with the Lee BigStopper with a 250 second exposure for the first frame and by the time I’d gotten four frames into what would likely be an eight frame pano I was already out to ISO 800 and it was a couple stops underexposed. I was getting really nice deep blue exposures which I liked but I could see I wasn’t going to make it before twilight totally faded (and even ISO 25,600 wouldn’t be enough :)) even though I was going to be doing my last frame pointing to where the sun had set long ago.
Here is the second of the frames – which I quite like as a single image – this is close to as is from the camera with the as shot Auto White Balance
Blue Night
Giving that up as a lost cause and seeing as it was now almost ten minutes after sunset I dropped the BigStopper and just used the 0.9 Reverse Grad stacked with a 0.9 ND and ISO 50 @ f/11 to give me roughly one minute exposures
I then took my sequence of exposures for the pano – I had to redo two of the exposures and up the ISO on the way to compensate for the dropping light of twilight but eventually got a working set of seven (7) exposures to stitch into this panorama
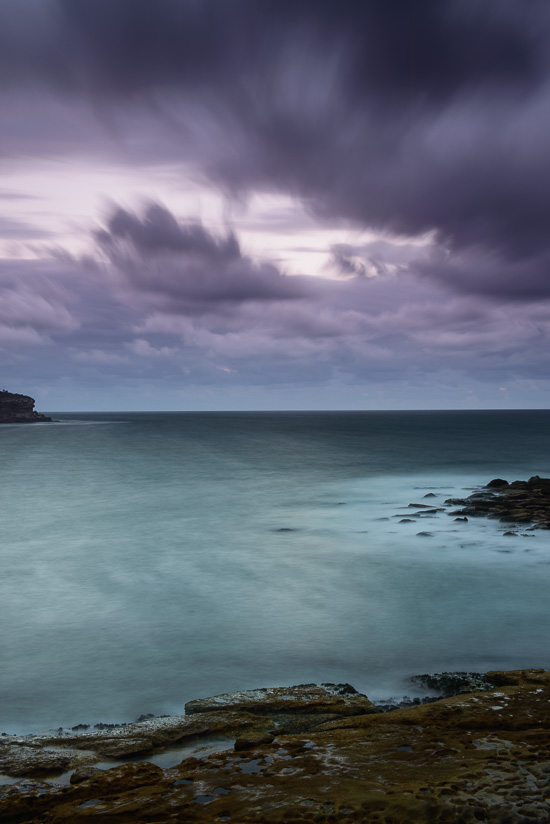
I know the colours in the pano look fairly “interesting” with purple tinged skies and green tinged water, but trust me when I say they are as shot with Auto White Balance – another source frame included below
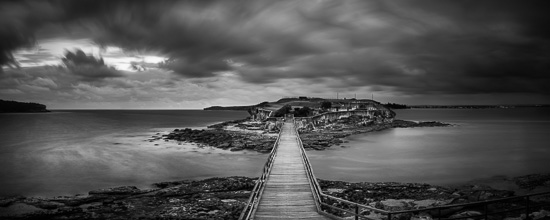
I also did a number of different monochrome conversions – this is the one I liked the most
Bare Panorama II
but I’m not sure – which do you like the best Colour or Monochrome?
Bare Panorama Colour & Mono
SS Ayrfield @ Homebush Bay…
by Rodney Campbell on Jan.16, 2014, under Life, Photography
Got up for a very early morning sunrise session at Homebush Bay to shoot the wreck of the SS Ayrfield. A 5AM meetup with Melbourne photographer Lachlan Downing and we were good to go.
There were absolutely no clouds about so I was expecting a pretty average sunrise but we got some nice pastels in the sky during twilight and before sunrise
Note: These photographs (especially the wider shots) look much better when larger – so click any of the images below to see larger versions in an inline overlay slideshow gallery viewer.
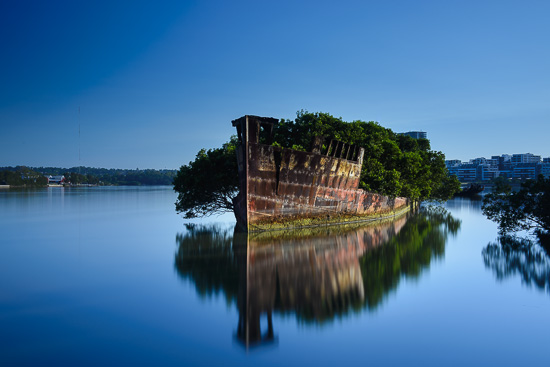
This is a straight long exposure (124 seconds) almost 50 minutes before sunrise with just a touch of light painting on the ship using my uber powerful LED torch. I composed for the reflection I was hoping to get on the very still water and it worked perfectly first go – in fact second attempt was also pretty good but not quite as good:)
It’s always nice to start the day with a first shot in the can
Reflections of Former Glory
I’d been to this location once before a number of years ago – however that was for sunset – it’s not really ideal for either but sunrise is probably the more ideal time (with sunset the tall apartment building shadows the ship well before sunset so twilight and night shots would be the go at that end of the day)
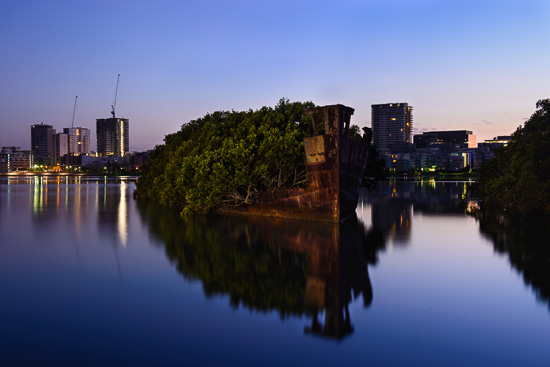
Half an hour before sunrise and shooting at a slight angle we can see very little of the hull remains and it’s now the home of mangroves. The buildings you can see behind on the other side of the Parramatta River are from the suburb of Rhodes.
This is a manually blended exposure from two source images – the main exposure was used for the majority of the frame and a second longer exposure (double the time for an extra stop) was used for more detail in the darker ship and it’s reflection
Twilight Ayrfield
Once the sun had risen it was very hard to control the highlights – I fitted the Lee BigStopper and a 3 stop Lee grad and took a number of manually bracketed long exposures (basically just started at a shorter (underexposed) shutter length and then started roughly doubling the time (using the remote trigger in bulb mode))
This is the result of doing a High Dynamic Range merge of five (5) frames roughly a stop apart (from 5 seconds to 85 seconds)
Polished Metal
A single 82 second long exposure (Lee BigStopper + Lee 0.6 Grad + CPL) with the rising sun lighting the right side of the ship and we’re looking sort of down diagonally from the direction of the sun. The CPL really helps here removing the washed out look on the side of the ship and really enhancing those colours in the patina of the ship and the leaves on the mangroves
Tree Carriage
Beneath the Bare Island Bridge…
by Rodney Campbell on Jan.15, 2014, under Life, Photography
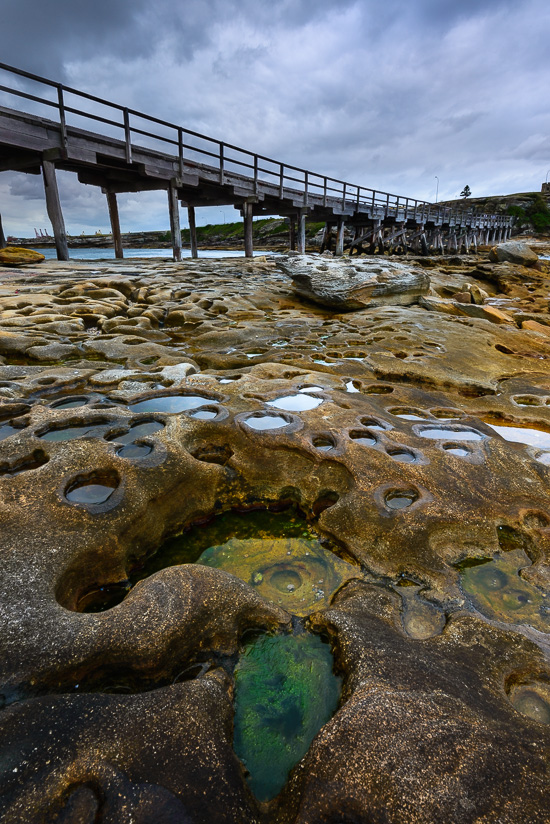
Whilst on the island I tried some compositions with the rickety old wooden foot bridge in the frame. Didn’t get a lot worth anything but here are a couple that aren’t totally horrible
Note: These images (especially the wider shots) look much better when larger – so click any of the images below to see larger versions in an inline overlay slideshow gallery viewer.
Pockmarked Landscape
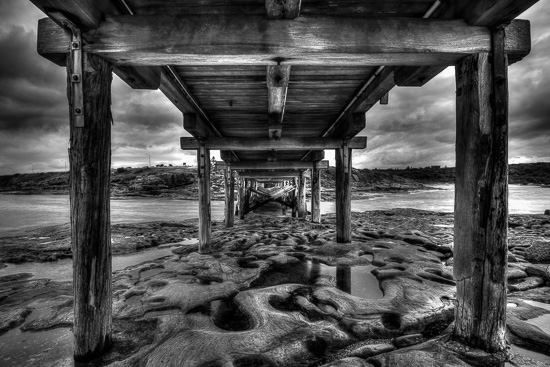
I took three sets of overlapping bracketed frames and used 7 frames (-5EV, -3EV, -2EV, -1EV, 0EV, +1EV, +2EV) to create this stylised monochrome HDR image taken right under the middle of the bridge looking towards La Perouse with the pock marked moonscape rocks underneath…
Bare Underneath
