Archive for July, 2014
Sand in the Lens…
by Rodney Campbell on Jul.20, 2014, under Life, Photography
Sand and camera equipment generally don’t mix well…
Having just spent the afternoon and early evening on the Stockton Sand Dunes we headed to Nelson Bay to warm up and grab some well earned dinner. Whilst at the table we also started thinking about the following mornings activities – we wanted to get up early for sunrise and shoot somewhere on the coast nearby
We also checked out where we were staying for the night on Google Maps and noticed it was really really close to the beach at Anna Bay – maybe, just maybe we could do some star trails before turning in…
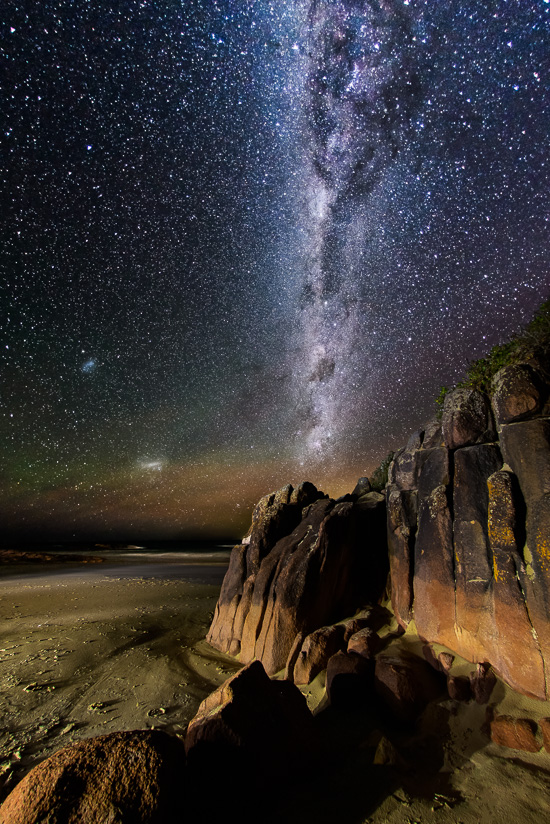
Galactic Chimney
So after checking into our cabin we drove to the Anna Bay carpark and parked close to the beach. It was immediately obvious we wouldn’t be able to shoot directly out on the beach from the carpark because there were very bright lights shining over the carpark, the buildings and out onto the beach. A bit of a rece along the beach a little to the left (east) and we found a nicer sheltered spot which was somewhat out of the wind (it was blowing a bit of a gale and the sand was terrible). Our preferred location in a bit of a gully between two rocky walls looking pretty much southwards out to sea was out because it was channeling the wind and sand like you wouldn’t believe
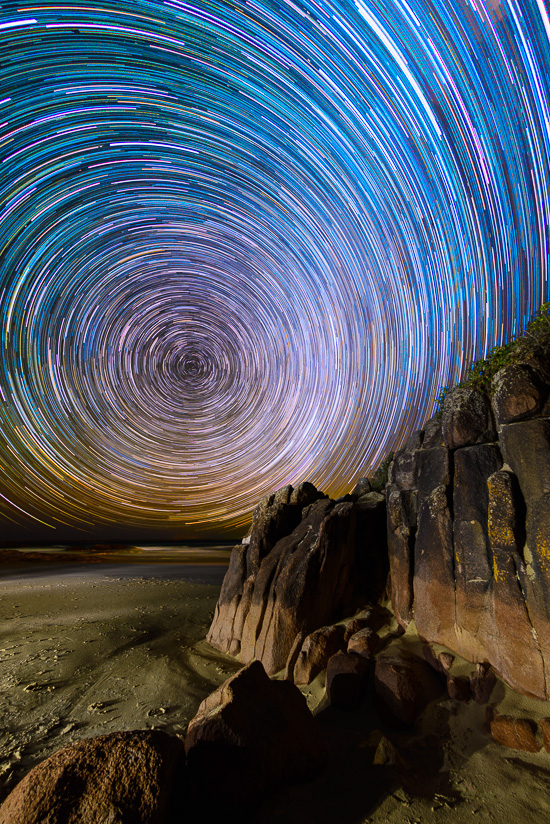
It was nearing midnight and we knew we’d have to wait up for the hour or so of shots to finish (we had no illusions of completing a 2, 3 or more hour trails set) so we setup quickly and took our base light painted foreground image (that we’d need to blend with the star trails in the sky later). To be frank we did a pretty poor job on the one light painted foreground take we made – how to count the ways – we overlit it and we lit directly into the face of the rock for starters
I was using the Sigma 15mm fisheye on the D600 again for this. Whilst setting up I also fired off some higher ISO single frame starfield images to capture the milky way in a single shot. I blended the sky and stars with the light painted foreground. Here I’d lined things up so that it looked like the milky way was like a smoke cloud emanating from this point on the rock
Then we setup the intervalometer to take our trails source images – I setup mine to take 40 second frames at f/2.8 and ISO 1250 with 0.3 second gaps between frames – we kicked them off at exactly midnight (coincidence)
Pro Tip: One definite advantage of the Phottix Aion Wireless Timer and Shutter Release I was using was that it supports sub second (0.1 second) increments for the delay, shutter lengths and intervals – most timers only support whole second increments. You want to use shorter delays between shots so that you have smaller gaps between the trails images once they are stacked (zoomed at 100% you can see the gaps when 1 second intervals are used)
Horrible sand was already accumulating on our cameras and in the lens hoods of our lenses 🙁 so I got out the Rocket Blower and blew away what I could
We then left the cameras to do their thing and we headed back to the car to wait (and plan for tomorrows sunrise shoot – which was getting closer and closer (we’d need to get up at 5AM!! and we hadn’t gone to bed yet and it wasn’t going to happen for a while – sigh…)
I went back and checked the cameras after about half an hour and blew off the sand again with the rocket blower in the dark (so I couldn’t actually see whether there was any or if I was effective :))
Just before 1:30AM we figured enough was enough waiting so we returned and retrieved the cameras – they’d shot for 85 minutes (and I had 127 frames to use)
This time we could turn on the lights and see what havoc the wind and sand had caused – not good to say the least
Looks like Gerry’s Tokina UWA (11-16) is less than happy and it’s likely only a matter of time before the grinding caused by the sand grains in the zoom and focus mechanisms results in catastrophic failure. Suren’s Canon 10-22 is also unhappy – auto focus is optional it seems 🙁 My Sigma 15mm fish seems to have fared quite well (probably because it’s not a zoom and it’s a tiny lens in comparison) – time will tell…
So the final stacked star trail image better have been worth it…
We headed back to the accommodation – grabbed some quick showers and hit the beds around 2AM – moments later (or so it felt :)) the alarms were going and we’re up for the sunrise shoot. Clouds were almost non existent and the morning colour was less than spectacular – Gerry reckons we should have stayed in bed 🙂
Galactic Whirlpool
Astro – Panorama @ Stockton Dunes…
by Rodney Campbell on Jul.18, 2014, under Life, Photography
The Astro Photographer craves the night – and not just any night – they desire the lowest of low lights. They search out dark skies, requiring moonless cloudless evenings far away from cities and light pollution. Huddled alone in the dark with camera pointed up into the vastness of the universe seeking out those faint points of light in the skies
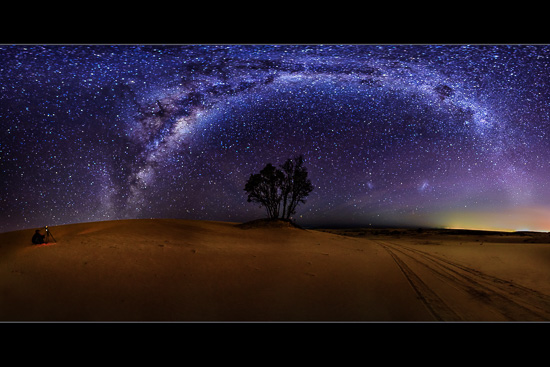
A stitched panorama consisting of six (6) fisheye frames shot at 25 sec @ f/2.8 and ISO 3200
Alone with the Universe
The sky was incredibly clear now with the whole span of the milky way visible in the sky above
Pro Tip: For astro work you want to use a fast (wide aperture) lens basically because with very dim stars you want to let in as much light into the camera as you possibly can – this both allows you to use a lower ISO (allowing cleaner less noisy images) and a short enough shutter speed so that the stars appear sharp in the image (without trailing)
Pro Tip: When selecting the shutter speed to use for single static star (starfield) images you can use what is known as the 500 rule – basically divide 500 by the full frame equivalent focal length of your lens and that represents the maximum shutter speed you should use to avoid having trailing starts in your images and instead having point stars. e.g. when using a 16mm lens this leads to 500/16 = 31.25 (so I kept my shutter speeds under 31 seconds before), with the 35mm lens I’d have to stay under 500/35 = 14.3
I had the 16-35 f/4 (which I used for the earlier shots but it’s not really fast enough – you really want to use f/2.8 or faster), the 24-70 f/2.8 and the 35 f/1.4 (which I was originally intending on doing a massive multi row starfield panorama with
The 35/1.4 is an ideal astro lens because it’s really fast (1.4 aperture) and relatively wide (the 24/1.4 would be better but it’s a > $2.5K lens), it’s also quite sharp wide open
The 35mm would however have taken an insane number of rows of images to cover over 180º field of view of the span of the milky way overhead, it would have been massively painstaking given I didn’t have a multi row pano head – but it would have resulted in a very sharp and highly detailed gigapixel image if it worked 🙂
Personally I would have liked to have had the Rokinon/Bower/Samyang 14mm f/2.8 (or the much more expensive Nikon 14-24/2.8) but alas…
See the following excellent guide if you would like to know more about How to Pick a Lens for Milky Way Photography
In the bitter cold I wasn’t up for the time and effort required for this so opted instead to use the Sigma 15mm f/2.8 fisheye – basically because it’s the only other fast (aperture) wide lens I had brought and it has a massive field of view so I wouldn’t need to take very many frames. I just winged the frames (since I couldn’t see anything in the viewfinder) and hoped I’d get enough overlap and a half decent level whilst pointing angled up towards the sky
I got close to the tree so it would be reasonably large in the frame and placed myself so that the milky way would appear to arch over the tree and spread over to where the horrible light pollution was (that’s the city of Newcastle by the way), and also hopefully have the 4WD drive tracks that were already there in the sand leading off from around the corner of the frame
The Sigma 15mm fisheye is very nicely wide – tick, and it’s f/2.8 maximum aperture is pretty fast – tick, but wide open it unfortunately isn’t the sharpest tool in the shed – especially when you get near the edges and the distortion (it’s a fisheye after all) is pretty intense. This all makes for pretty interesting stitching results but I was pretty happy with my first attempt at a panorama starfield of the milky way, I’ve even managed to get Suren there happily shooting the stars
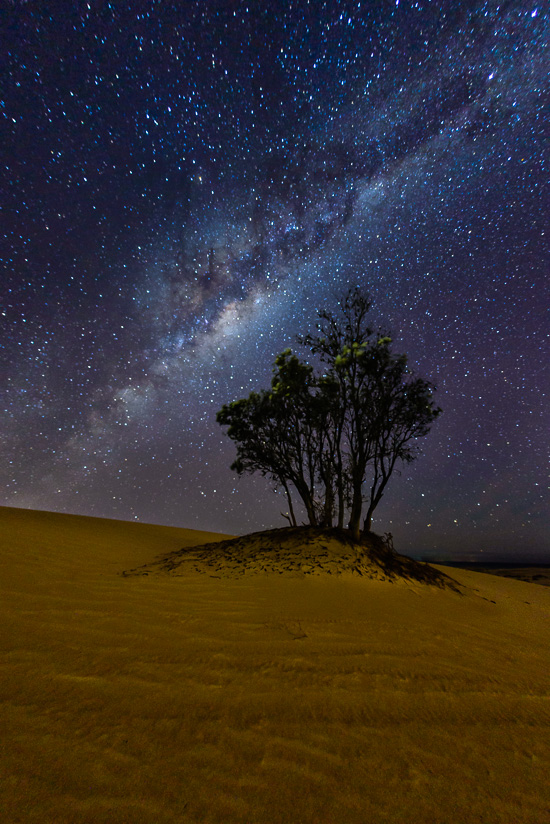
To end our evening on Stockton dunes a single vertical shot of the tree from even closer with the milky way above – and for this one I’ve let Lightroom’s lens correction profile for the lens do it’s work
Heavens Above
It was only just after 8PM but we were cold and hungry (very very cold) so it was time to walk back out and head to nearby Nelson Bay for some well earned dinner…
Review: Formatt-Hitech 0.9 Reverse GND…
by Rodney Campbell on Jul.16, 2014, under Life, Photography
So what is all the fuss about with these Reverse Graduated Neutral Density Filters – read on and see what I think about one of my current favourite sunrise and sunset landscape filters – the Formatt-Hitech Neutral Density Reverse Grad 0.9 (3 Stops)
Otherworldy Light
For a number of years now I’ve been an extremely happy user of the Slot in Lee 100mm Filter System
Starting with the Foundation Kit, with the Filter Holder (with up to 3 slots) and a 77mm wide-angle adapter ring and a single Lee 0.9 (3 stop) Hard Graduated Neutral Density Filter (or Lee 0.9 Hard ND Grad for short) – this has been my constant companion on trips around Sydney and around the world, along with my ultra wide angle (currently the Nikon AF-S 16-35mm f/4G ED VR) and standard telephoto (currently the Nikon AF-S ED 24-70mm f/2.8G) lenses
Over time I’ve added things like a Lee 0.6 Hard ND Grad (2 stop) and a Lee 105mm front filter ring and my most expensive filter the absolutely awesome Heliopan 105mm Slim Circular Polariser SH-PMC Filter. I also have the very useful but fairly specialised Lee BigStopper (a 10 stop neutral density filter)
Note: These images (especially the wider shots) look much better when larger – so click any of the images below to see larger versions in an inline overlay slideshow gallery viewer.
A Bit of Background
The reason landscape photographers use Neutral Density filters is for two main reasons
– we use solid ND filters to lengthen shutter speeds – ND filters cut down the amount of light coming through the lens into our cameras – ideally in a “neutral” way (i.e. evenly across the visible light spectrum and thus not causing any unwanted colour shifting or colour casting) and also by a fixed amount (generally indicated in the number of stop of light reduction – e.g. 1 (0.3), 2 (0.6), 3 (0.9), 4 (1.2), 6 and 10 stops
Some examples of when we might use these types of filters is to be able to lengthen shutter speeds when shooting moving water (waterfalls, oceans, rivers and so on) or moving clouds or in fact any moving objects (sometimes just to remove those objects from our scene). Other times photographers want to shoot with a wider aperture than the normal bright ambient light allows
– we use Graduated ND filters to try and balance larger contrast differences across parts of the scene
Basically cameras cannot see and record the same range of brightness that the human eye can. When the sun is low in the sky or just over the horizon there is generally a much wider tonal range than the camera can capture. In essence the sky is really bright and the land is really dark in comparison and this range of brightness between the sky and land is beyond what a camera can capture – either the sky is over-bright (or completely blown out) or the land is extremely dark (or black) or both
A Graduated ND filter is toned with a darker area at the top of the filter and a clear area on the bottom half. The darker area is neutral and holds down the exposure over the sky portion of the scene whilst allowing the bottom half (the land) to expose normally. The idea here is to create a more evenly exposed single image with good detail and colour in the sky and a lot more detail in the foreground
Aside: Technically these days photographers can use multiple exposures of the scene (taken at different exposure settings – e.g. -4EV, -2EV, 0EV, +2EV, +4EV) and post processing techniques (HDR tone mapping, blending multiple exposures on layers using tools like luminosity masking, etc) to achieve the same result
Personally I’m a bit lazy and I’d rather spend a few minutes more in the field getting the filters and the exposure just right at capture time rather than spending hours post processing an image on the computer – I’m a very strong proponent of getting as much right as I can in camera. I believe this has other side benefits as well – including making me slow down and be a lot more patient and selective when taking the images which I also believe has made me a much better photographer with stronger compositions
I’d been using this basic filter kit for quite a while however I had been interested in getting and trying what is known as a reverse grad for some time. To understand why I’ll go into a little about the different types of grad filters
Teaching Point: A tip for others using the rectangular based slot in filters (e.g. 6×4″/150x100mm or other similar systems) – if you have hard grad filters you don’t necessarily need to also purchase the expensive solid ND filters – I just pull the hard grad filter right down so the ND portion covers the whole frame. Even on a full frame camera at 16mm I find the slightly less than half of the 150×100 grad which is a solid ND coating is enough to cover the whole frame
Graduated ND Filters
I mentioned above that solid ND filters come in various strengths. Graduated ND Filters (ones which have a neutral darker area on one half and are clear on the other half) also come in various strengths. Commonly in 1 (0.3), 2 (0.6), 3 (0.9) and 4 (1.2) stop variants but sometimes others as well but in addition they also vary in the way the transition area (between the clear part of the filter and the coloured (neutral density) part of the filter)
As a general rule, a hard grad would be used for images containing a horizon, or any hard transition between the sky and the foreground – even with jagged or mountainous horizons, the exposure can be controlled far easier with a hard grad. This is because the transition between the clear and ND part of the filter is fairly quick (note that it isn’t by any means an instantaneous hard line)
Soft grads perform best in woodland, mist, or interiors. Anywhere where there is no definite transition between sky and foreground, a soft grad will gently balance exposure across the image. The transition area of this filter is quite broad and in fact it transitions over from clear to ND over a much wider area so the area around the middle of the filter is quite weak. Because of this soft grads can be more difficult and less effective when used on crop cameras, lenses with a smaller diameter and telephoto lenses
One problem when shooting sunrises and sunsets is that the horizon is normally the brightest area of the scene, with the soft filter this can actually be the weakest part of the ND area and the sky can easily burn out in this part of the scene (which forces most people to drag the filter down way too low – darkening the rest of the scene). This is less of a problem with hard grads as the horizon area of the filter is much darker and because of this it is more effective
Still however it’s this transition area of both soft and hard grads which is the weakest area of the ND grad filter and thats generally the area you put onto the horizon of your scene. Another thing which tends to also happen at these times of day is that the upper sky is quite a bit darker than near the horizon so when you shoot with a regular ND grad and expose for the brightest part of the scene (the horizon) the top of your image in the upper sky ends up being even darker because thats the part of the filter which is the strongest
Reverse Grads
So wouldn’t it be great to have an ND grad filter which was strongest in the middle and then got gradually weaker as it moved up to the top of the filter…
As it happens a few filter makers have listened and have produced what are called Reverse Graduated Neutral Density Filters (or Reverse Grads for short)
Singh-Ray pioneered the way with their excellent but extremely pricey reverse grads. This was a bit rich for my blood and as Lee don’t as yet make any Reverse Grads I opted instead to try another British filter maker – Formatt-Hitech and their reverse grad (the subject of this review)
I would have liked a four stop (1.2) reverse grad however the strongest one that Formatt-Hitech make is the 3 stop (0.9)
I’ve now been using this filter for about 9 months and so far I’ve been extremely impressed and I seriously don’t know what I’d do without it now
My Thoughts
First up I’ll list what some people might consider some of the negatives
The Formatt-Hitech filters are slightly thinner than the Lee filters – it still stays in the filter holder without any issues but I can tell it isn’t quite as thick as the Lee grads both by feel and because it slides more easily in the holder slots. In practice this isn’t a problem at all but just in case you need to know
The filters come in a plain plastic wallet – nothing like the very nice padded cases that the Lee filters come in. This isn’t a problem if you have a separate filter pouch – but it does appear to be common with the other filter manufacturers like Formatt-Hitech, Kood & Cokin. Personally I would not keep the filters in this plastic wallet because I’m sure they would easily scratch over time going in and out. I keep my multiple filters in the very nice Lee Filter Wrap and then in the Lee pouches
Like the Lee grad filters I own it is made from optical resin (and not glass) – which I like because they are lighter and less prone to breaking when bumped, dropped or slightly bent but they are apparently more prone to scratching – I’ve used mine for many years without issues
On my copy of this filter the transition line in the middle of the filter is slightly off perpendicular to the side edges of the filter – whereas my Lee filters are for all intensive purposes exact. What this means is that I have to rotate the filter (either the whole holder or the filter in the holder) ever so slightly to get it right – this is only a problem if I’m stacking grad filters and thus need the transition lines to be parallel and it really is very very slight – it’s not like it’s diagonal across the filter or something
Lastly it’s not colour neutral when stacked with other filters. With the Lee filters I generally find I can stack them with other Lee filters and the Heliopan CPL without undue colour casting or shifting. When using the Formatt-Hitech 0.9 Reverse ND Grad stacked with other filters there is a definite colour shift
Personally I usually like the effect this filter gives me in this regard. I can’t explain it exactly but it is like it gives a slight but noticeable colour boost and even a slight punchiness to the image (almost like you’re using a polariser) but it’s an effect I generally like. There are scenes however where you don’t want this colour shift (in the area covered by the filter) and then of course it’s a problem 🙂
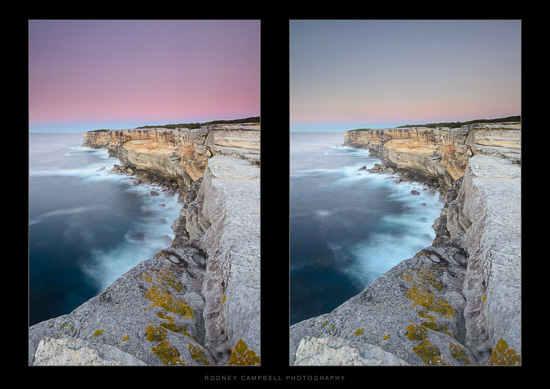
Here is an example of two shots taken less than 2 minutes apart – the first using the Formatt-Hitech 0.9 Reverse ND Grad stacked with a Lee 0.9 ND and then the second a Lee 0.6 ND Grad stacked with the same Lee 0.9 ND. It’s not exactly a fair one to one comparison since I probably should have been comparing with the Lee 0.9 grad so I’ve had to slightly adjust the exposures in post to more readily match the overall exposures of the two scenes but the rest of the processing, white balance and so on has been synchronised between the two images
Whilst this is probably the most extreme example of this that I’ve seen myself it does show that there can be a noticeable difference in the results when stacking different filters (especially from different manufacturers)
Hitech Reverse Grad vs Lee Grad
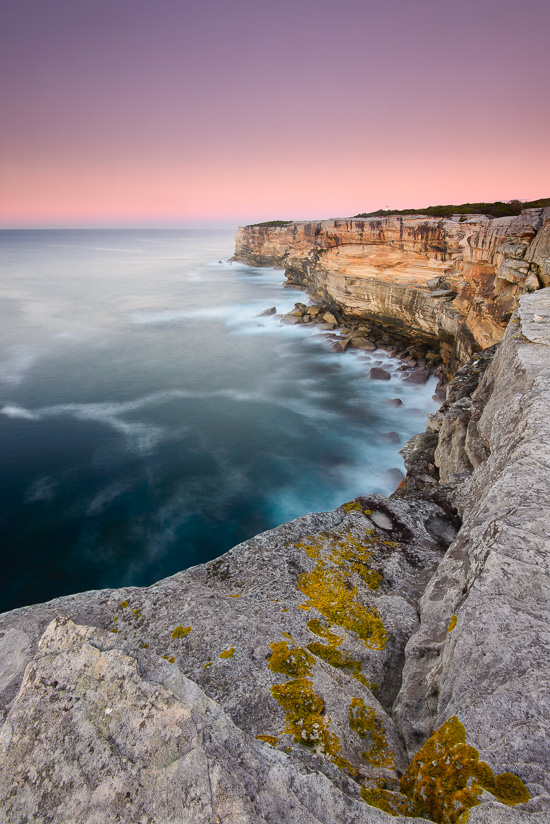
Lest you think that the sky colour change is just due to the natural colour changes in the sky happening very quickly just before sunrise (which it was) – the following image was taken after the stacked Lee shot above (4 minutes after) – I’d switched back to the reverse grad because I liked the results I was seeing on the camera LCD better
Sweet Dreams
In practice this filter is a joy to use and does pretty much what it’s designed to do. It’s clear to see the difference between shots taken with say this 3 stop reverse grad and the standard 3 stop Lee grad at sunrise or sunset. The detail retained at the bright horizon along with the subtle tones and details retained in the upper sky – be it clear sky or clouds and colours are readily apparent
The one major potential problem when using the reverse grad is that anything that seriously breaks the horizon, be it some headland, a mountain, a building or tree is going to get very dark very quickly because the darkest part of the reverse grad is right at the horizon transition area. However for many seascape purposes where the horizon is often dead flat out to sea this is perfect
Formatt-Hitech also make a large range of other slot in filters including soft, hard, reverse, solid in various strengths and sizes (e.g. widths of 67, 85, 100, 150 and 165mm) as well as things like variable ND filters, large circular polarisers and of course all the filter holder systems and accessories
Aside: They also make what I’ve heard is an extremely nice set of high density ND filters which compete with the Lee Little and BigStoppers – the ProStop IRND series. This series however has the full range of densities from 1 to 10 stops at 1 stop increments. Hitech-Formatt indicates that the filters have been optimised for digital sensors and reformulated with a nearly flat attenuation of both visible spectrum light and infrared light. Apparently making it the world’s most neutral ND filter, especially at higher densities where other brands suffer from colourcast. It’s this ability to limit infrared which makes these filters different and it is something I would really like to try as the BigStopper suffers from a definite strong blue cast (which sometimes I really like but you basically get no choice). I’m often taking images with stacked filters for very high light blocking (e.g. 15 stops) and at these levels light and the effects on the resultant images is extremely sensitive
All in all I’ve been very happy with my purchase of the Formatt-Hitech 0.9 Reverse ND Grad and would not hesitate to recommend this particular filter to anyone using a slot based filter system taking sunrises and/or sunsets. Realistically it’s only the cheap plastic wallet that it comes in which is the only real negative for me
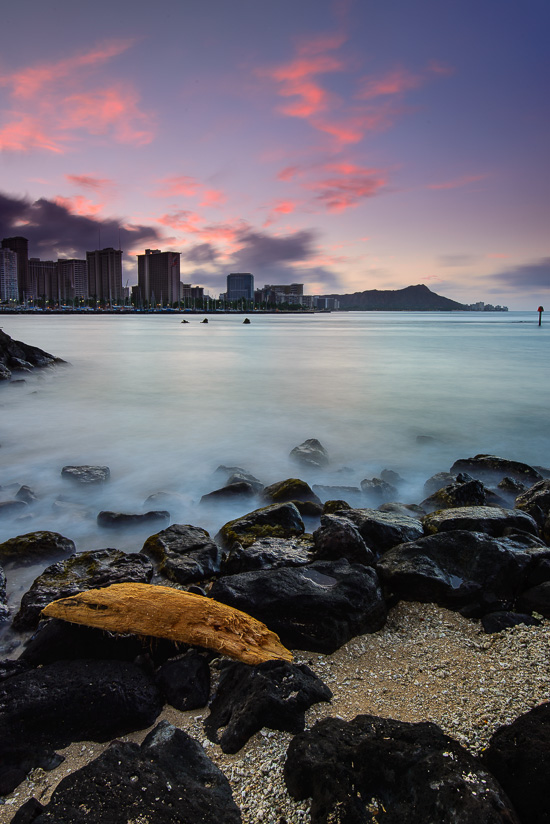
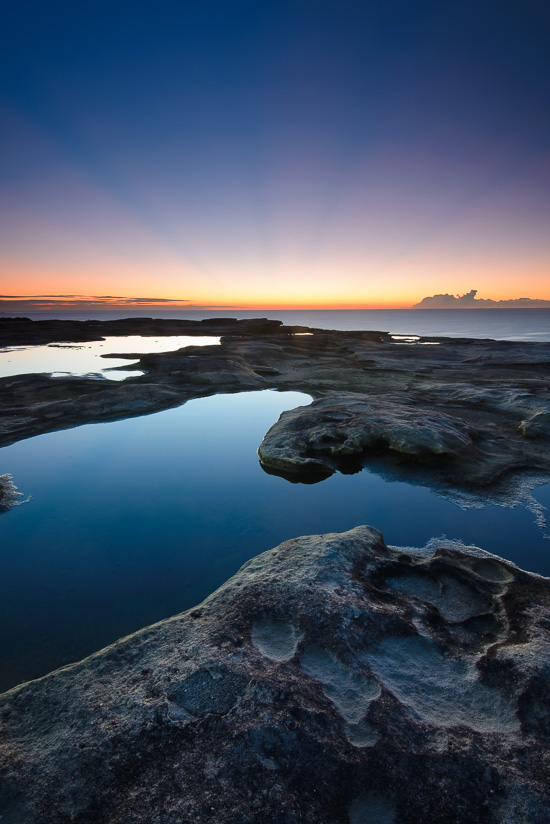
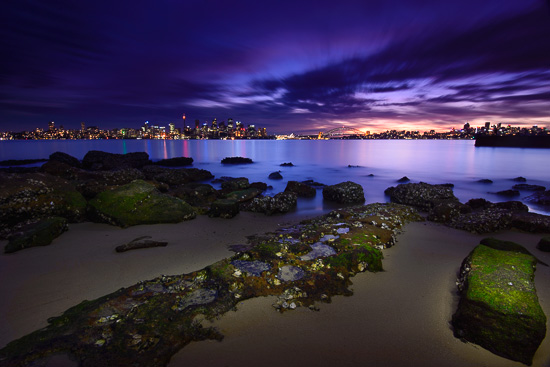
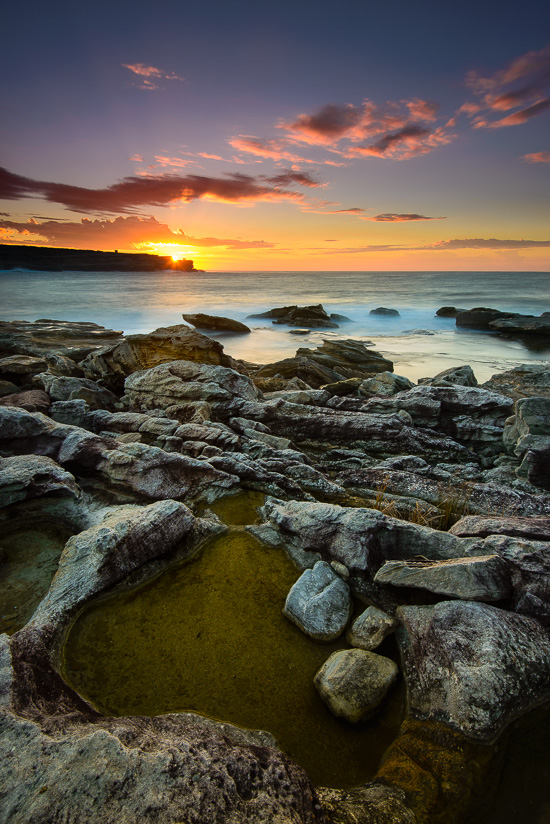
Some other examples taken with the Formatt-Hitech 0.9 Reverse ND Grad
Sky Fire
Magic Island
A Fan of Sunrise
Bradleys Light
Long Rays
Makapu’u…
by Rodney Campbell on Jul.14, 2014, under Life, Photography
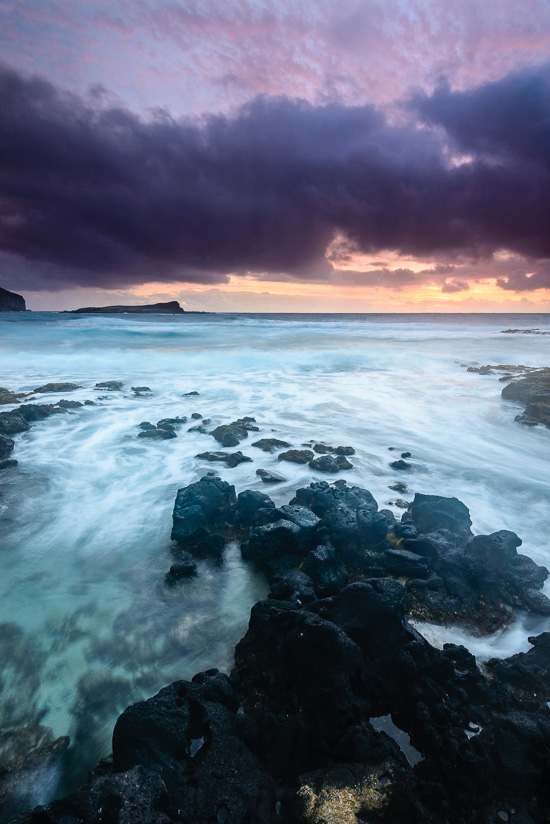
I’m very thankful that Janet Clark arranged for me to join their regular weekend sunrise group (affectionately called “dA Crazies”) for a shoot on the eastern coast of the island at Makapu’u
Makapu’u Dreamtime
Janet even drove down from the north east side of the island where she lives to come and pick me up from my hotel (at 4:20AM) before heading off to Makapu’u Beach on the eastern shores of Oahu for sunrise
The weather was looking a little iffy (we’re in paradise but today of all days it’s decided to rain) and on the drive there we drove through some very heavy patches of pouring rain…
However once we arrived most of the rain held off and we just had some patchy sprinkling every now and then. This in combination with the gusty winds that always seem to be here on Oahu 🙂 meant for lots of water droplets on the filters which unfortunately played havoc with many of my shots 🙁
Note: These photographs (especially the wider shots) look much better when larger – so click any of the images below to see larger versions in an inline overlay slideshow gallery viewer.
We met up in the carpark with a large group of keen photographers (probably about 25 of them) and chatted for a while before heading down to the rocks
I was really looking forward to shooting here (I’d seen it from way above at the lookout during the day a few days beforehand). It was very dark and extremely hard to see and when you go somewhere completely new (in the pitch black) – it’s very hard to imagine what the compositions are going to be like or prepare for the shots
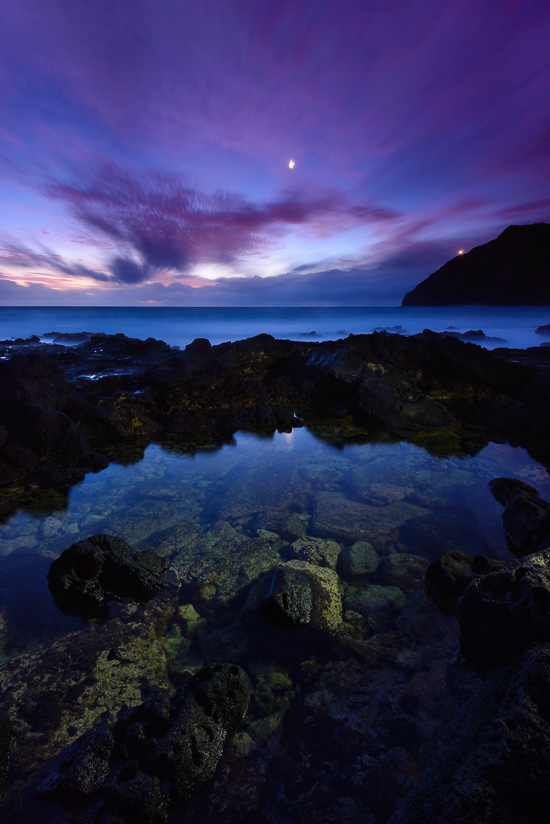
I found this large pool of water just back from the edge of the waves and decided to use it for my foreground interest and was hoping for some reflections of the sky on the water
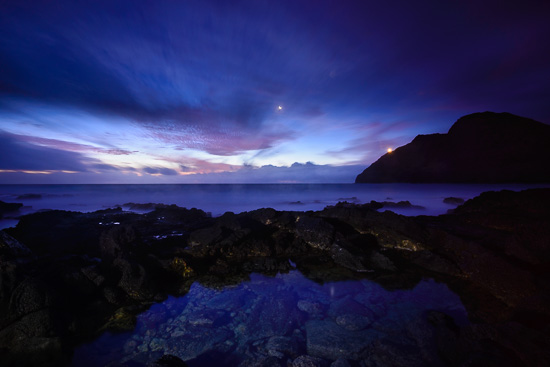
I shot towards where the sun would be rising in about 45 minutes time and included Makapu’u Point and the Makapu’u Point Lighthouse as well as the crescent moon high in the sky
It was so very dark I jacked the ISO a little (to 400) and opened the aperture (f/8) to let in more light and had to do some serious light painting of all the foreground rocks and the pool with my small zoomable LED torch to add something to the otherwise totally black foreground (these black volcanic rocks don’t help with that either :)). 154 seconds later with just the three stop Hitech Reverse Grad ND out front
Cracking Makapu’u
You can already see the abundance of fine water spray on the filters – it’s going to be one of those mornings…
Personally I prefer the vertical composition I took next (at the top of this post) which shows more of the pool and rocks below me
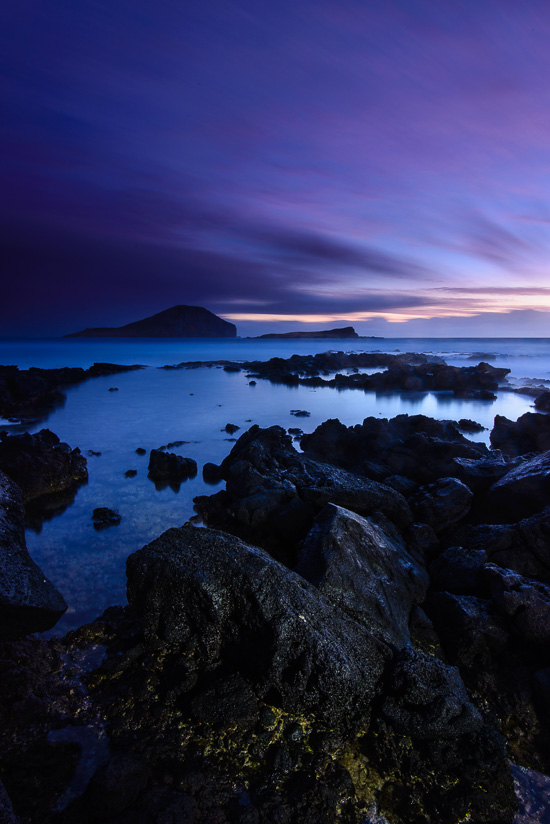
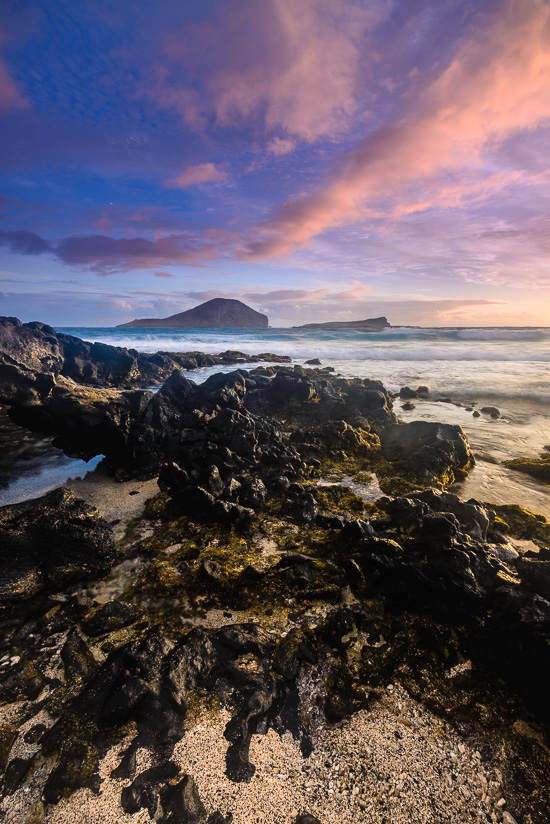
Just off the coast of Makapu’u beach is Mānana Island. It’s a 63-acre (25 ha) offshore tuff cone known as Rabbit Island because of its resemblance to a large rabbit’s head rising out of the sea and because it was once inhabited by introduced rabbits after a rancher released them there, the island is now a protected bird sanctuary
I moved over closer to where Janet was shooting and looked for some compositions looking out to sea over Rabbit Island
About half an hour till sunrise and I’m still light painting rocks 🙂
Rabbit Dreams
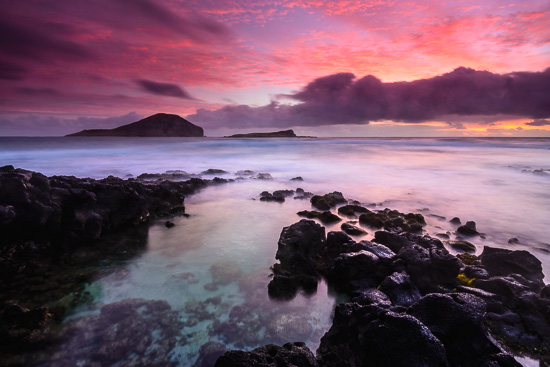
and then a bit over ten minutes to sunrise the sky lit up in a blaze of pre dawn colour – still lots of heavy dark rainclouds about dropping rain on us every now and then but the thinner upper cloud was putting on a good show
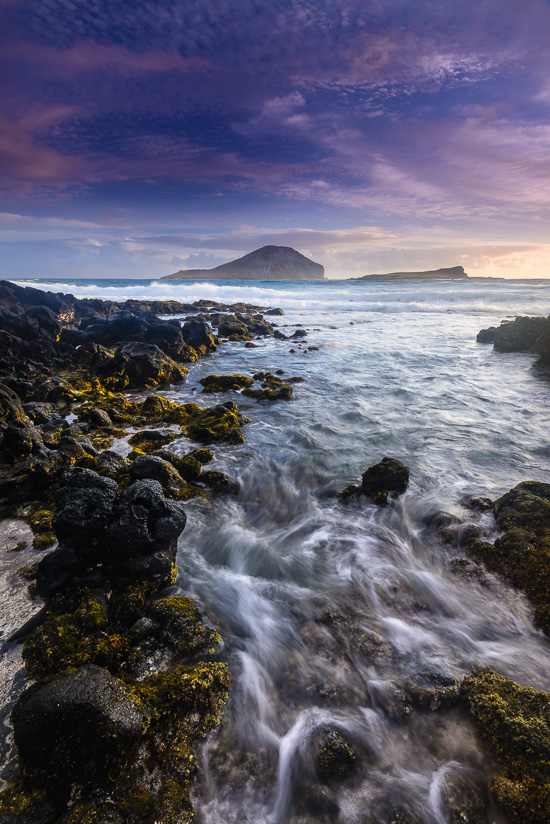
I found this nice composition perched up higher on a small pillar of rock looking down into a nice clear pool of water with some sweeps of black volcanic rock curving out in front of me. This place like much of Hawaii is like some pre-historic paradise (which I guess is why so many movies of that ilk are shot here). I dropped the ISO to 50 to force a longer exposure and still using the 3 stop reverse grad…
The Land that Time Forgot
Only a couple minutes till sunrise now and the rain clouds swept in briefly dumping some rain on us – we sheltered for a few minutes and got back out there :). Still using just the 3 stop Reverse GND
Makapu’u Dawning
It’s 15 minutes after sunrise and we’re still getting some interesting colour in the sky and some funky clouds – this nice sweeping arch to mirror my composition in the rocks in the sand. I’ve added the Heliopan Polariser to a 3 stop Lee Grad ND
Everything Leads to Rabbits
Twenty minutes after sunrise and it’s still interesting
Rabbit Wash
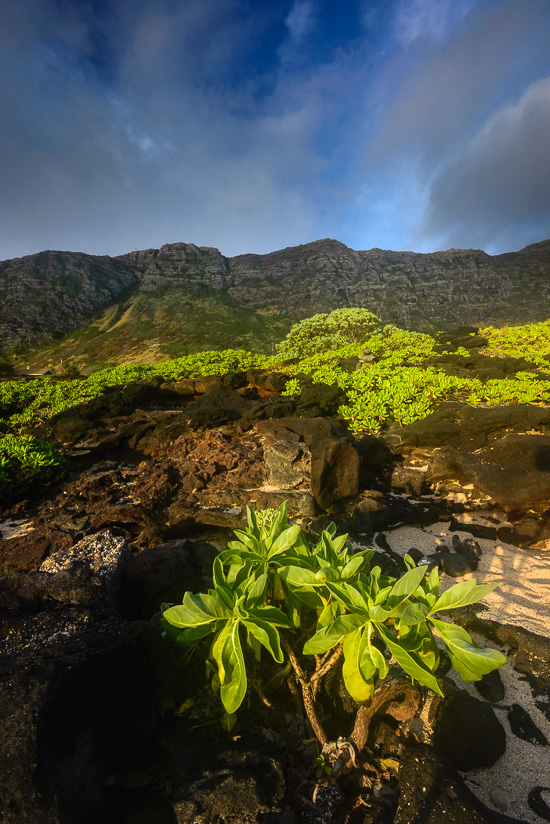
and by now the sun is well and truly up and the light on the mountains and cliffs behind us is spectacular. Time to turn around and try a composition that way before we head off. These excellent vibrant green leafy plants scattered amongst the bare rocks makes for an ideal foreground interest
I’ve dropped down to a 2 stop Lee Grad and still using the Heliopan CPL (probably dialled in a little too strongly in this case) – 30 minutes after sunrise
Blue and Green
Then it was off for a well earned breakfast
Once again thankyou to all dA Crazies for a wonderful morning out and especially to Janet who carted me around for the day 🙂
Fog and Warm Pastels…
by Rodney Campbell on Jul.13, 2014, under Life, Photography
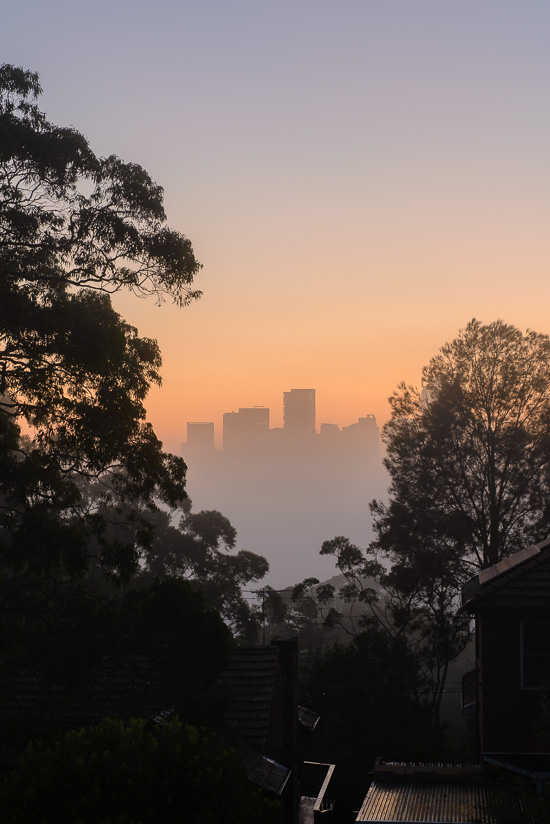
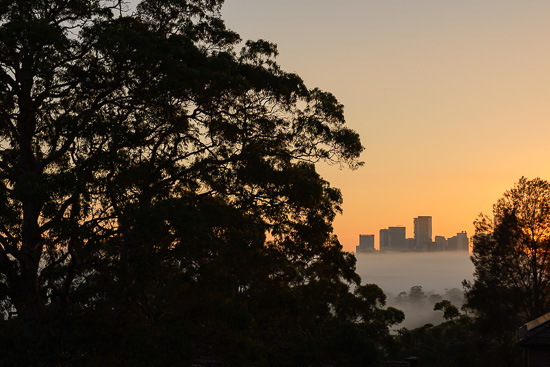
I looked out my bedroom window one morning around sunrise to see lots of fog in the valley outside along with lovely warm pastel toned skies
Note: These photographs (especially the wider shots) look much better when larger – so click any of the images below to see larger versions in an inline overlay slideshow gallery viewer.
The strong warm pastel tones along with the low contrast scene seemed to make for an interesting juxtaposition – plus I don’t shoot all that many telephoto landscapes so it was out with the camera (with the 24-70 racked out to 70mm) for some bedroom window landscaping… I know – lazy as :)…
Mystery City
With the sun just coming up over the horizon it’s time for the warm pastels to start turning golden and for the warmth of the new sun to try and burn off all that fog
Framed City
