Archive for February, 2015
Sharper Landscape Images – Tips & Techniques…
by Rodney Campbell on Feb.07, 2015, under Life, Photography
Having been asked for tips on how I achieve sharp looking landscape images I saw it as an excellent excuse for putting together this how to article on the topic.
One could go into excessive detail on the theory behind sharpness, optics and lens characteristics, circles of confusion and all sorts of related aspects but instead I’ll try to give some quick practical advice for improving your results.
These aren’t hard and fast “rules” but are rather general guidance for typical setups and scenarios:
Out in the Field When Taking Images:
– If you are shooting at shutter speeds slower than your effective focal length then ensure you are using a nice stable platform (e.g. a good solid Tripod and Head setup – and make sure it’s all locked down – knobs tight enough, etc).
– If you are using a tripod then also use the self timer or cable release (to ensure you’re not moving the camera when triggering the shutter).
– If you’re shooting when it’s gusty or windy – try to time the shots during lulls (or shield the camera with your body, weigh the tripod down, etc).
– Use an Aperture which is likely to give you good results – for most lenses and for landscape work this will typically be in the f/8 to f/11 range. Even cheaper lenses are generally reasonably sharp at f/8. If you shoot most lenses close to wide open or any lens very stopped down (e.g. f/22 (or even f/16 on some cameras) onwards) then you’ll sap sharpness.
– Use an aperture appropriate to give you the Depth of Field you require. Side note – the Depth of Field is basically the range of distance from the sensor plane which “appears” to be “acceptably” sharp – note only the actual point of focus is really in sharp focus. This will depend on the focal length you are using, the distance to the nearest subject in your frame you want to appear in focus and where you focus – see below. For people shooting landscapes with a typically wide angle lens (e.g. anywhere from 14mm to 35mm on full frame (10mm to 24mm on crop sensor) cameras) then f/8 to f/11 again is likely to be a good starting point and you may need to stop down further (e.g. f/16 or more) if you need to increase your depth of field.
– Use Hyperfocal focusing technique (or something approximating this). Again basically the Hyperfocal Distance is the “optimal” distance to focus at for a given aperture/focal length combination. I don’t carry a card for this or use an app (both are readily available). However if I do have something close in the foreground of my images I want to appear to be sharp in focus then I do focus on or just past the closest object and use an appropriate aperture to get the Depth of Field to extend to infinity. For example if I have a rock thats about 1.5m away from the camera lens and I’m shooting at 20mm (full frame) then I’ll focus at about 1.5m and shoot at f/11 and I know the DoF will cover from in front of the object out to infinity. Excluding using longer focal lengths if the closest object in the frame is many many (ten+) metres away then just focus on that.
– Shoot at or near your camera’s “native” ISO – for most D-SLR’s and Mirrorless systems these days this is likely to be around the ISO 100 to 200 area. The more you move away from this ISO (especially to quite high ISO’s) the more sensor noise comes into play and the less dynamic range, detail and so on will be rendered in your final image and the more you’ll need to apply noise reduction to compensate. Note simplistically noise reduction effectively blurs images and reduces how sharp they look.
– If you are shooting in a specific range of shutter speeds (around the 1/25th to 1 second range) you may want to consider using the Mirror Lockup feature of your camera (if it has one). Personally I rarely bother and I don’t feel I suffer many ill effects.
– If you are shooting with a lens which has an optical image stabiliser (VR/IS/VC/etc) and you are on a tripod then turn off the image stabilisation.
In Post Processing:
– If you are shooting in RAW (and you should be :)) then the images come in without any sharpness applied by the camera – you may need to add a little input sharpening to compensate. Lightroom generally does this for you (e.g. Sharpness of 25).
– “Appropriate” use of some sliders (I actually suggest using selective adjustments rather than global) can improve the apparent sharpness of the scene – e.g. the selective use of clarity (which amongst other things adds midtone contrast and helps to bring out “detail”).
– When you’ve finished editing your images do “Sharpen” them – appropriately for the output medium – e.g. there are different levels of sharpening required when outputting files for print (matte vs gloss vs …) or monitor display, etc.
– Note – it’s easy to end up over sharpening your images in post so do be careful otherwise you’ll end up with ugly crunchy detail and halo’ed contrast boundaries.
Visions of Vienna…
by Rodney Campbell on Feb.05, 2015, under Life, Photography
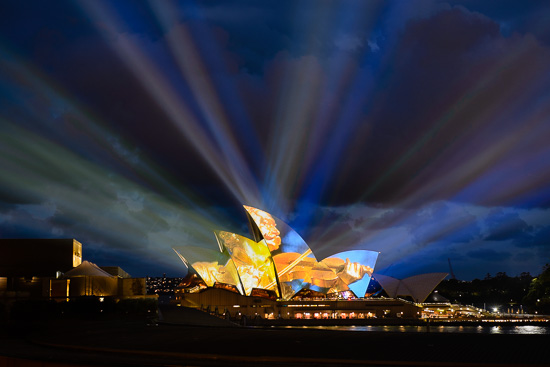
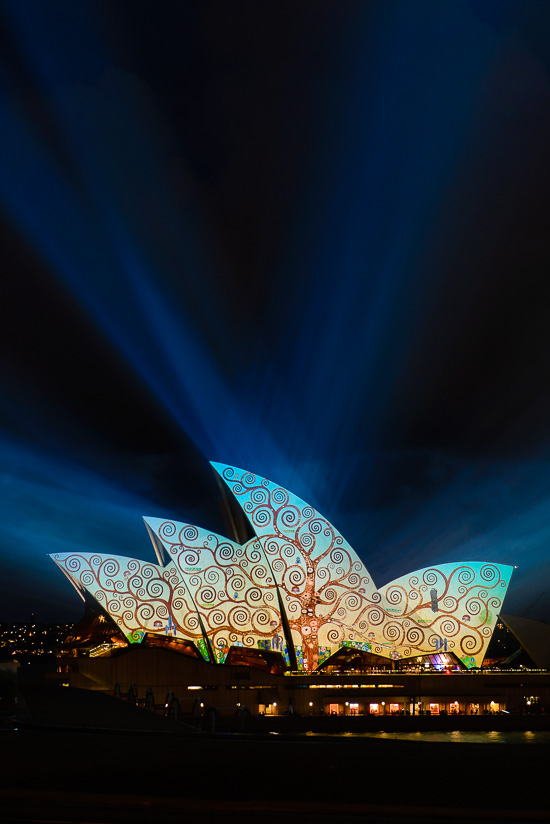
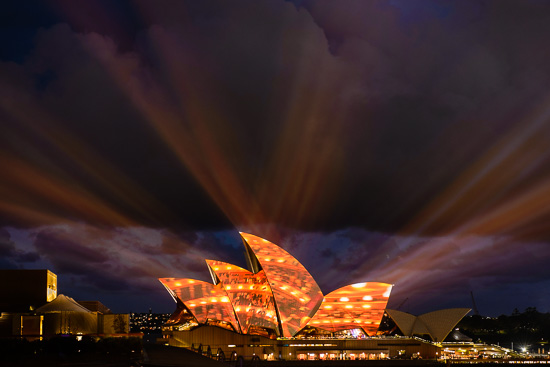
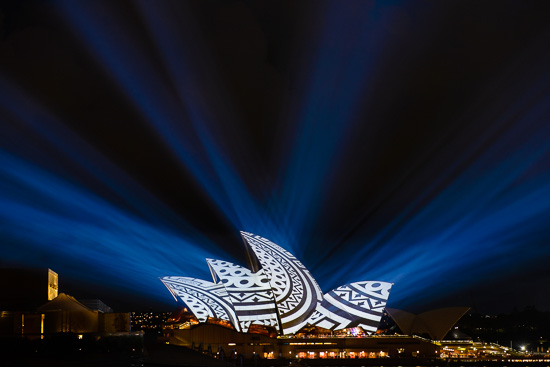
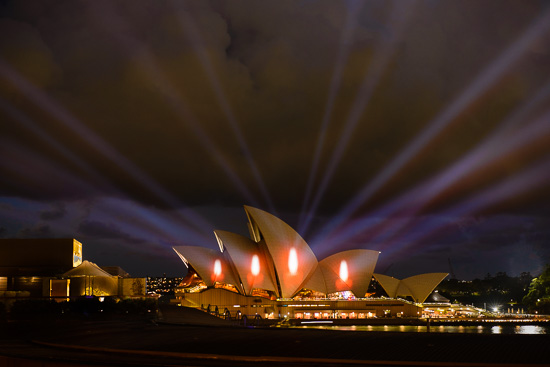
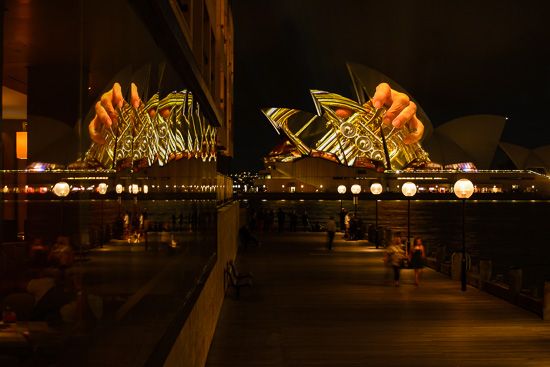
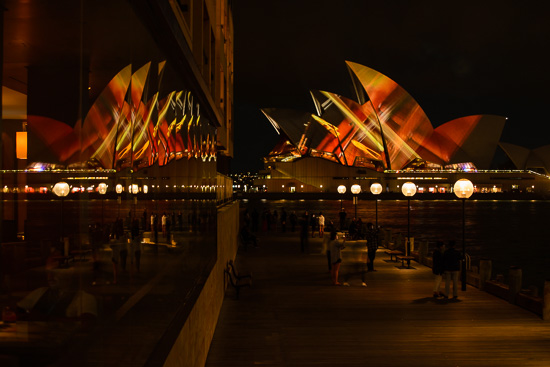
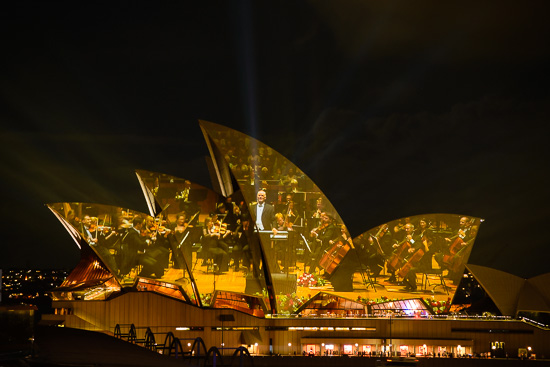
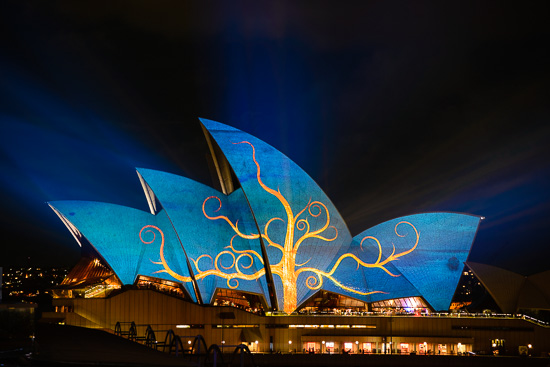
On the 4th Feb 2015, in a performance titled “Visions of Vienna” the Sydney Symphony Orchestra’s performance of “Greatest Hits from Vienna” was broadcasted live onto the sails of the Sydney Opera House.
Symphonic Strings
So whilst the orchestra was playing live within the main concert hall of the Opera House to a packed audience it was being beamed outside and projected back onto the Opera House sails to a packed audience outside at Dawes Point (they even had speakers setup around the point for people to view and listen to the performance).
I’d shot the lit up sails of the Opera House many times before – during Vivid Sydney and many other events, but it never fails to impress and they push the bar just a little further each time.
I tried a handful of different locations this time and some of my favourites are included here. All in all a very pleasant night to be out, plus the music was pretty good 🙂
Note: These images (especially the wider shots) look much better when larger – so click any of the images below to see larger versions in an inline overlay slideshow gallery viewer.
Tree of Life
Fire It Up
Vienna Blue
Light the Way
Reflections of Mastery
Symphonic Mirror
A Night at the Vienna
Reach
#VisionsOfVienna
Odyssey – A Parallaxis Exhibition…
by Rodney Campbell on Feb.03, 2015, under Life, Photography
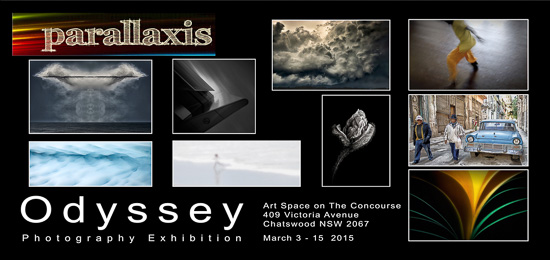
A little over a year ago I was invited join a group of like minded photographic artists with the aim of advancing our craft, creating cohesive bodies of work and eventually exhibiting our art.
In what has been a creative journey we’ve been working tirelessly over the past year on pieces for our portfolios. It is with great pleasure that I’d like to announce that the first exhibition of our collective work (titled Odyssey) is going to be held in just one months time.
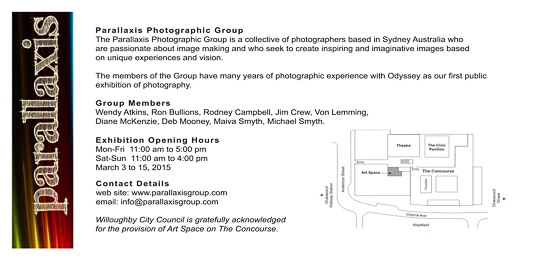
If you are in or will be visiting Sydney we’d love for you to come and visit us at the Art Space on The Concourse in the heart of Chatswood on the North Shore of Sydney. Nine of us will be exhibiting between the 3rd and the 15th of March.
What is particularly interesting about our group is the breadth and variety of talent within the members, with each of us having very different styles, creative ideas, experiences and expression with photography.
Sunrise over the Torrens…
by Rodney Campbell on Feb.01, 2015, under Life, Photography
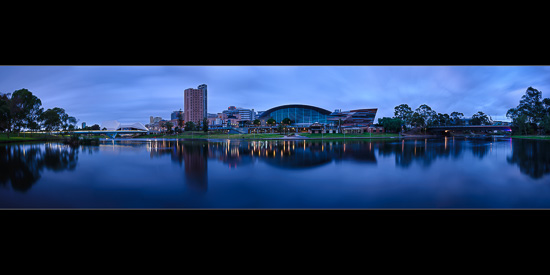
Woke early for a sunrise session in the parklands looking over the Torrens river looking back towards the city.
In theory the sun was supposed to rise (looking from this position) behind the Adelaide Festival Centre (that white building on the left). However I took these twelve long exposure frames over the sunrise boundary and as you can see – nada… The sky just got gradually brighter.
Note: These images (especially the wider shots) look much better when larger – so click any of the images below to see larger versions in an inline overlay slideshow gallery viewer.
Still the black swans seemed to enjoy my company and it did make for a nice blue hour panorama with nice smoothed glassy water from the long exposures. Because it was getting much brighter during the time I started the sequence till I finished I had to adjust the exposure times across the frames.
Adelaide Blues
Pro Tip: When photographing frames for a stitched panorama at the edges of the day (sunrise or sunset): 1) At sunrise take the frames pointing towards the currently brightest parts of the frame at the start (towards where the sun will rise and only get brighter) and finish where it was currently darkest (but will brighten over time – away from sunrise). 2) At sunset do the reverse – start pointing away from the sun and finish towards the now set sun. The aim here is to reduce the overall exposure differential as you’re rotating to take the frames.
In the case here I started on the left and rotated around to the right. Even using this technique and because I started at 6:07AM and finished at 6:26AM I still had to manually adjust the exposures across the frames. I started with a 123 second exposure (@ f/10) for the first frame and ended with a 31 second exposure (@ f/11) for the last frame.
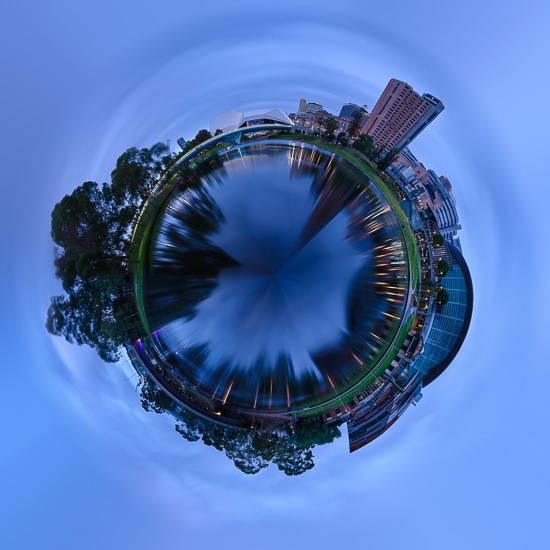
and for kicks (and because I noticed the left and right sides would likely reasonably match up) here is the Panosphere (Tiny Planet) version…
Torrential
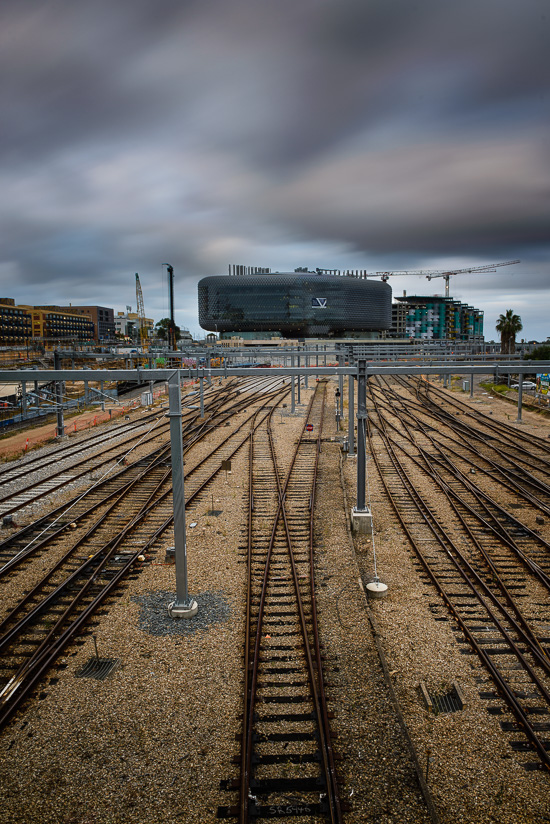
On my early morning walk to this spot I’d also scoped out another potential shooting location. The view off the Montefiore Bridge – which crosses the Torrens – looking westwards (away from sunrise) over the train tracks which come into Adelaide’s Central Railway station.
Having finished the “sunrise” session and with the skies still pretty grey and overcast I headed back to the bridge to see if a long exposure would salvage the view.
This end result is actually the result of manually blending four long exposure frames taken with the Lee Bigstopper (ranging from 30 to 216 seconds).
All Tracks Lead To…
