The Story behind “The Dish”…
by Rodney Campbell on Nov.10, 2015, under Life, Photography
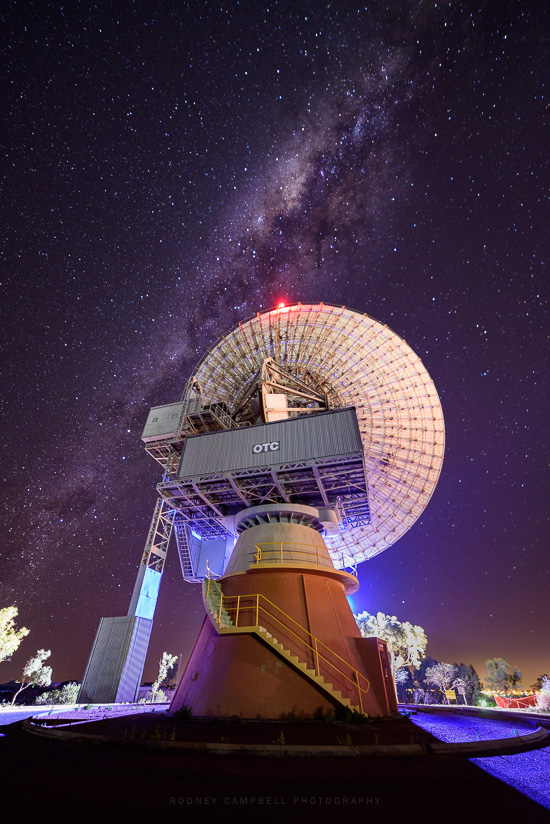
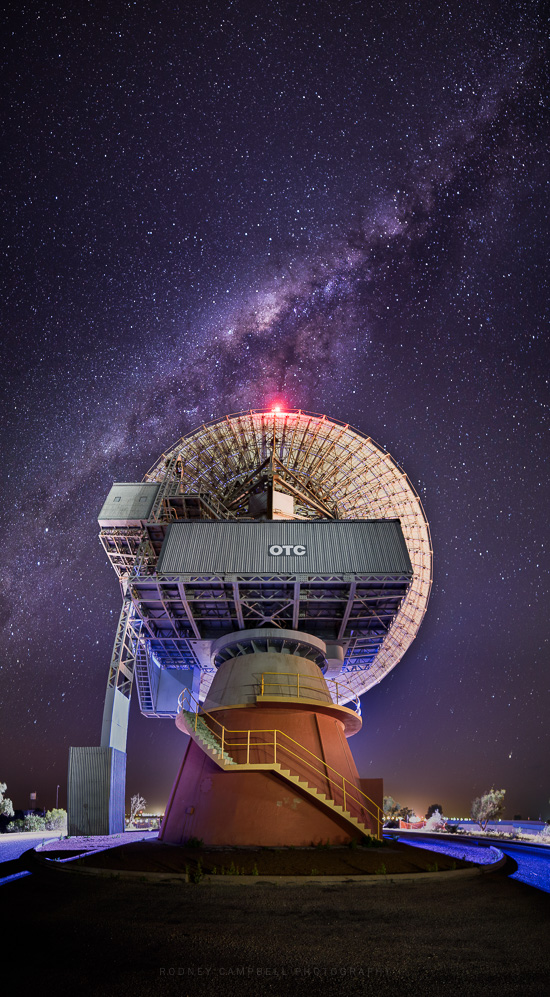
My winning dish image is a stitched vertical panorama composed of multiple horizontal frames taken with the D750 and the Samyang 14mm lens. It’s probably one of the hardest stitched panorama’s I’ve ever put together.
The “dish” is the decommissioned OTC Satellite Earth Station in the town of Carnarvon on the West Coast of Australia. Established jointly with NASA in 1966, the OTC Dish at the edge of town tracked the Gemini and Apollo space missions, as well as Halley’s Comet before closing in 1987.
You see the dish when you drive into Carnarvon and it’s at the entrance of the Carnarvon Space and Technology Museum. It’s actually up on a bit of a hill at the edge of town and the dish basically points towards and overlooks the town.
Calling Outer Space
I had an idea of shooting the dish with the milky way arching over the dish in the sky above. As we were only staying in Carnarvon for two days I knew I needed to just hope for good luck when I was finally there.
I went out after dinner on the first night we were in Carnarvon and drove over and parked near the entrance. I’d not actually been here before (so no recce beforehand) – thus I had to wing it all on the night.
I arrived around 9PM and after making my way up to near the dish.
Before I came here I had the idea of composing a shot sort of diagonal to the dish with the whole front face of that enormous dish in the shot and the streak of the milky way arching over the dish. I was planning to shoot from the front side and face towards it so that the town would be behind me and I’d have more open farmland and darker night skies behind it.
Unfortunately when I actually arrived at the dish at night all those plans went to hell…
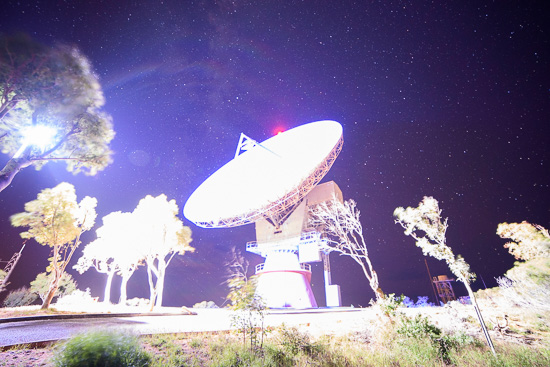
It turns out the dish is lit up at night by some very powerful LED flood lights at the front. I did try in vain to setup a shot with some tree’s on the left attempting to block the lights themselves but as you can see from the test shot below all manner of problems existed. From the dish going nuclear white from the bright floods, the bright flood lights themselves adding all sorts of flare and all the trees in the way (also being overlit).
Note: These photographs (especially the wider shots) look much better when larger – so click any of the images below to see larger versions in an inline overlay slideshow gallery viewer.
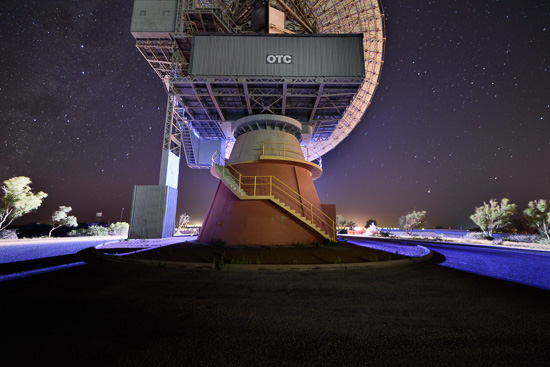
My original idea wasn’t going to work – no milky way arch for me. Instead I figured I might try shooting the dish from behind and hope that if I got close enough to the dish itself that the building at the base and the dish would block out enough of the powerful flood lights. Plus it might even add a nice rim light if I could control it well enough.
I had to do a lot of work to capture some usable frames. I was basically shooting four main horizontal frames to stitch into the panorama (see below). What I did however is adjust the ISO and shoot multiple exposures for each of those four main frames with the hope that I could do something with the best exposed parts of each frame in post processing before stitching them together. Sort of like shooting panoramic milky way high dynamic range photography… but not :).
So…
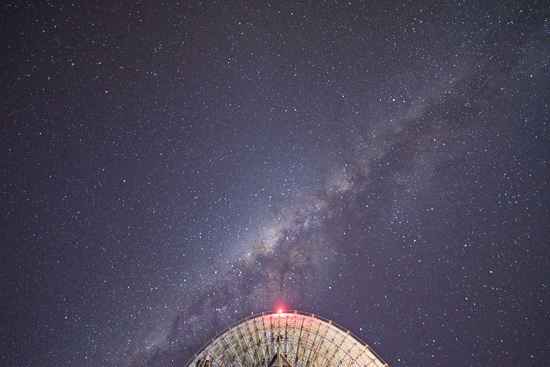
For the topmost frame which is looking almost straight up, I could shoot at a relatively high ISO without much light pollution or direct ghosting from the flood lights. I shot three frames at ISO 5000, 4000 and 3200 (all 30 sec at f/2.8). Blending the ISO 5000 and 3200 frames in photoshop I used mostly the ISO 5000 exposure with just some subtle blending of the very top of the dish from the ISO 3200 frame.
For the next frame down I took four exposures – ISO 4000, 3200, 2500 and 2000. I used all four exposures as layers in photoshop and manually blended components of each with masks. The result is predominantly the ISO 4000 for the stars and bits of the other three exposures for parts of the dish.
The next frame down had six (6) exposures – ISO 3200, 2500, 2000, 1600, 1250 & 1000. In post I layered the ISO 3200, 1600 and 1000 exposures and manually blended them. Using the ISO 3200 frame for the upper part of the sky and then parts of the other two frames for the dish and the lower third of the sky.
Finally the bottom frame had five (5) exposures – ISO 2500, 2000, 1600, 100 & 800. Again in post I layered three of these exposures (ISO 2500, 1600 & 800) and blended them.
That work done, the four master frames were then stitched using Lightroom’s Photo Merge to Panorama function. The DNG was then finished in Photoshop and Lightroom and voila here we have…
The Dish
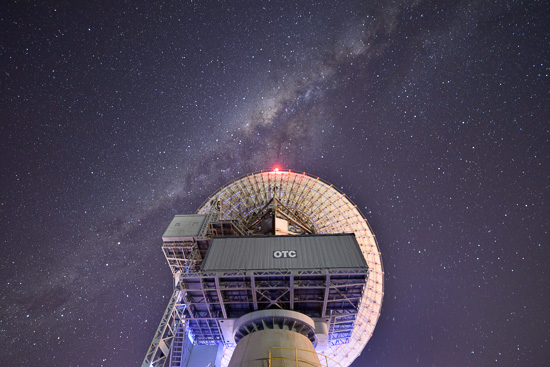
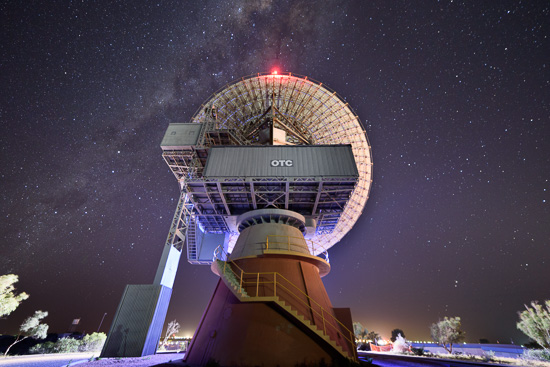
Up at the top of this post is a single 14mm frame from slightly further back and shifted as far right as I could move whilst still using the building to just barely hide those very strong blue floodlights out the front.
