Archive for January, 2016
Regans Pool…
by Rodney Campbell on Jan.23, 2016, under Life, Photography
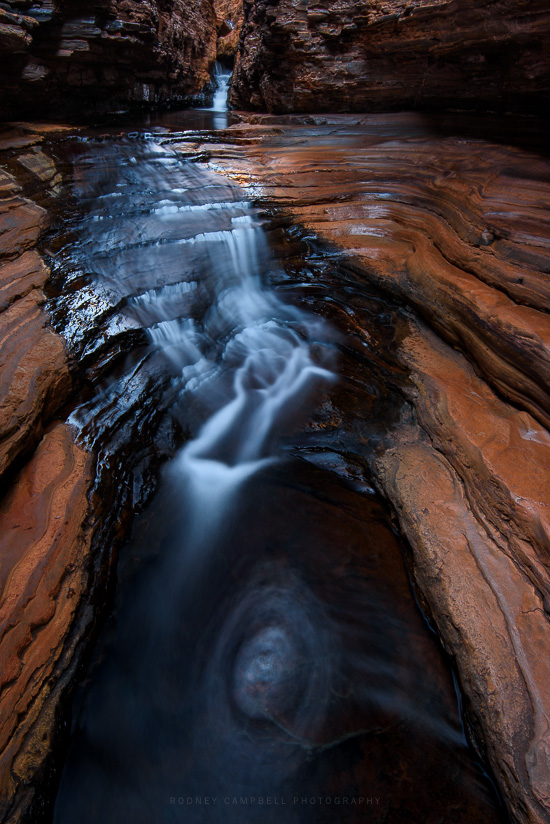
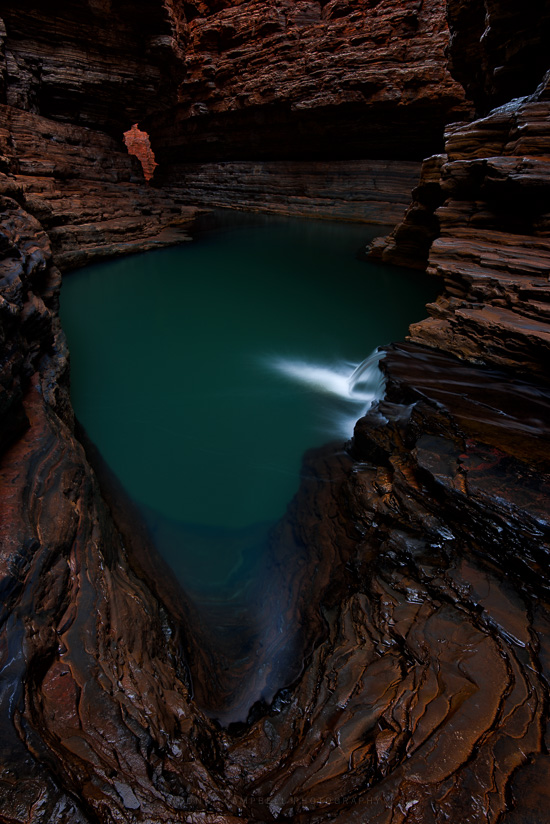
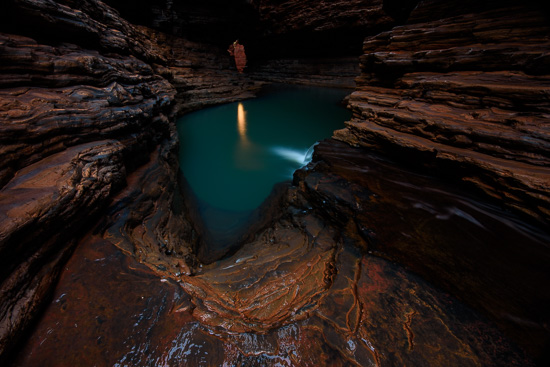
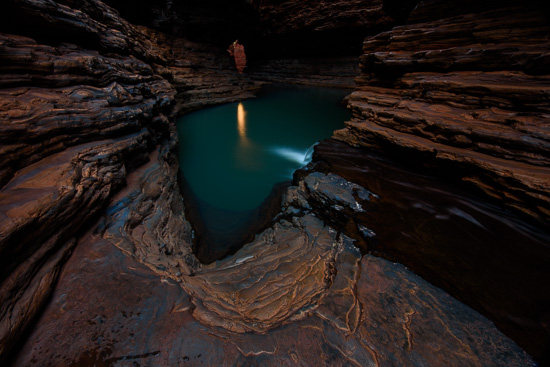
Regans Pool lies downstream of Kermits Pool in Hancock Gorge. Formerly known as Plunge Pool, Regans Pool was renamed in honour of SES volunteer James Martin Regan, 36, who drowned as he undertook the second rescue of a British tourist in one day in April, 2004.
Cascades
After the first tourist had been successfully winched to safety after falling 50m into a gorge, an emergency call came to a team including Mr Regan to go to the aid of a second tourist who had had also fallen at a spot called Plunge Pool. It was as this second tourist was being helped into a stretcher that the flood struck and a massive wall of water entered the gorge without warning.
At the end of Kermits Pool there are warning signs caution against going any further into this Class 6 section without ropes, harnesses and an experienced guide.
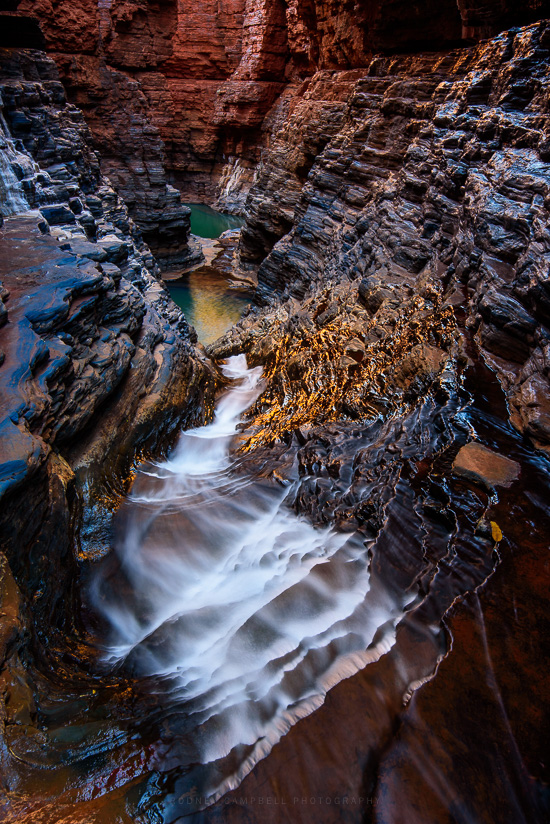
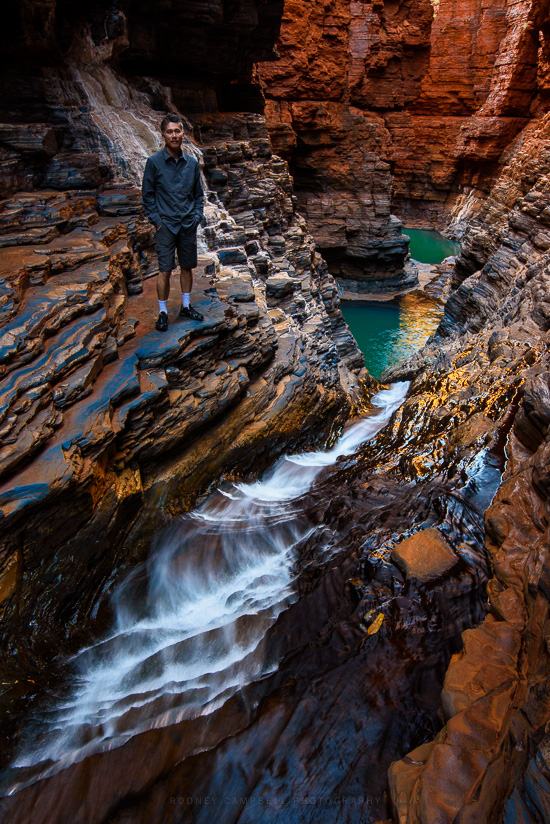
This is the view from the top of this section looking down the cascades to the lovely pools below. It’s actually just a little (perhaps a few metres) past the warning signs and the chain across the gorge.
It was a perfect spot for a few carefully composed (and even more carefully placed) selfies. When doing these on tripod selfies I pretty much always take shots without me as well as ones with me.
Pro Tip: Check your gear is all in working order before you head into a once in a lifetime location!.
This was the first time I was using my new Overboard Dry Bag backpack. As such I was moving select items from my normal camera backpack into this dry bag for this day trip. I couldn’t (and didn’t want to) take all of my usual gear that I’d normally take in my camera bag. I usually pack my bag the night before so in this case I just took the bare essentials:
– My Sirui N2204 Tripod with Really Right Stuff BH-40 PC-LR ballhead and clamp
– My Nikon D750 camera
– Nikon 16-35/4 ultrawide lens
– Nikon 24-70/2.8 midrange lens
– Lee Filter Holder, Heliopan 105mm CPL plus a few (GND/ND) filters
– Phottix Aion Wireless Timer and Shutter Release
It’s this last that I failed to check the night before. The batteries in my remote had gone flat and the spare rechargable AAA’s that I normally keep in my camera bag were still there and not with me when I discovered the remote didn’t work once I was already on location. So for this whole morning session I was forced to use the camera’s built in (2 or more second) self timer instead – sigh!. It was more cumbersome (especially for these selfies where I had to go back and forth between each shot), but it was a workable solution.
It’s a spectacular spot and I really would have liked to go further and shoot in the areas below. The smoothly rounded rocks are very slippery and whilst I’m a bit of a mountain goat with excellent balance, even I wasn’t willing to risk going any further, let alone attempt the descent down this precipitous slide to the pool below.
Regans Drop
For those keen to explore these extreme areas, professionally guided tours are available through West Oz Active. Something for me to consider next time I’m here (if I’m ever fortunate enough to have that chance again :)).
Smoothing the Curls…
by Rodney Campbell on Jan.22, 2016, under Life, Photography
Before heading to North Curl Curl for a sunrise shoot at the rockpool there I already had two shots in mind. Both of which would involve smooth long exposures with two of the interesting structures there.
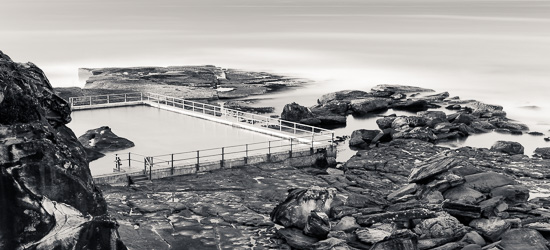
The first was a long exposure looking down towards the pool from up on the headland with the ocean smoothed out and the churning water turning to mist around it and the clouds streaking behind.
Smoothing the Curls
The second was a shot of the Obelisk op on the cliffs with the clouds streaking in overhead.
Note: These photographs (especially the wider shots) look much better when larger – so click any of the images below to see larger versions in an inline overlay slideshow gallery viewer.
As it turned out there were no clouds this morning and it was low tide so the sea didn’t come up around the pool. It looked like both of my ideas were bust…
After shooting sunrise down at the pool I decided to head back to the steps which come down from up on the cliff down to the rockpool area at North Curl Curl. This was almost the elevation I was looking for, I would have liked to have been a bit further to my right but alas I’ve not yet discovered the ability to fly and float in mid air 🙂
With the sky flat and lifeless, devoid of clouds, I basically decided to completely exclude it from the composition and instead focused more on the rockpool itself and the rocks around it and eventually the ocean.
I think this shot would work much better with a much higher tide (and clouds) but hey I work with what I’ve got…
I should have shot it with the 24-70 (and normally I would have) – but I wanted to see how my new 28-300 would fare as my longer make do landscaping lens for my upcoming travels and to see if I could leave the 24-70 at home…
Image quality wise I could immediately notice some factors even on the LCD (like the horrendous barrel distortion of the horizon and it’s definitely not as sharp zoomed in) so I may be taking the 24-70 as well if I can fit it.
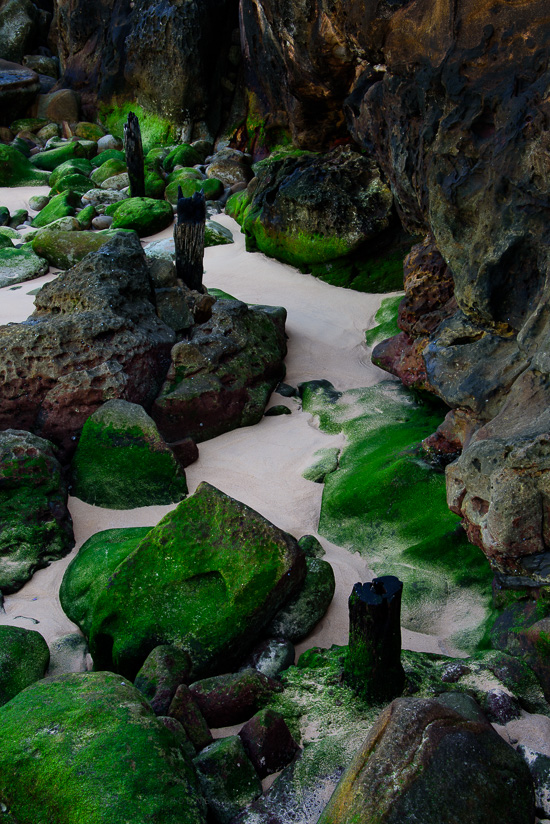
Whilst I was up on this platform on the edge of the cliff I could look down and survey the area along the coast and I could see what looked to be a fantastic section of very green mossy covered rocks along the cliff edge below. With it being lowish tide this whole area was exposed and I imagine it’s underwater during high tide.
The area was still in shadow this early in the morning and with the sky bland and the pool now uninteresting photographically I figured I’d see what I could do here at this seaside location by looking away from the water 🙂
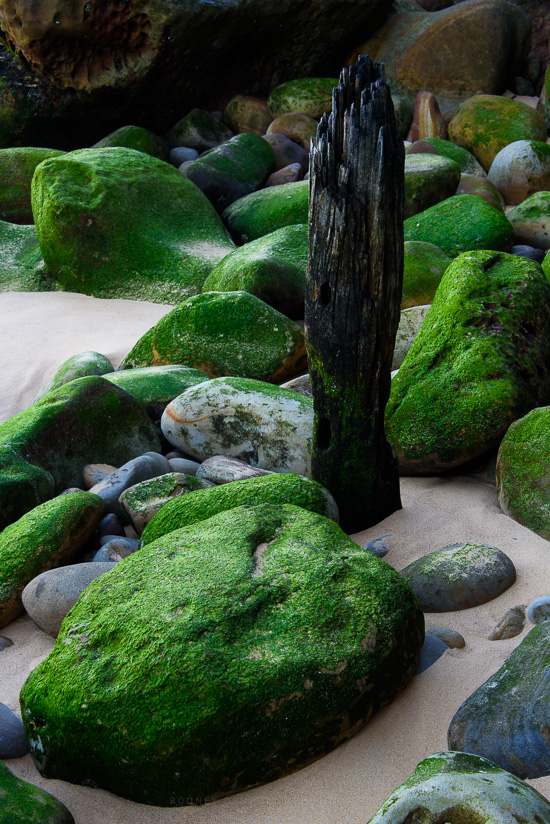
Then I was down at the bottom exploring the smooth green rocks. They were very cool and set against some nice clean untouched sand. Better yet there were these three wooden posts sticking up out of the rocks. Almost like there must have been some sort of structure here at the bottom of the cliff in days gone by.
Poles in Green
The image above gives you a basic idea what the area looks like. Still I found it surprisingly difficult to make a composition I was happy with. I was trying to exclude the very bright world around it and focus on just the pole and the fabulous green rocks sitting in the sand. Uninspired, this was about the best I could achieve.
Standing Amongst the Green
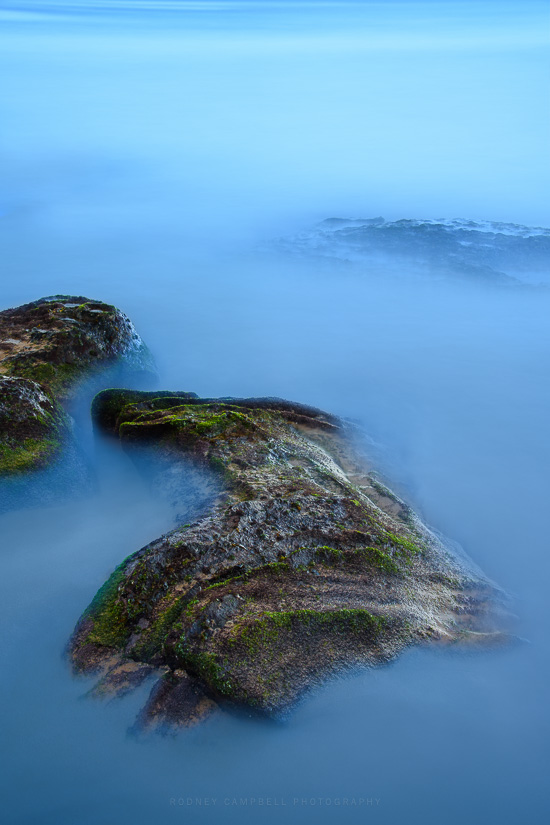
Then it was back to the BigStopper and one more long exposure before heading off. I liked the look of this rock with some deep green moss and the interesting lines and ridges on it. I setup on another rock right next to it out of harm’s way (basically trying not to get wet from the incoming waves and tide :)).
Again I’m pointing down to exclude the sky and just include a palette of moving water swishing around and over the rocks smoothed to a fine blur. The tide was a little too high for this and I could already tell that my poor rock would be inundated by the moving water during the exposure. So after the long exposure was done I took a second frame without the BigStopper to get a cleaner image of just the rock without the water running over it so I could blend this in with the long exposure frame. The end result, not great but it’s somewhat interesting…
Iced Bergs
Looking into the Whirlpool…
by Rodney Campbell on Jan.21, 2016, under Life, Photography
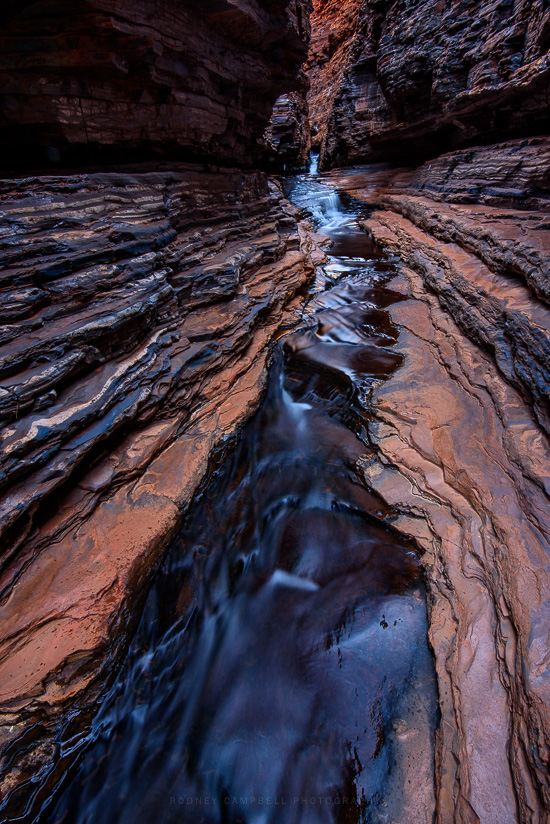
Inbetween the very narrow chasm which is Spiders Walk and Kermits Pool is this short section of gorge with lovely water flow, small pools and very nice light. One thing I’d noticed on my walk in was this small waterfall with a small pool at the bottom where a tiny whirlpool of water wash formed as the water flowed into the pool.
It was too good a spot to give up so as soon as I’d shot the obligatory cliche shot of Kermits Pool I came back here to see what I could craft.
In this first shot I’m almost at Kermits Pool, just turned around looking up towards the end of Spiders Walk in the distance. You can see I’ve shot this at quite a wide focal length of 20mm so this section of the gorge is quite short.
Facing Spiders
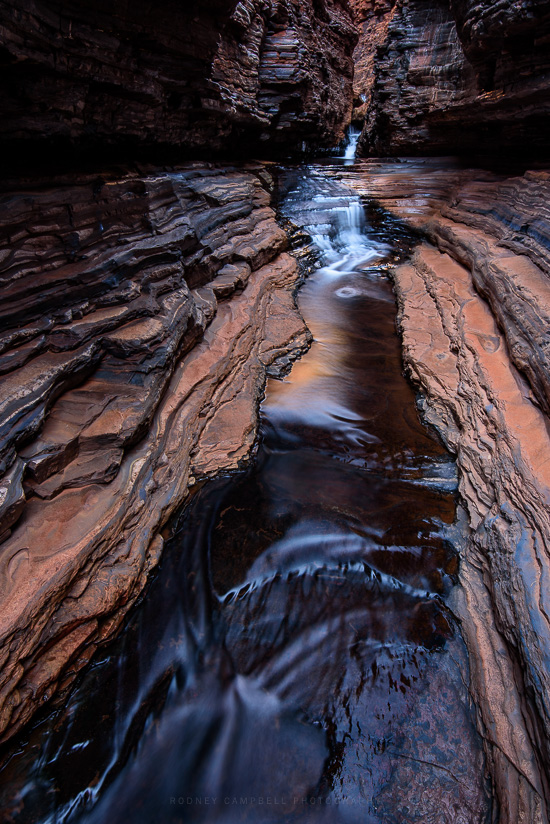
Moving a little closer to that swirling pool of water.
Whirlpool Reflections
Finally up close I can make a feature of that lovely swirling vortex of water that so attracted me in the first place.
Spiders Whirlpool
Kermits Pool…
by Rodney Campbell on Jan.19, 2016, under Life, Photography
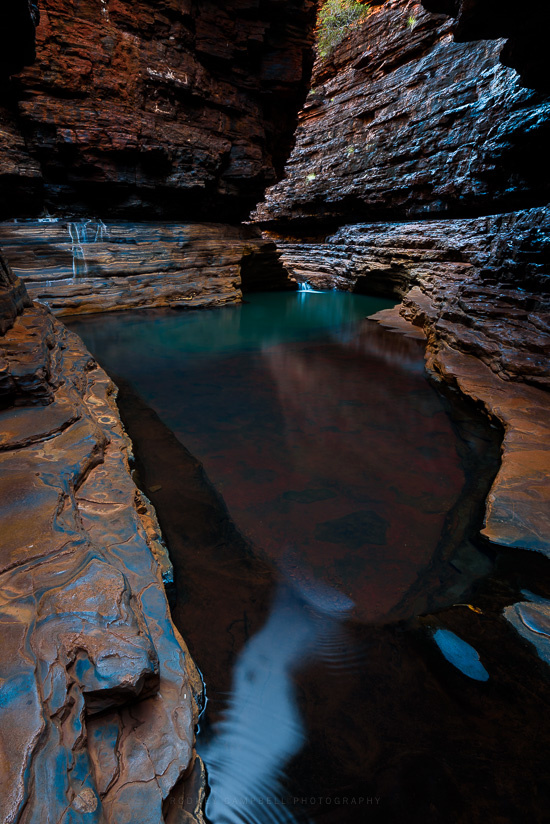
Karijini is home to a spectacular and unique collection of gorges and rockpools that are unlike anywhere else in the world! Here at the eastern end of the park, one of the highlights is undoubtedly Kermits Pool, so named because of the bright green hue in the water.
Kermits Pool
While not particularly difficult, a reasonable level of fitness is required for this walk. You should also prepare to wade through some short sections of water. Some people simply leave their shoes mid-way own the track and continue barefoot, others continue the walk in their boots. I planned ahead and brought my water shoes (specifically designed to be completely immersed in water whilst still having lots of grip and fast drying once out of the water). I also bought a pair for my daughter before going so she’d be fine as well.
Note: These photographs (especially the wider shots) look much better when larger – so click any of the images below to see larger versions in an inline overlay slideshow gallery viewer.
Kermits View
This is the “classic” view of Kermits Pool. I’d arrived here at 8:30AM and this is taken from the side where you come down to the pool from Hancock Gorge and the Spider Walk behind me.
Pro Tip: When shooting in these gorges you want to be careful where you walk. Whilst I mean the obvious of being careful where you step but photographically I also mean being careful not to walk wet footprints over rocks you want to include in your shots. This is especially true if you plan for those rocks to be up close in your foreground with a wide angle lens. Leaving wet footprints or even wet splash marks over the rocks isn’t something you can easily take away (unless you are willing to wait for the area to dry).
In the view below if you look in the bottom left corner you can see my error, with water running off my wet shoes. This image was taken before the final image above. I looked to resolve the problem by splashing lots of water from the pool in front up onto the rocks in the foreground to wet the entire area. That patch of rock in the foreground was also the brightest area with higher levels of reflected light from above. Wetting the area also allowed the deeper richer colours to come through and to help remove the washed out look in that area.
Kermits View II
The view from the other side of Kermits Pool looking back.
Back of Kermits
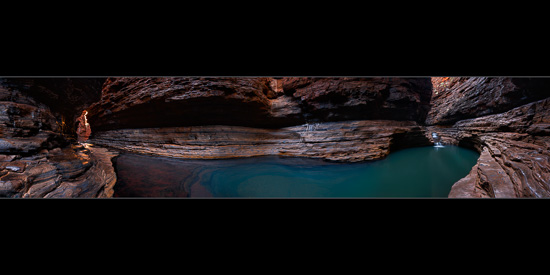
I spent some time exploring the area and making images at various spots (further up the gorge behind me where you come in as well as just past Kermits Pool looking down onto a series of cascades and Regans Pool). At 10AM I was on the side of Kermits Pool taking the frames for this stitched panorama when the first two of the tourists for day started to arrive.
This stitched panorama of Kermits Pool is taken from the side, to the right side is where you come to the pool from the Spider Walk and Hancock Gorge, to the left is the narrow entry way to the next section of the gorge where you can’t go (without ropes and guides).
All of Kermits
For this panorama I took thirteen (13) sets of three (3) bracketed frames (all pushed towards underexposure at -2&2/3EV, -1&2/3EV and -2/3EV). For the most contrasty areas (where the light was coming in from above and lighting the exposed walls in some areas whilst others were in deep shadow) I needed to exposure blend two or three of the exposures to create the frame I used to stitch the panorama. In some frames using a single exposure was all I needed. The end result stitched and blended quite nicely if I say so myself – a not often seen view of Kermits Pool.
Final note – as some of these frames were reasonably long exposures (15 seconds) it took some time to complete the whole sequence (more than ten minutes). I was about half way through when the first two other arrivals came into Kermits so I did have to wait for a few of the frames (so I didn’t have them moving through the frames).
Stars in the Middle…
by Rodney Campbell on Jan.17, 2016, under Life, Photography
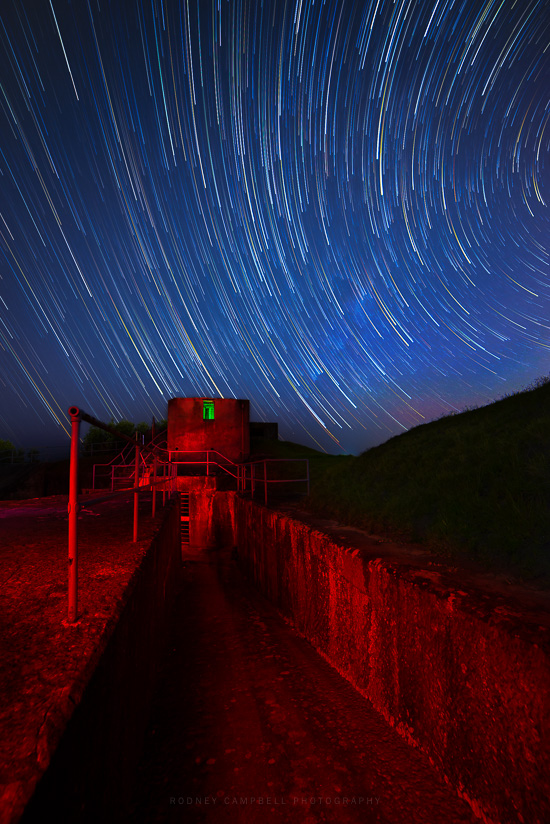
Another blast from the past – A star trails and light painting session with friends all the way back in May last year…
As with previous star trails sessions within Sydney itself I chose a location with relatively clear views eastwards out to the ocean to minimise the issues with light pollution – thus the choice of Middle Head Fort. It’s handy to get to but in a relatively isolated position with less light pollution from either local suburbs and looking east it’s out to sea.
Sunset here was to be at 5:07PM and I figured it would be dark enough to start shooting the stars around 7PM. Unfortunately this evening the moon was rising at 9:40PM so that wouldn’t give us much time to capture some trails – probably around two and half hours at most.
Milky Screams
So it was an intrepid bunch met at Middle Head Fort around 5PM one Saturday evening. We stuffed around for an hour or so working out where we’d like to shoot the stars. Basically this involved walking around the various fortifications taking test shots with the lens I was going to use for the stars and seeing what might work.
We’d actually spent some time working out approximately where the centre of the rotation of the stars would be (south from here towards south head, Rose Bay and all the eastern suburbs of Sydney). We’d all lined up on the northern side of this fort and had various compositions which would include the centre of the star swirl.
Unhappy with my foreground composition however I made a last minute decision to go back to my original plan (before coming here) and test composition I’d taken earlier just after sunset.
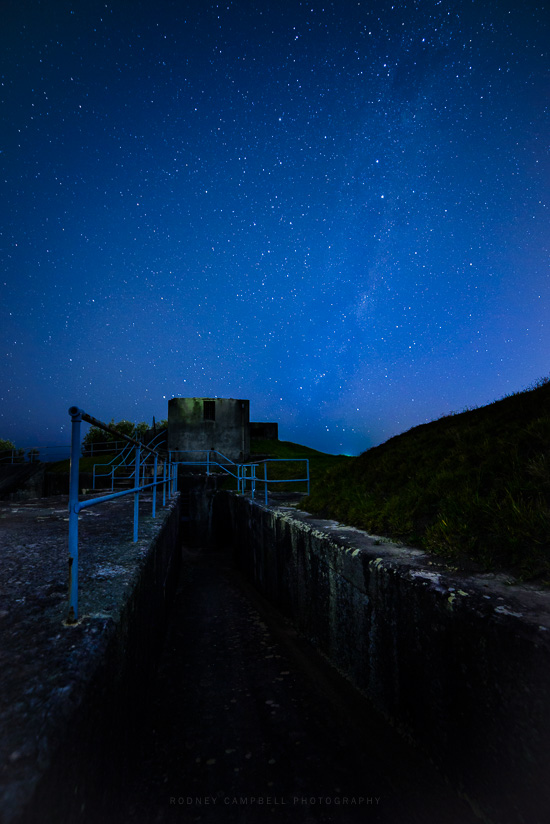
I decided I wanted to shoot vertically looking down this tunnel rampway going under the fort and face mostly east out to sea.
There were a couple technical reasons for wanting to setup here and face this way but mostly it was the composition I was happier with.
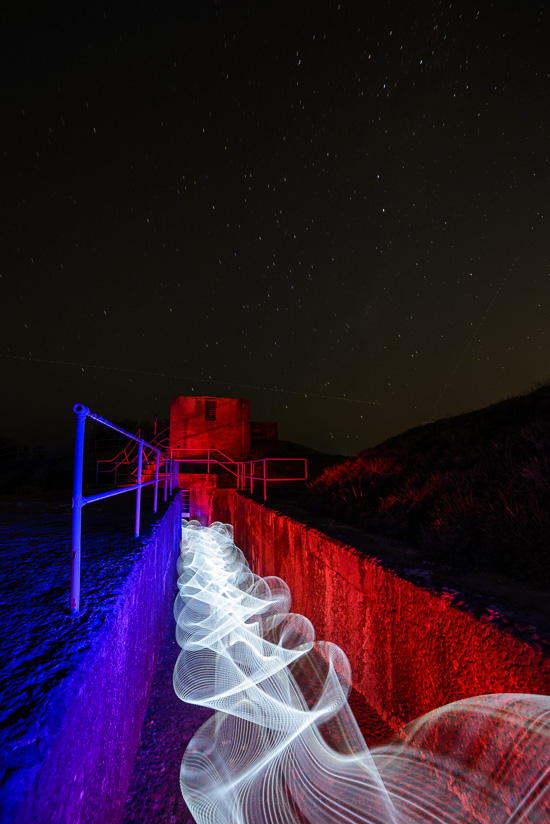
Once setup I spent another twenty minutes or so doing some refining shots and some quick light painting of the foreground shots with more normal landscape settings (f/8 at ISO 200). I needed something I could blend into my final star trails frame for all the foreground (which would be relatively black and silhouetted in the actual star trails exposures). I figured we “might” get a chance to do some more at the end but somehow guessed we wouldn’t by then and would just want to go (which we did). So I made sure we had some in the can that could be used later in post – unfortunately I only did five quick experiments and I accidentally deleted the first – doh!.
Here is one of the “experiments” I didn’t use in the final image 🙂
Finally just before 7PM I set my intervalometer in motion to capture the exposures for the trails.
Then we went off lightpainting in some nearby fortifications.
286 Frames (at ten past ten) I stopped my camera. The moon had risen half an hour earlier and was now just coming up into frame behind the fort and the sky was noticeably brightening. We’d had enough with light painting anyway so we packed up and left for home.
Insanity
Thankfully the (very nice looking clouds) which magically appeared out of nowhere just before sunset vanished by the time we started taking the trails and the skies remained clear all the time we were there.
We had a few visitors come by in the darkness and walk through our frames, and even sit up on the fort itself, with torches and phones. We were also shooting before the 11PM airport curfew so of course there were a number of frames with plan trails in them. All of this had to be individually edited out of the source frames in Lightroom.
