Archive for March, 2016
What Value in Timing…
by Rodney Campbell on Mar.15, 2016, under Life, Photography
In my previous post detailing our sunset session at Wombarra on the northern edge of Wollongong I mentioned that one of the important aspects of shooting seascapes is timing.
Churn
Timing is definitely not the only thing that is important but it does play it’s part. Below I’ll try to explain why.
Like much of photography choosing an appropriate location is important and then creating your composition. With landscape and seascape photography having a good location with the “right” atmospheric and weather conditions also plays a significant part in the end result. You then need to get your camera settings right, and this may involve things like what focal length choice you make, where the camera is, what aperture, ISO and shutter combination your are going to use, where you are going to focus and so on.
However once all that has been decided (by you) and locked into place you then have a choice of “when” you are going to take the shot. It is this timing of the when that can play a critical factor in what results you end up with.
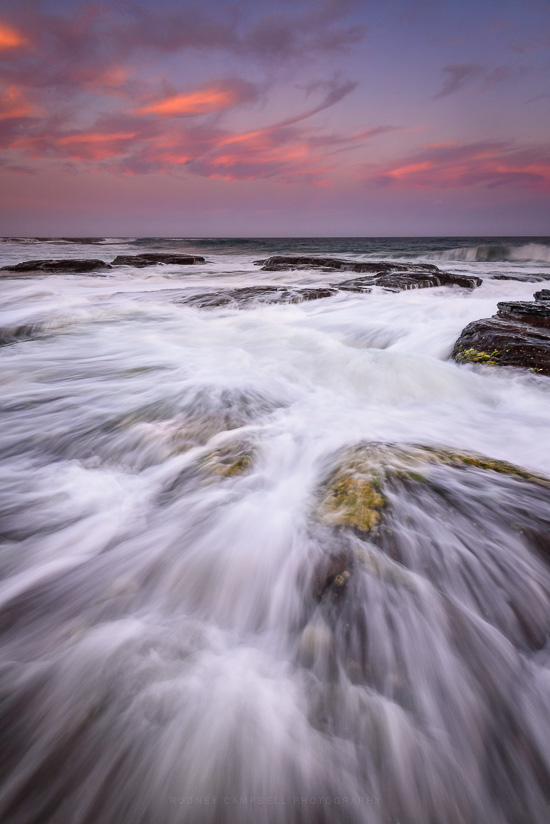
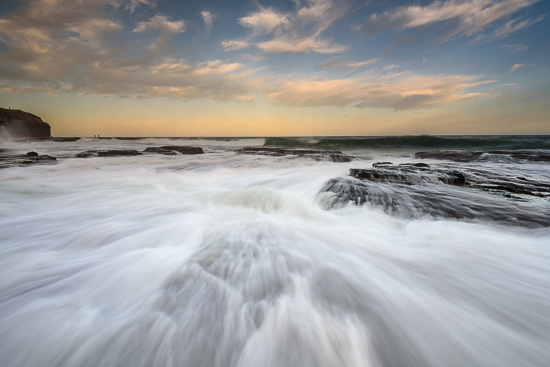
To explain further we are going to take this image above which I captured as part of my sunset shoot at Wombarra.
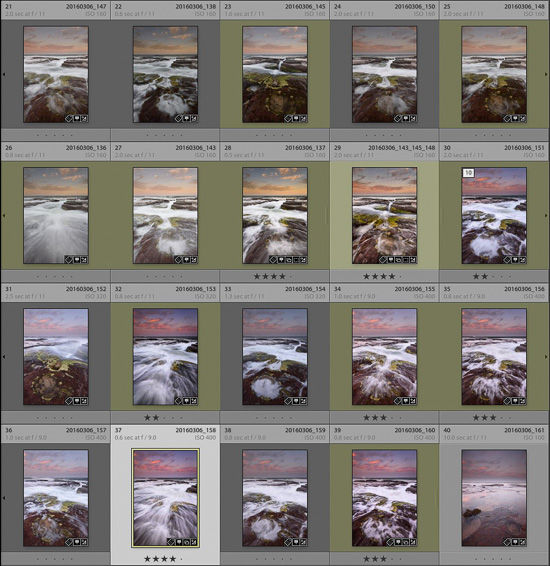
Below is a screen grab of my Lightroom Library view for part of this shoot. What you can see here is frame numbers 21 to 40 from the session.
The first 8 frames are the last part of a sequence of seventeen (17) frames from the previous composition. The next ten frames (images 30 to 39) are the ones which represent the frames I took for this current composition (you can see I’ve put these into a stack in my Lightroom catalog). Highlighted is the image you see above which just happens to be the eighth (8th) frame I took in this sequence.
Note: These photographs (especially the wider shots) look much better when larger – so click any of the images below to see larger versions in an inline overlay slideshow gallery viewer.
Before starting this sequence I’d assessed the scene, watched where the clouds would be and where the water flows. I’d imagined what the composition would look like and how I wanted the shot to look. I’d worked out which direction I’d point my camera, what focal length I’d use. Where I’d put my tripod and at what height I’d have the camera. Whether it would be horizontal or vertical and at what angle I’d have the camera and lens. What I’d include in my foreground and where I’d put it, where the horizon would be and so on. I also setup my filters including the polariser and where it would be set at and how much graduated neutral density I needed over the sky.
I’d also worked out where I’d focus (I focused and locked it to manual) and what aperture I’d need for the depth of field I wanted based on focal length, distance to the closest part of the frame and where I’d focused.
Based on the movement of water I’d also decided roughly what shutter speed range I wanted to be in to allow the water to flow through the frame and give me the streaky but still textured water look I wanted (which was roughly in the half second to 2 second range).
At this point I’d adjust the camera settings and see if I needed to do anything else to get the overall exposure I needed. This may involve adding further ND filtering or dropping the ISO if the scene was still too bright to get down to the slower shutter speed I wanted. Conversely if it was too dark I might need to trade some aperture or ISO to bring the shutter speed up (as was the case here).
At this point I’m now set to take the shot and it now comes down to timing. Shooting with moving water in the frame is tricky however because each frame you take can look very different depending on where the water is in the frame, how much water there is and what direction it is moving and so on.
Wash and Tumble
When I say taking a sequence and timing I also don’t mean just spray and pray. Holding the shutter down and taking a repeated sequence of images hoping you’ll get lucky with one of them is not what I mean. I mean looking at the scene, really looking for what is happening and waiting for the moment to start the capture. It’s waiting for the water to be in the right place and moving in the right direction and so on.
You can see looking at my ten (10) frames in grid view how very different the overall image looks when a shot is taken a different times. Here I wanted to see what a shot might look when the rocks were still exposed but the channel was still full of rushing water – sometimes coming in and sometimes when it’s dragging back out. The shot I had in my mind however was where the surge was at it’s peak (from one of those larger rogue waves) and the water was rushing not just through the channel but surging over the edge and spilling over the rocks at my feet towards me.
In the grid you can see some images I short listed as potential candidates (flagged as Yellow) and those I’ve edited (they have a star rating). Finally my favourite version highlighted and posted up the top with the water rushing right over and filling the foreground with a churning streaky wash spreading out towards and past me – job done.
Wombarra…
by Rodney Campbell on Mar.13, 2016, under Life, Photography
Joined some friends for a visit down the coast at Wombarra. It’s about a ninety (90) minute drive south of Sydney down to this northern seaside suburb of Wollongong. The name Wombarra comes from an Aboriginal term meaning “Black Duck”.
Normally along the east coast of Australia we are out for sunrise at the seaside locations. Today however we were going down for an afternoon shoot.
Waiting & Watching
We didn’t actually see any black ducks here but the coastline was very pretty and Deb recommended this little spot on the rocks where this channel of water came in from the surging ocean.
It was only 6:20PM when Ron and I setup on the rocks here and it was still over an hour till sunset (7:30PM). It was time to break out the Stopper – first the LittleStopper and then when that wasn’t enough the BigStopper.
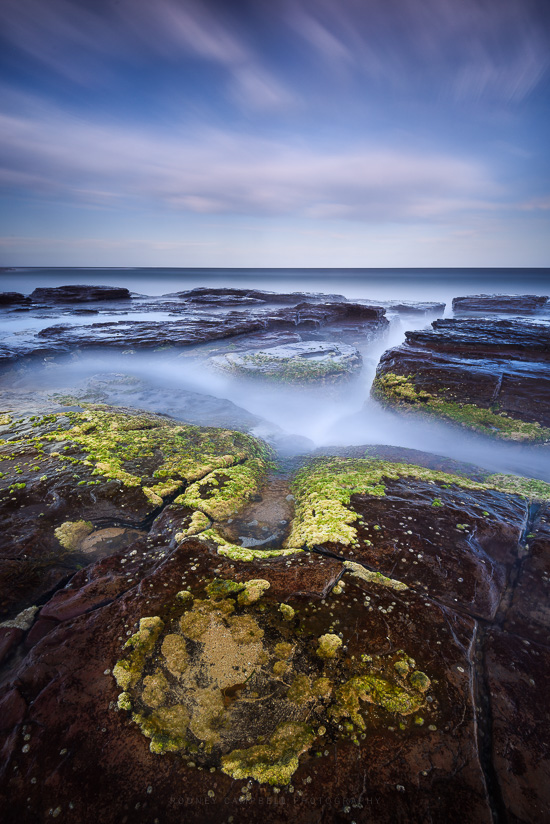
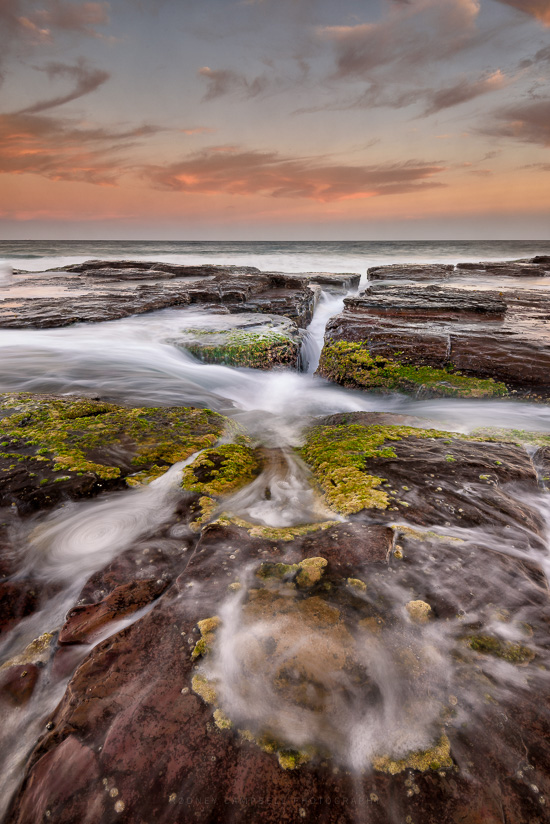
The clouds really weren’t moving so I had to shoot insanely long to get any sort of movement in the sky and of course the water in the channel turns to mist at that stage. It’s not really what I was hoping for but this does show you what the spot looks like and highlights the very nice channel, the rocks, the lovely small pools and that nice golden green moss in my foreground.
The final image is actually a manual layer blend of three exposures. A six minute exposure for most of the frame, the 9 minute one for the upper sky and a quick unstoppered shot for some of the foreground.
Unfortunately most of the “good” cloud was off more to the left rather than straight out this channel so it was time to shift the composition to include a better part of the sky. The fine whispy clouds were a good chance of some sunset colour even though the sun was setting behind us.
Note: These photographs (especially the wider shots) look much better when larger – so click any of the images below to see larger versions in an inline overlay slideshow gallery viewer.
Flowing Lines
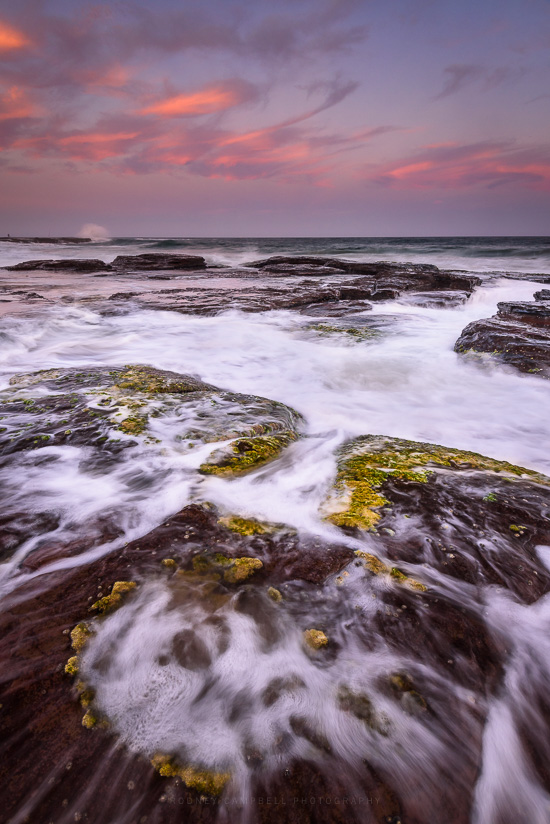
Switched to a horizontal, ditched the heavy ND’s. With the waves coming and in every now and then surging up the channel and over the rocks I was looking for a composition and shutter speed to emphasise the water flow.
With the speed of the water that I had an exposure in the half to two second range was going to do it for me and let the water flow through the frame and exposure but still have stringy texture to it.
Then it was just a matter of waiting for the right moment to start the shot. These types of shots are all about getting your composition and camera settings right to start with and then forgetting that and it’s then all about timing.
Whimsy
In the end as the sun started to set behind us the colour did work it’s magic in the sky in front. The pastels started to come out to play and the clouds lit up and down below we had soft glowing light. For about five minutes after sunrise it really was magic; a subject for a follow up post :), but all too soon it faded from view.
Tranquil Beauty…
by Rodney Campbell on Mar.11, 2016, under Life, Photography
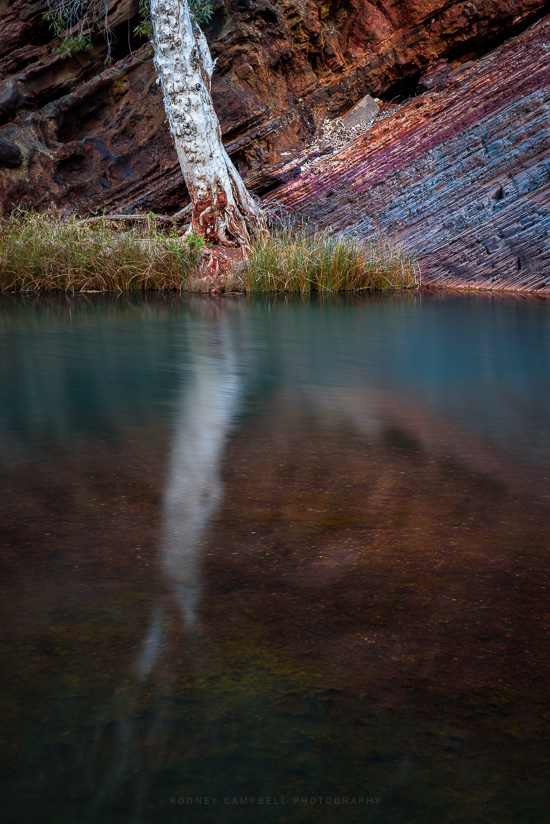
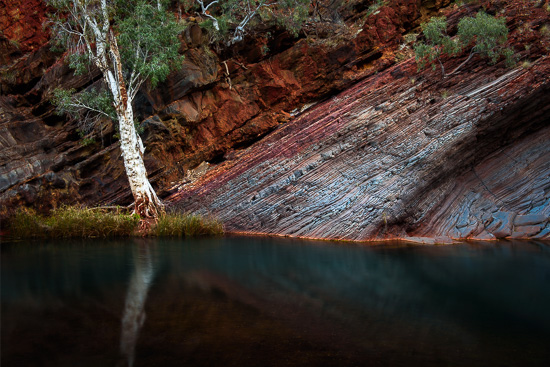
Having spent some time (about 45 minutes) photographing at and above the Spa Pool it was time to look for other compositions before it got dark. It’s hard to describe in words just how peaceful and beautiful this place it. Tranquil might be a word to describe it but it just doesn’t do it justice. It’s really a place you have to come to experience yourself before you can have any hope of understanding. I’m just so thankful I had the opportunity to share it with my youngest daughter – more than likely we may never be back this way again…
Tranquility
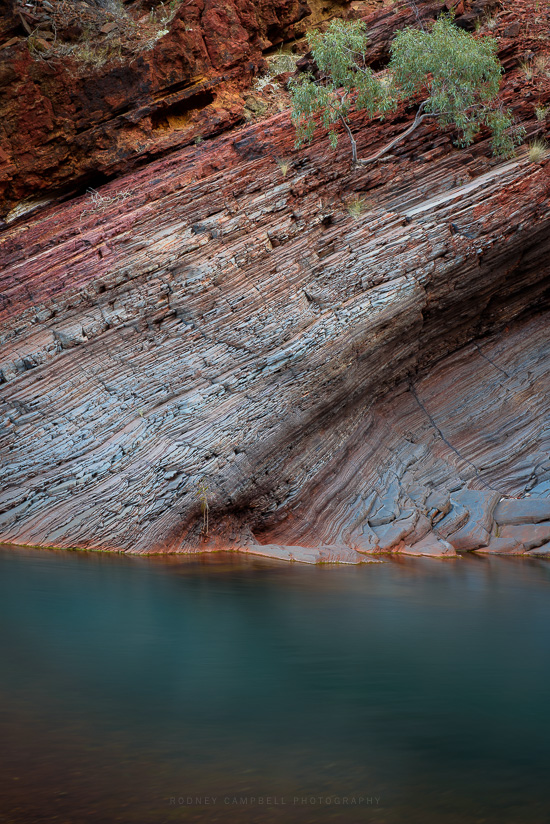
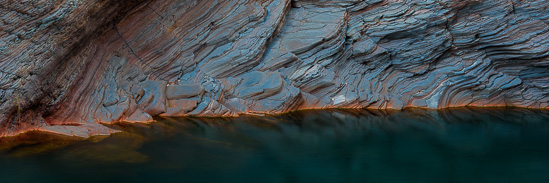
Hamersley Gorge is just so different to anywhere I’d ever been, with dramatic colours, textures and reflections, swirls of rock sweep down through the gorge and waterfalls rush into tranquil pools. It’s hard to fathom how a place like this exists so far from literally anywhere out in some of the harshest and most remote parts of the Australian outback. Given the location it is desert you’d expect – not this…
Flowing Away
Note: These photographs (especially the wider shots) look much better when larger – so click any of the images below to see larger versions in an inline overlay slideshow gallery viewer.
Reflecting on Life
A few hours one afternoon was never going to be enough, I quite literally could have spent days or weeks here. Alas time is so short and fleeting but in a place like this rushing just doesn’t feel right.
Tilted Living
By the time I was done dreaming the sun had almost set and I certainly didn’t want to leave…
Guardians in the Night…
by Rodney Campbell on Mar.09, 2016, under Life, Photography
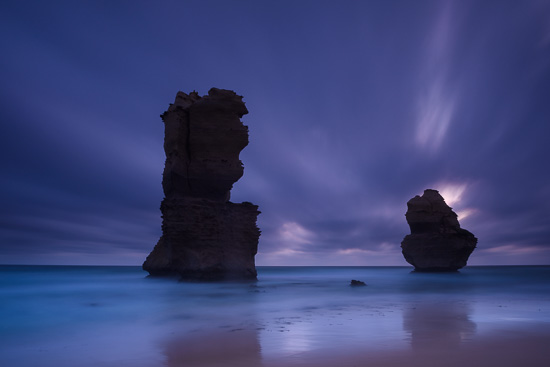
Even thought there was no nice sunset this evening I was still really enjoying the session down on the sand standing toe to toe with these massive guardians of the southern ocean.
It’s an invigorating experience being in a place like this. Massive cliffs rising behind me, a fantastic stretch of sand at my feet and bright greeny blue water pounding in in front of me. Even without these massive sea stacks the ruggedness of the location would be awe inspiring. I was alone in the universe with this raw landscape and loving it.
Guardians of the Light
Note: These photographs (especially the wider shots) look much better when larger – so click any of the images below to see larger versions in an inline overlay slideshow gallery viewer.
The shot above was taken up about as close as I dared get to the stacks. Every now and then a larger wave would come in and wash around me as it broke on the sand. Lucky I’d worn my trusty photography shorts and me sea shoes. It’s just past 9PM and a few minutes after sunset. The cloud is heavy and I’m using the Lee LittleStopper to get me out to a five (5) minute exposure.
Cracks
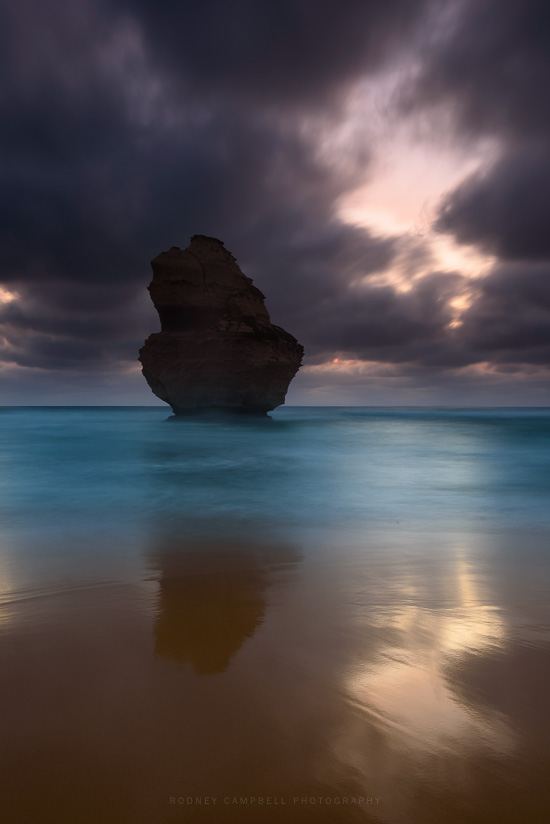
I switched to a vertical framing and was planning to take a long exposure panorama which stretched from the cliffs behind me on my right right around past the sea stacks to the cliffs over my left shoulder.
This is single central test frame I was working on before starting the panorama. I loved the way the crack in the sky was reflecting on the sand and sort of mimicking the sea stack.
I took fourteen (14) frames for the panorama (some repeats) but alas the light conditions were changing so rapidly during twilight I had to make all sorts of adjustments as I went along trying to keep the exposures vaguely matched. Alas in the end the resultant frames just would not stitch.
The Spa Pool…
by Rodney Campbell on Mar.07, 2016, under Life, Photography
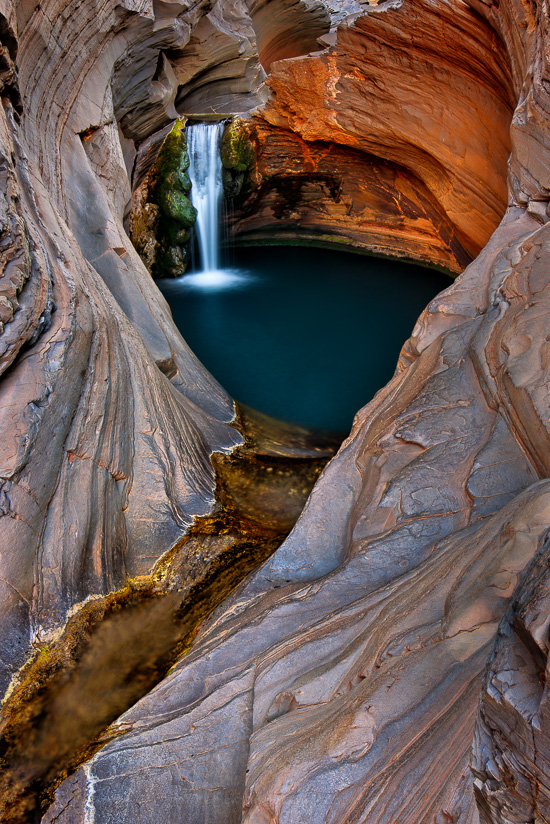
If there was one image that sums up the amazing experience at Hamersley Gorge or even the whole of Karijini it would be those iconic images of the heart shaped Spa Pool here in Hamersley Gorge. The Spa Pool is actually a very small rock pool (about the size of a car).
The Spa Pool
Many visitors to Karijini skip Hamersley Gorge because you have to drive so far outside the park to get here. I do understand – it’s a 90 minute drive on rough dirt roads from the main cluster of gorges centred around the Weano Recreation area and the Karijini ECO Retreat.
The pool looks inviting, and my daughter and I had planned to take a swim here (we’d brought towel and swimmers and all). It was still quite a hot day (even at 4:30PM) out but the water is freezing and the lip edge was very slippery so we just rested our legs in the water for a moment rather than taking the full plunge.
This little pool has been shot to death but you don’t travel this far without taking some images so here are my takes on Hamersley’s famous Spa Pool.
The shot leading this post is actually my last image close up to the pool and my favourite. It’s an exposure blend of three frames at -1, 0 and +1EV taken at 4:50PM (sunset would be in a little under an hour). It took me a while to get the composition right to highlight that famous heart shape to the pool.
There’s actually not a lot of working room at the Spa Pool. The pool itself is a lot smaller than I was expecting and it is way more exposed to the open sky than I’d anticipated seeing various images online. I was very fortunate to be the only photographer here this afternoon and my daughter and I were the only ones to venture up the gorge to this spot.
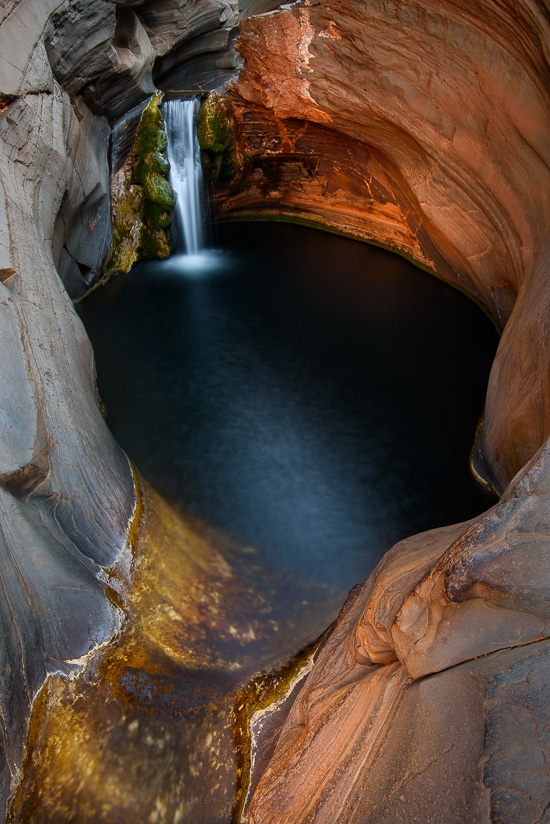
Even working with very wide lenses (I was using the Nikon 16-35) it’s hard to get all of the pool in when standing right near the lip of the pool. Plus you can only move back about a metre before falling into the large pool of water behind you.
When I first arrived here with my daughter I tried setting up right at the inside lip of the pool to shoot into the cavern. Even at it’s widest I couldn’t really fit the whole pool successfully in a single shot.
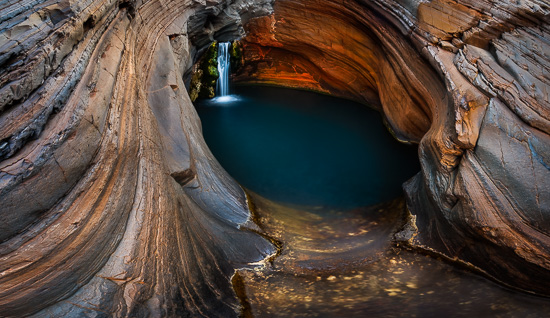
As I’d never actually done a multi row panorama before, this was my first ever attempt. I didn’t own or have a multi row pano kit at the time but I figured I’d give it a shot (all puns intended… or not). So I took nine (9) horizontal frames in a 3×3 grid – manually by hand adjusting my camera on the ball head – hoping all the sections would somewhat line up and overlap properly. It’s certainly not ideal – especially with so much rock so close to the camera lens (parallax anyone) but I had to give it a try.
An additional issue I was contending with was the glare and reflections on the water and rocks. Using a polariser was a must to try and cut these down at shooting time but when shooting a panorama with a very wide lens the angle of polarisation as I adjusted the different frames was huge. In the end for some of the frames I had to shoot two shots – one with the polariser adjusted to remove the glare from one part of the image (e.g. the water) and another to optimise other parts of the frame (e.g. the rocks). I then blended the best parts of each frame in post before merging all the frames to a panorama.
Hamersley Spa
The result this very wide view – a three row stitched panorama of nine frames in a 3×3 grid
Note: These photographs (especially the wider shots) look much better when larger – so click any of the images below to see larger versions in an inline overlay slideshow gallery viewer.
Below is about the best I could do from this sort of distance from just behind the opening of the pool – using a single vertical frame. The image which opened this post up top is as you can see taken with the tripod setup about a metre or more further back (just before tumbling into the pool behind). Shooting from this spot you are back from the lip of the pool, but the rocks on the right cover the right side of the pool, however you do then get that well known heart shape this pool is so famous for.
