Technology
Samsung TV and Streaming Media over Network (iomega NAS)…
by Rodney Campbell on Sep.07, 2012, under Life, Technology
I recently purchased a new Samsung Plasma Smart TV (E8000 Series 8) to integrate with my existing home technology setup – I inevitably came across a number of “teething” problems so I thought I’d write down some notes on problems and solutions for others who might experience the same issues.
I have a combination wired and wireless home network with a wired ethernet connection available to me where my home theatre (and this large screen Samsung TV) is located. I also have an iomega NAS (the iomega Home Media Network Hard Drive – Cloud Edition) on my home network which contains all manner of media including Music (an iTunes library), Pictures and Movies (mostly in avi, mov, flv or mkv format).
In addition to the normal CIFS/SMB/AFP/Bonjour/FTP/HTTP access methods the iomega NAS has a UPnP DLNA Audio/Video media server which supports streaming content to compatible clients. I’ve been using this capability in the past to stream content to my Popcorn Hour and WDTV Live network media players and since the Samsung Smart TV advertised DLNA compatibility I figured I’d be all good – just plug my ethernet cable into the TV and stream the content using the built in media player.
Problem #1: Streaming worked out of the box for Standard Definition AVI files but try and play a High Definition file and you just get a message “unsupported format”
Strange thing is if you plug a USB hard drive directly into one of the TV’s USB ports it plays everything fine – it just didn’t work over the network!
Some Google searching and there are many other comments indicating that the Samsung TV can only play these files from a local USB hard drive but not streamed over the network, others mentioned what I thought may be an answer – many suggestions about renaming the files from .mkv to .avi and they’d work – this did not work for me – in fact the Samsung TV wouldn’t even show those files anymore in it’s media browser.
Solution #1: Twonky Server
The solution is that the iomega NAS uses the Twonky Media Server software and you can directly configure this on your NAS if you go to it’s hidden management URL on your NAS and you can set it up so it works compatibly with your Samsung TV
– turn on your Samsung TV and go to the media player client and have it connect to your NAS (this is just so the NAS see’s your TV and it’s IP)
– on your computer go to http://YOUR-IOMEGA-NAS-IP:9000 in your web browser (e.g 192.168.0.XX:9000)
– select Twonky Media Settings -> Media Receivers
– in the list which appears you will need to find the entry for your Samsung TV (by it’s ethernet MAC address/IP Address – you can find these in your Samsung TV menus if you need to find out)
– for this entry change the menu item from “Generic Media Receiver” to “Samsung TV”
– click “Save Changes” and Restart
You should now be good to go – High Definition MKV’s play fine streaming over the network
Problem #2: No multi channel digital audio out on the SPDIF (optical digital audio) output
I have a home theatre receiver in my setup so I generally have all source components directed into it and then a HDMI output from the receiver to the TV. The Receiver handles all the audio/video switching and the playing and control of the audio. This has worked perfectly for me in the past and I’ve used an external standalone media player. With the Samsung Smart TV however I have the ability to play content directly within the TV (the AllShare Play DLNA media player component above along with the abundance of other streaming media apps it has access to – e.g. Foxtel, ABC iView, YouTube and so on).
The TV does however have an optical digital audio output (SP-DIF) so I connected this to one of the inputs on my home theatre receiver and I assumed I’d be good to go.
This works – however the TV appears to only send two channel linear PCM down this connection to the receiver and not the original 5.1 DD or DTS streams!
In the Samsung manual for the TV in the Digital Audio Out (Optical) section it notes:
• 5.1 CH (channel) audio is available when you connect the TV to an external device supporting 5.1 CH
• When the source is a digital component such as a DVD player/Blu-ray player/cable box/STB (Set-Top-Box) satellite receiver and you connected it to the TV via HDMI, you will only hear 2 CH audio from the home theatre receiver. If you want to hear 5.1 CH audio, connect the digital audio out jack from your DVD/Blu-ray/cable box/STB directly to an amplifier or home theatre
OK I get that – if I connect an external device to the TV (via HDMI) it only sends the audio out the optical digital out as 2.0 (so you should connect the digital audio out from those devices straight to the receiver – that’s what I do) – but what about the internal sources in the TV (like the free to air tuner and the built in media player) – shouldn’t it send 5.1 for those?
The only sound setting that is accessible on the Samsung display is ‘SPDIF’ (Menu -> Sound -> Additional Settings -> SPDIF Output) and this appears to be permanently set to PCM. There is a Dolby Digital option in the menu but it’s ‘greyed out’ and you can’t select it.
Solution #2: Wait till the source is actually playing before trying to change the settings
You’d think the TV would automatically switch the optical digital audio output to match the source being played but alas…
What you need to do is actually play the content in question (e.g. watch a free to air show which has 5.1 DD or play a media file with 5.1 DD or DTS content). Whilst it is playing hit the Menu button on the remote and go to Sound -> Additional Settings -> SPDIF Output. When you are there you will notice additional options become available in the menu including one which matches the audio being played (e.g. Dolby Digital or DTS) – you can then select that and that is what will be output on the optical output and your receiver should automatically switch to match.
I’m not sure if it was user error or not but I found I had to play a 5.1 Dolby Digital file first and enable the Dolby Digital option in the menu and then try another file which had 5.1 DTS and then enable the DTS option. I didn’t seem to be able to do the DTS one first.
LightCraft Workshop Fader ND – Variable Neutral Density Filter…
by Rodney Campbell on Jan.16, 2011, under Photography, Technology
I recently ordered the LightCraft Workshop Fader ND Mark II (77mm version) from their Australian eBay shop for AUD$129 delivered.
This is one of the class of variable Neutral Density filters and is adjustable between 2 to 8 stops of added density. Density changes when the outer filter is rotated (similar mechanism to a CPL (Circular Polarising) filter). I’d been considering a neutral density filter (something like an ND8 – 3 stops) to use during those times I wanted a longer shutter speed during brighter conditions (to smooth out flowing water for instance).
As I was out in the Blue Mountains yesterday taking photos of waterfalls it was an ideal time to try the filter out – although as it happens the very dull overcast conditions (perfect) we had meant that using the filter wasn’t actually necessary to get a slow enough shutter speed to smooth the waterfalls so I didn’t end up using this filter for most of my shots.
I did however take a sequence of test shots to show how it works.
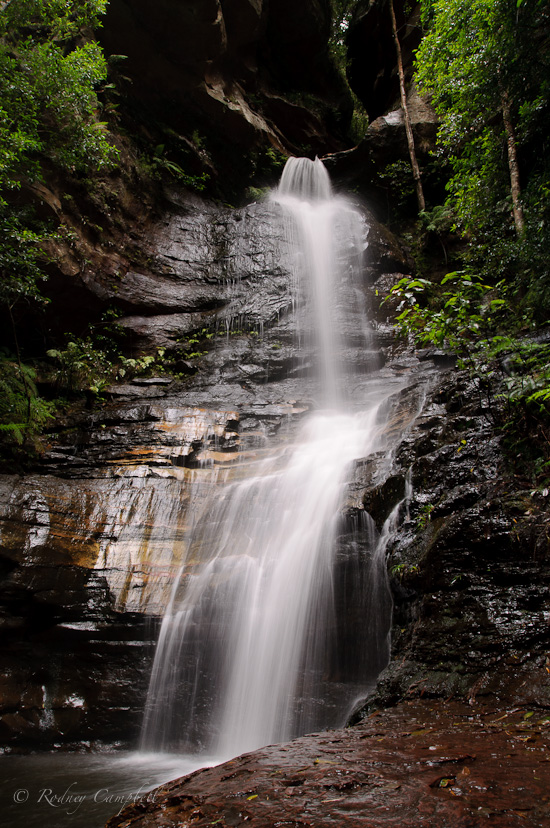
First the baseline shot with no filters at all:
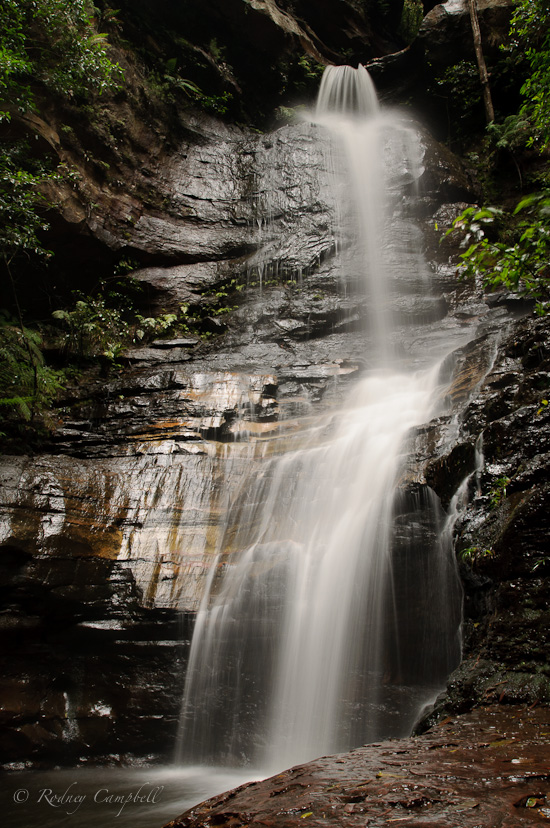
At the minimum setting – supposed to be around two stops but it looks to be more in the one and a half to two stops range:
Approx 3 stops:
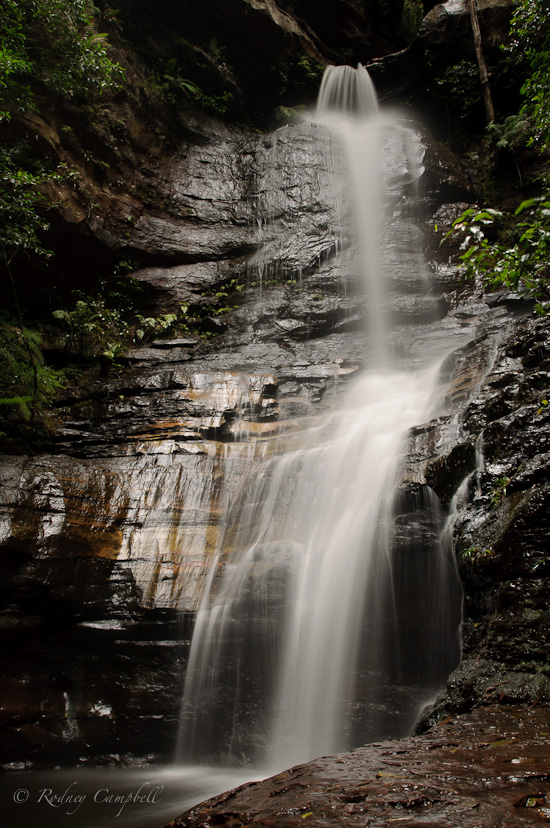
Approx 4 stops:
Approx 5 stops:
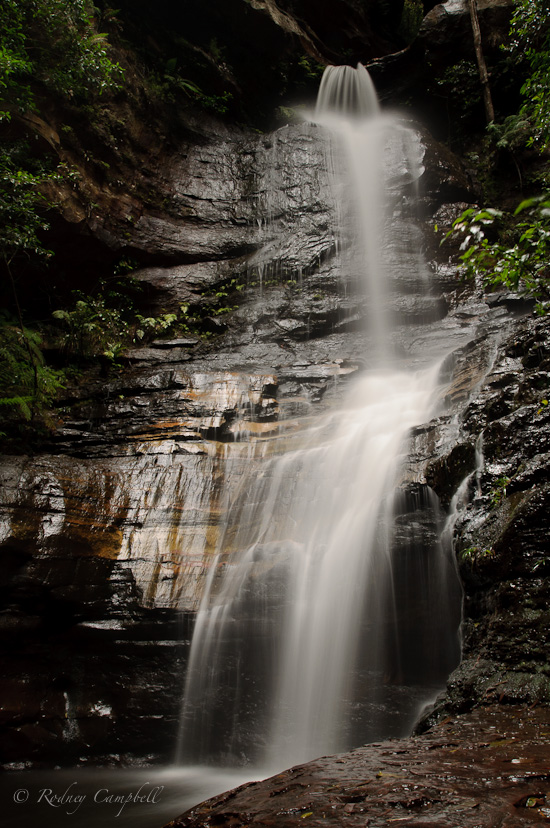
Approx 6 stops:
There was more turn in the ring to go before reaching the maximum setting however there is a known weird cross polarisation effect which occurs at very high density settings and the wider the lens the more pronounced/noticable this becomes. This appears as a dark cross which starts to form over the image.
Below is a test shot showing this in effect at 17mm – I took this the day before down on the harbour in VERY bright conditions – the ambient scene had a shutter speed of 1/60th even at f/22 and the last shot below was taken at the maximum setting (actually a little beyond the max marking which accentuates the effect) with around 8 stops of light reduction (3 sec shutter) where the dark cross over the middle is evident.
Approx 8 stops:
So the pro’s:
– given that it is a fixed filter it makes composing and focusing shots much easier without having to remove the filter – just dial the effect down to min to compose and focus (incl auto focus) and then dial it up
– basically appears to work fine between 2 and 6 stops for my reasonably wide 17mm lens
– mine has a 77mm rear thread for attaching and an 82mm front thread (to assist with not vignetting) – it also comes with an 82mm lens cap
The con’s:
– if you use wide angle you can’t really use it all the way to max (8 stops) otherwise you get weird effects on your image
– it appears to affect both the auto white balance and auto metering the stronger the settings – with my camera I found it tends to AutoWB to cooler and also starts to underexpose the higher you go – this may be normal with strong ND filters (I’ve never used any before) – this probably wouldn’t be an issue for real world use where you aren’t trying to take test shots at specific exposure combinations – you just set the WB (on camera or in post) and set the filter for the actual desired result for the scene you’re shooting 🙂
Killer iPhone Apps for Photographers…
by Rodney Campbell on Dec.30, 2010, under Photography, Technology
Photographers tend to love toys and gadgets and I’m certainly no exception. Owning an iPhone (3GS) I’ve noticed the vast array of photography related applications on the App Store. Whilst most of the apps are centered around taking, manipulating and sharing the photos using the iPhone itself, my focus for this article is around applications which assist you when taking photos with another (D-SLR) camera. Unlike most gadgets for your D-SLR the prices for apps are generally under $10 and so can tend to be a bargain if they can turn your iPhone into a specialist photographic assistant.
I’ve been installing and trying various iPhone applications for photographers for some time and I’ll split this article into covering two specific categories of applications – ones which cover aspects like Exposure, Depth of Field and Hyperfocal Distance and others which assist with things like Sun & Moon Locations.
Exposure, Depth of Field and Hyperfocal Distance
PhotoBuddy (AUD $2.49)
This is the jack of all trades of photographic tools with an array of features including Depth of Field (and hyperfocal distance) calculator, Sunrise/Sunset and the moon phase, Diffraction Limits, Bulb timer, Calculate exposure changes (f-number / shutter / iso) based on the reciprocity law, Flash calculator, Angle of View based on focal length, Bracketing calculator, Colour temperature and more. The app also includes a database of digital SLRs for simple setup so that the results are appropriate for your camera.
Xposure (Free)
Xposure is a free alternative, it doesn’t have anywhere near the features of PhotoBuddy but it does include a Depth of Field (and hyperfocal distance) calculator, Sun & Moon rise and set and an Exposure Guide.
Sun & Moon Location
These applications allow you to research and prepare to photograph a landscape with specific lighting or placement of the sun or moon in the scene and you can generally adjust the output for any future date and time.
Focalware (AUD $5.99)
Focalware calculates the position of the sun and moon from rise to set anywhere in the world, at anytime of the year by utilizing your location and date information. It also includes compass support and an integrated map for custom locations. The application is extremely simple to use and has a beautifully designed interface.
MagicHour (AUD $4.99)
MagicHour (formerly VelaClock) is a world clock that can quickly display the time of sunrise, sunset, three kinds of twilight (civil, nautical, astronomical) for dawn and dusk, moonrise, moonset, duration of daylight, current phase of moon, date and times for the next four moon phases, countdown to the next sunrise or sunset and next moonrise or moonset, and more.
LightTrac (AUD $5.99)
LightTrac calculates the elevation and angle of Sun or Moon for any date & time, for any place on earth and plots it on top of Google maps.
Sun Seeker (AUD $3.99)
Sun Seeker provides sunrise and sunset times, and flat compass view showing the solar path. However, it’s cool feature is an augmented reality 3D view, where it overlays the location of the sun over the video image from the iPhone’s built-in camera.
At the moment my personal pick from the above would be a combination of Focalware (or MagicHour) and LightTrac (ideally someone will one day combine the functions of both).
The Photographer’s Ephemeris (AUD $11.99)
I havn’t actually tried TPE yet (the author also has a free desktop version of The Photographer’s Ephemeris utilising Adobe Air), however the screenshots appear to indicate that it is very similar in functionality to LightTrac.
OS X on an MSI Wind – Initial Theory…
by Rodney Campbell on Feb.05, 2009, under Life, Security, Technology
I’ve been researching what would be involved in putting some form of Mac OS X on my new MSI Wind netbook and there appear to be two major mechanisms one could use.
First some background on the OSx86 scene…
Hackintosh (or PC running OSx86), is the idea of putting the Mac OS X operating system on regular (non Apple) PC hardware using a variety of patches. Provided you use compatible hardware, you can create a pretty stable Mac clone – however there is likely always something which doesn’t 100% work correctly.
Some good background links and sites for this include:
Installing OS X on a NetBook has been gaining popularity with the rising popularity of NetBooks in general and if you are interested in general in this space then BoingBoing has an excellent OS X netbook compatability table indicating which netbooks are most compatable with OS X installs and what features work with each.
There are basically two main methods for installing OS X onto a PC…
The older original method to install OS X on non apple hardware was to use a premodified OS X (with patched kernels and patched extensions) installation disc to load OS X onto the machine. To this end a number of distributions have been released with various names like Kalyway, ToH, iATKOS, Leo4All and iPC. In the case of the MSI Wind this culminated in a release specifically for it so the best release for this type of mechanism was to obtain the MSIWindOSx86 ISO distribution (this is actually a slipstreamed boot-132+EFI method install – see below) which allows you to just boot the DVD and install (10.5.4).
Some good links for this method on the Wind include:
- Paul’s complete guide to installing OSX Leopard on your MSI Wind
- UnOfficial Guide: Mac OS X 1 Partition, Everything You Need
- The Creation of a Hackintosh and How To: Dual Booting the MSI Wind
- MSi Wind OSX86 Install [Driver Pack]
Disclaimer: This first method more than likely violates various laws given that you need to download a hacked pirated version of Apple’s OS X operating system to do it.
The primary reason these hacked builds were required was because “real” Intel Mac’s have EFI (Extensible Firmware Interface) and not the BIOS used in (Windows) PC’s. This is what allows the Mac to work like a Mac and be recognized like a Mac. However netkas developed a PC EFI system where the EFI code is injected into the bootloader, making OS X think that you are using a real Mac. This allows for the installation of default Apple extensions and kernels (VANILLA kernels) from the standard retail Leopard DVD. It also means that you can update your software directly from Apple software update without damaging it.
The second major recent innovation was when David Eliott (DFE) developed his modified boot-132 bootloader. It acts like a linux kernel (patched syslinux was used) bootloader which load kexts (Kernel Extensions) from an .img file (the ramdisk or initrd, as it’s known by the linux users) which contains kexts (or even an mkext) and boots OS X (the standard retail Leopard) and all the special custom files needed to boot live in the bootloader.
Short digression – What is the Kernel? – this is basically the core of the operating system and on OS X it is /mach_kernel. What are Kernel Extensions? – these live in /System/Library/Extensions on a standard Leopard install (and they are really folders of files disguised as files on OS X) – and you can think of them as drivers which allow for hardware support in the kernel and are dynamically loaded. In the case of OSx86 they may replace Apple’s original or add new support for hardware in the non Apple PCs.
So the new install method is called “boot-132” and some good links for this method on the Wind include:
- Retail DVD Install (with driver pack)
- Macbook Nano
- Clear & Easy Retail DVD Installation for everyone
- Leopard Retail DVD Install
- Retail Leopard Install with Boot-132-Chameleon w/ EFI-strings Loader
Disclaimer: This second process potentially violates Apple’s End User License Agreement for Mac OS X. Please ensure you own a copy of Mac OS X Leopard if you wish to follow the procedure.
The following are some other excellent Hackintosh and MSI Wind related resources:
First things first – Upgrade the MSI Wind BIOS (from Windows)…
by Rodney Campbell on Feb.05, 2009, under Life, Technology
OK I’ve got this brand spanking new MSI Wind U100 and before I do anything I want to upgrade the BIOS
…why…
well I’m running 1.05 at the moment and whilst it supports the energy saving Fn+F10 mode (where it underclocks the CPU by 50% to 800MHz (to save on battery)) if you upgrade to at least 1.09 you’ll get a great new feature where it also allows (only when plugged into power) various levels of Overclocking (8, 15 and 24%) which will take your 1.6GHz Intel Atom CPU up to 2GHz – woohoo!!!
I’m going to upgrade to at least 1.0A (although 1.0B is out now but I’m not yet 100% sure of it’s compatability with OSX).
The thing is the downloadable BIOS update from MSI allows you to install from DOS.
These guys however have a Guide to Flashing the 1.09 Bios for the MSI Wind in Windows XP and Vista which I simply adapted (by editing the batch file for the BIOS file I wanted to use).
NB: If you’re really stuck there’s also the Wind rescue mode – when BIOS update failed (no USB etc).
